Riding on the "Flatbox" trend
The Goblin was born out of a mostly commercial necessity, originally envisioned as a Smash-oriented controller and later brought "down" to something more reasonable and easy to build. Part of me want to say this is a really uncomplicated build with very few caveats, but the reality is that whether you elect to solder directly to your switch pins or to hotswap sockets, well you still have to solder, innit ? And the ground chain is always a bit hard to get right in my experience. I find that solid core wire makes it a little easier if you solder to bare pins, as you can bend it into "hooks" or "eye holes" that you can wrap around the pins to hold the wire in place while you solder, but to each their own; at the end of the day, as long as there is reliable continuity between all the pins, I don't think there is a wrong way to do it.
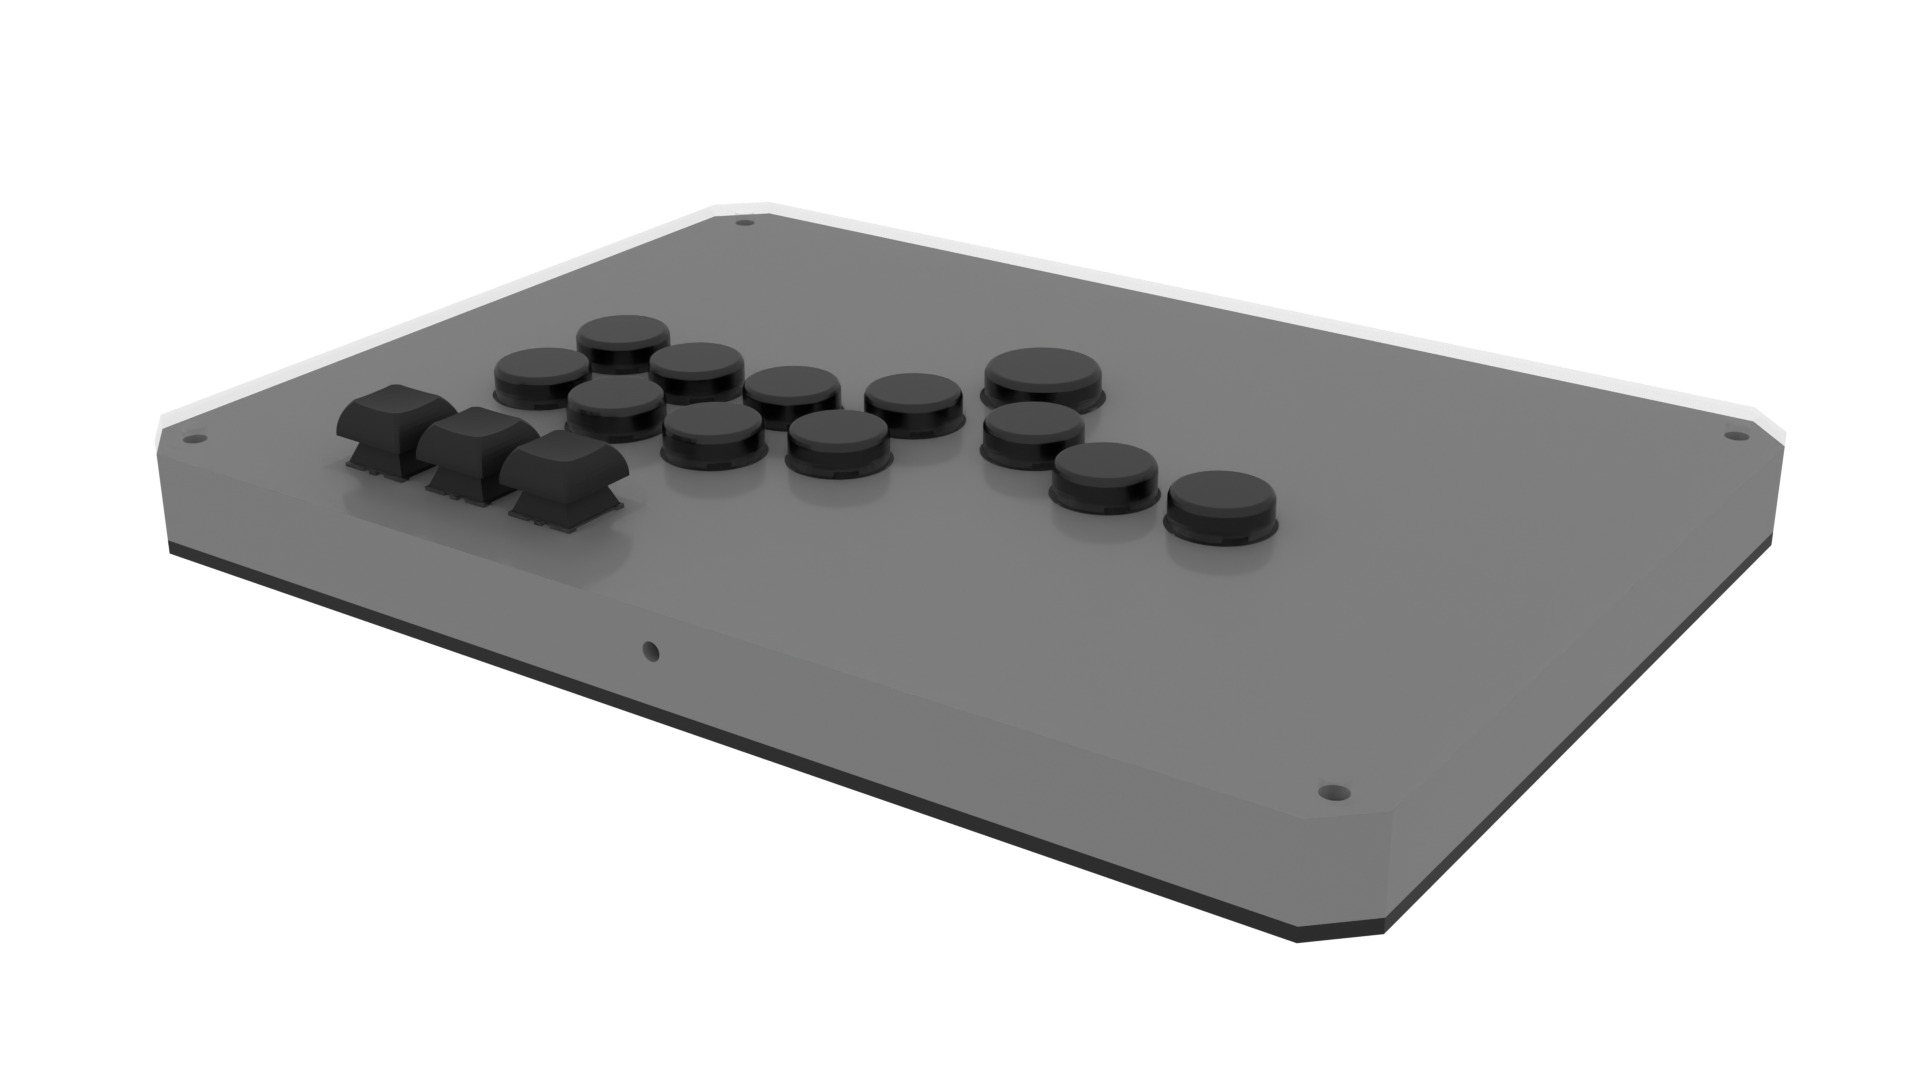
The case is made for housing Cherry MX style switches, friction fit into the button holes1. For the caps, you can use SiTong caps (you can find them on AliExpress, and I can 100% recommend them) or print TheTrain's OSBMX v2 button caps. Also, on the GitHub page, I say that I use M4x20 Chicago bolts, which yes they do work just fine (just take care to not overtighten them as the case is actually 25mm), but in all fairness any M4 screw with a washer should work just as well if you're willing to contend with the nuts protruding out of the bottom plate. The acrylic is technically optional as you can use any 3mm thick material to match the plunger length on the switches, including printed plates if need be.
The one thing that is a little non-standard and potentially hard(er) to source is the metal rods. They actually do a lot to stabilize the build and prevent flexing, as this is unfortunately something inherent to multipart prints, and while they're also technically optional I still recommend adding them just for peace of mind. Adds to the BOM but the benefits are clearly worth it.
On the side of electronics, I would recommend a Waveshare RP2040-Zero due to having native USB-C (something the base Raspberry Pi Pico bafflingly lacks), though I suspect the case can also accomodate an Advanced Breakout Board with minimal modification. Just make sure to pick a long cable and to run it through the strain relief posts.
Overall, just like I say over on GitHub, it's a great weekend build: very easy and fast to print (supports aren't too bad even if yes they still count as filament waste in the end), very straightforward to assemble, even the soldering is something one should be able to tackle without much hassle I believe. It's a good first build whether you're just getting into the hobby of DIY leverless controllers or simply want a budget-conscious option that doesn't compromise on quality.
1: You can use layers of painter's tape around the switch base if the fit isn't good enough