< Back to the Projects
Praise the high collar
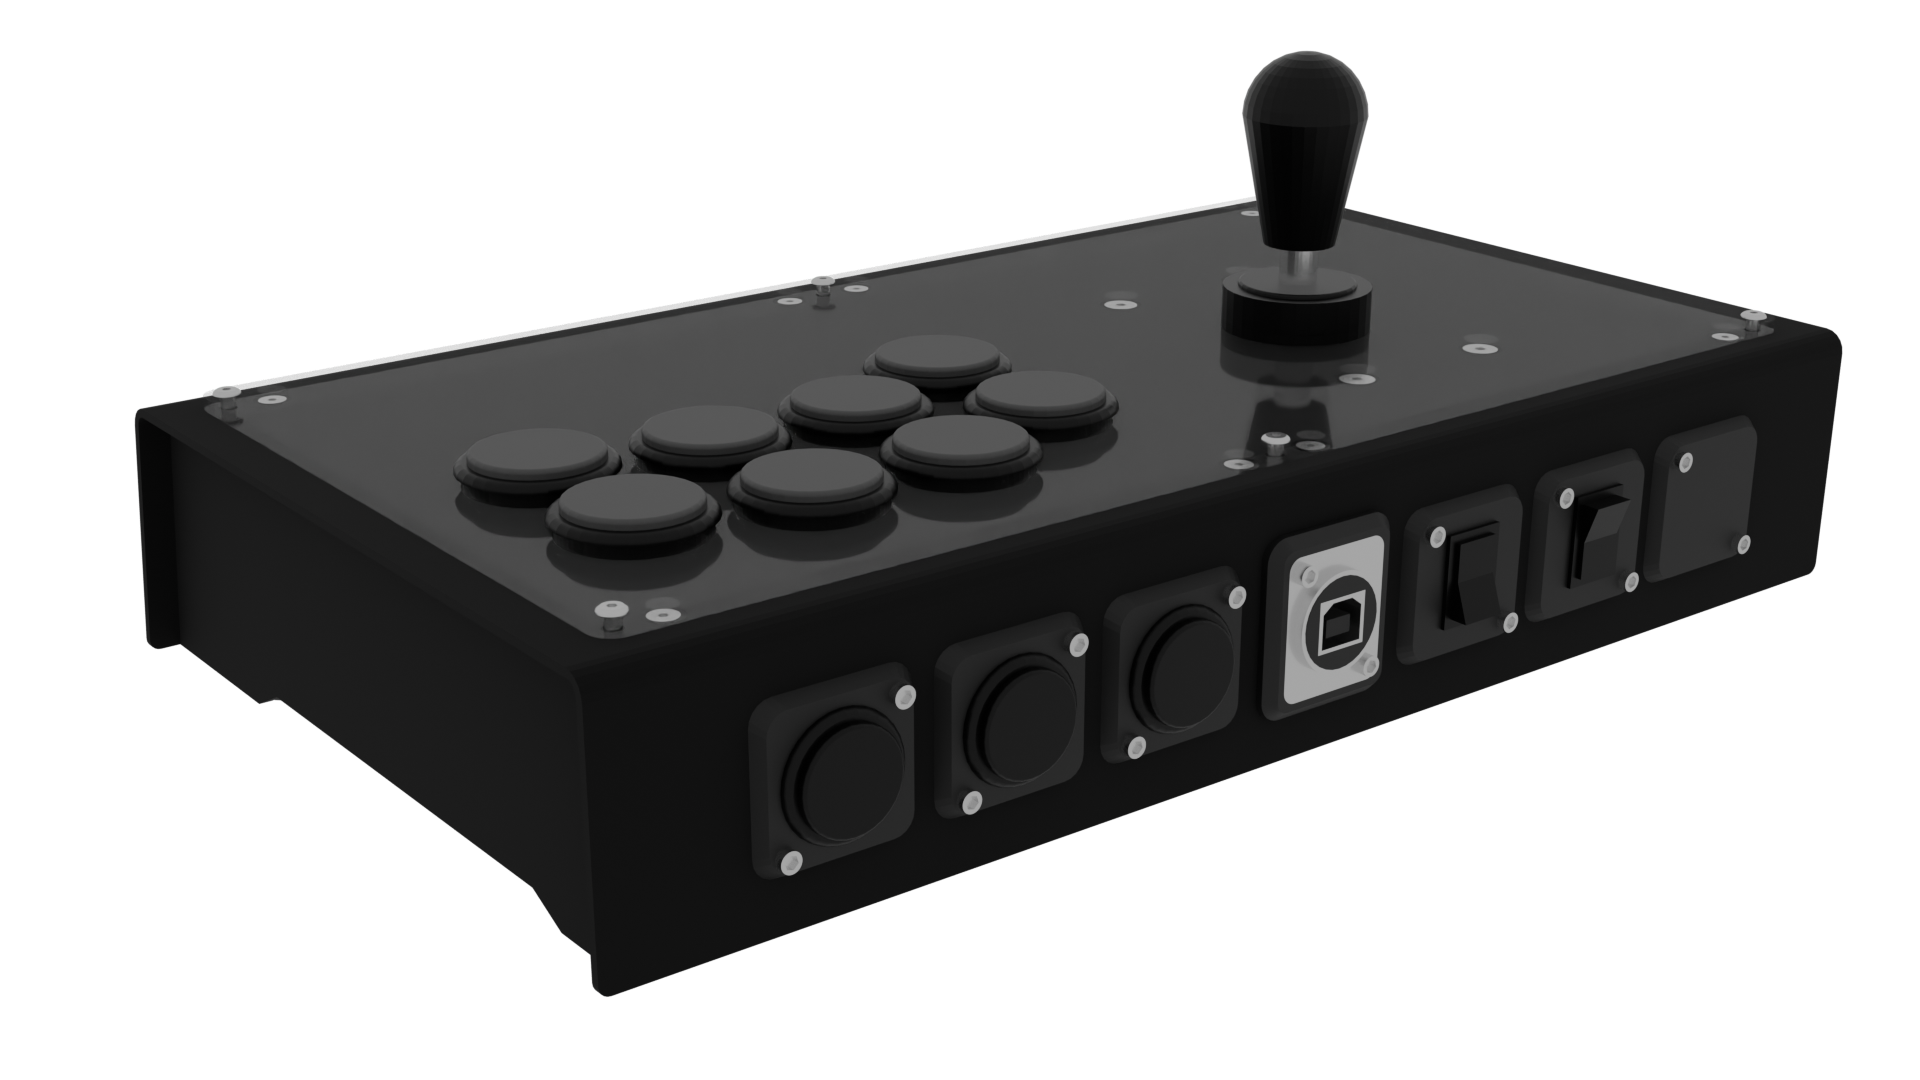
Project Tteokbokki was inspired by two and a half things: my enjoyment of the dish of the same name (Korean rice cakes), and the desire to get either an Etokki Omni, or a Virtua Stick High Grade. Seeing as I'm currently turbo broke and unemployed, but still in possession of a 3D printer, I decided to invest time, effort, blood, sweat, tears, and the few savings I had to just print my own project. In the end it's about 99.9% Etokki Omni, and .1% VSHG, but at some point this is out of my hand. Can't really help it if the Omni is just a better base overall !
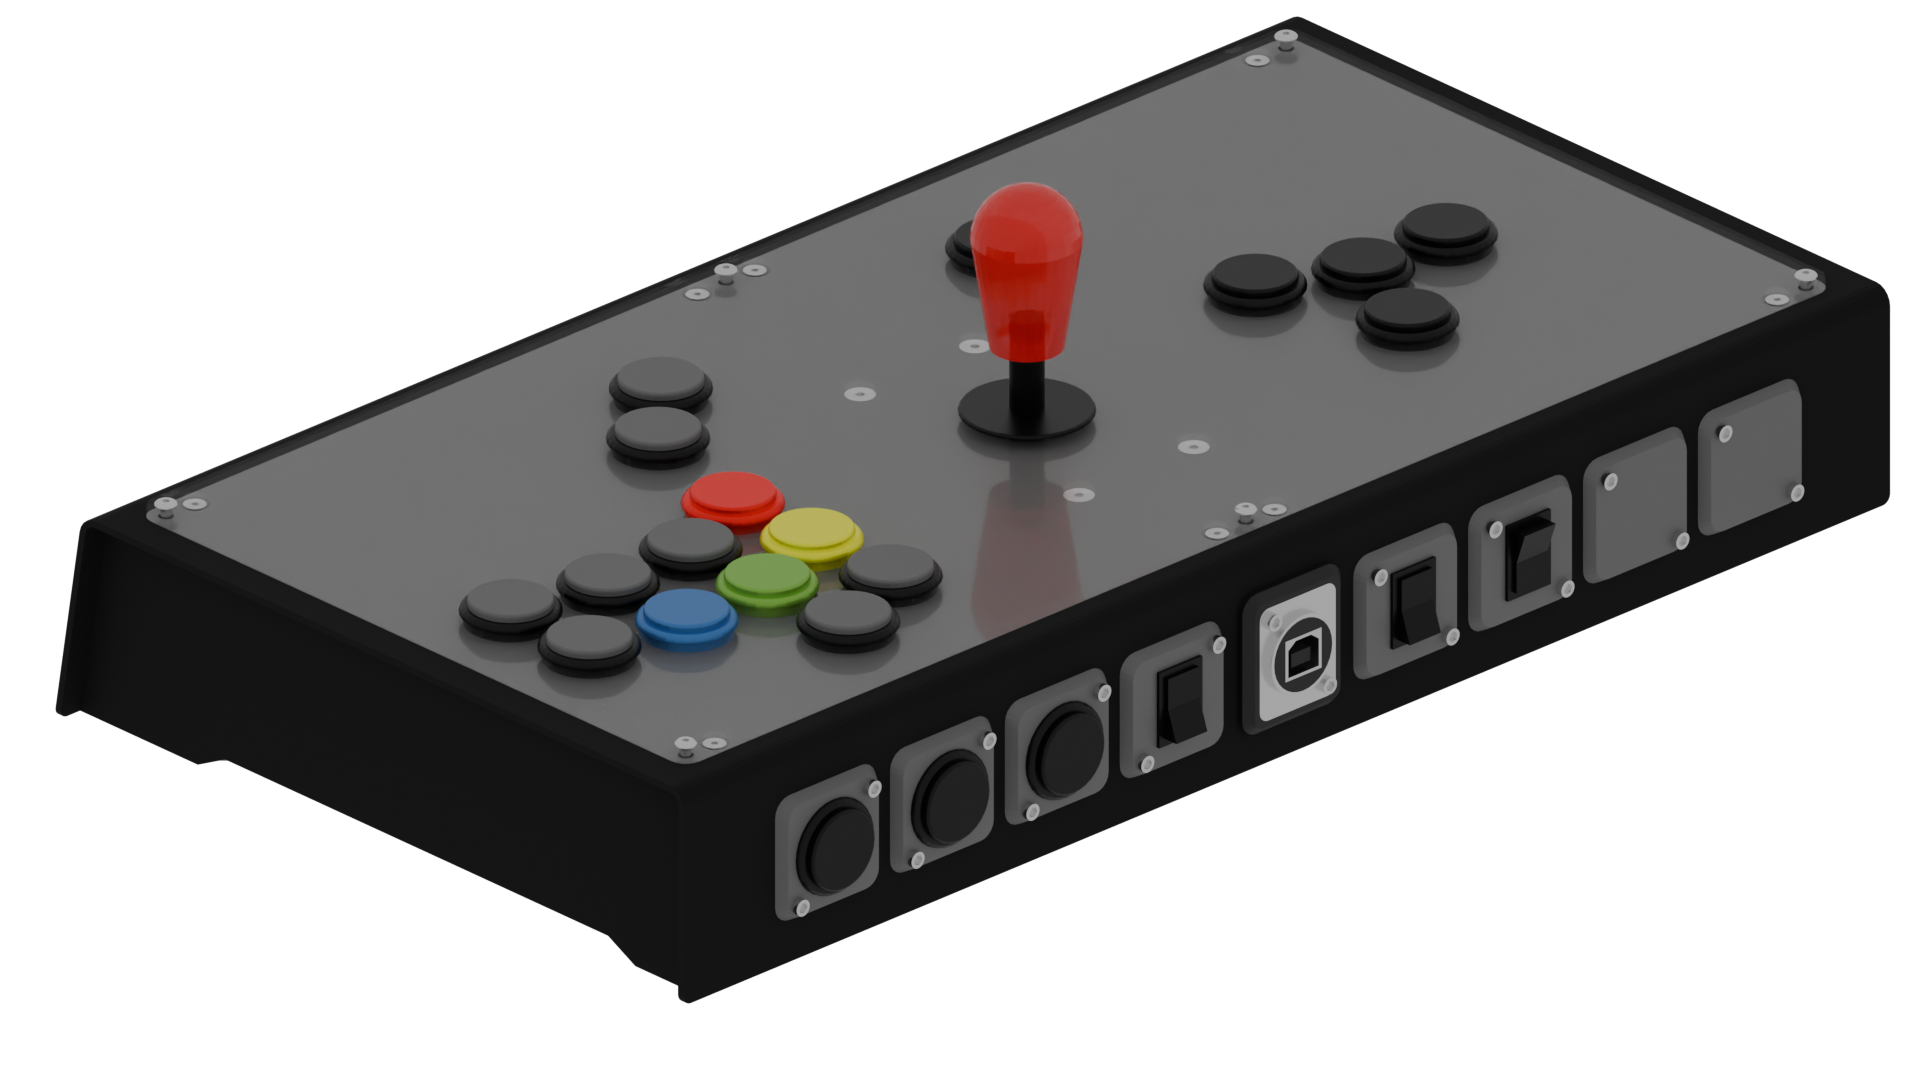
As I always do for some reason, the first build is going to be an extended version of the "normal" thing. In this case, we're going to have 8 option slots instead of 6, a layout that is a unholy combination of pretty much everything I have ever used, and a (sadly not quick release) appropriately Korean lever, namely the first Knee lever, as the literal centerpiece.
Everything and the kitchen sink
Here's some intel for you, nerds !
- Printed on ELEGOO Centauri Carbon using ELEGOO Matte Black PLA and Extrudr BioFusion Blue Fire
- Total print time: around 15h
- Total print weight: around 600g (frankly I didn't count)
- Filament wasted on supports: 50g
-
Hardware list:
- 14x M3S Ruthex heat-set inserts
- 4x 6x30mm dowels (wood or stainless steel)
- 8x DIN 7991/ISO 10642 M3x8 hex socket countersunk screws for the top panel halves
- 4x DIN 7991/ISO 10642 M3x12 hex socket countersunk screws to mount the lever
- 6x ISO 7380 M3x8 hex socket button head screws for the acrylic
- 2x DIN 912/ISO 4672 M3x30 hex socket head cap screws for the Neutrik
- 16x DIN 912/ISO 4672 M3x20 hex socket head cap screws for the front plates
- M3 washers and nuts (honestly just get as much as you can,, better have extras)
- 8 or 12x 15 by 3 millimeters disc-shaped magnets (I find 8 to be largely enough but you do you)
- Neoprene glue/contact cement
- A soldering iron
Also, I apologize for the messy workbench and the more-than-dubious quality of the pictures. I just really suck at photography. And to be honest, my interior lighting is less than ideal...
So the first thing I did was to pop by my local fablab to get a 2mm acrylic cut with their laser. It's actually a hair larger than the underlying plates to provide extra stability and totally not because of a measuring error on my end , and just like on the Etokki Omni, this is going to sit proud off of the top of the chassis. At 2mm thick, this really isn't much of an issue, at least for me.
A 10 FPS GIF ? In 2026 ?! Preposterous !

But Bad, isn't that cheating ?
Much to my chagrin, I cannot actually make everything myself with the tools I am allowed to have in my tiny apartment. I'm pretty sure if I were to operate even the tiniest CNC in there, my neighbors would actually end me.
So the next best thing is to support a local business and makerspace by periodically borrowing something I am unable to safely acquire or use in other conditions ! (You should do it too, if you have a fablab nearby. Otherwise online shops are fine, I'm just all-in for supporting locals)
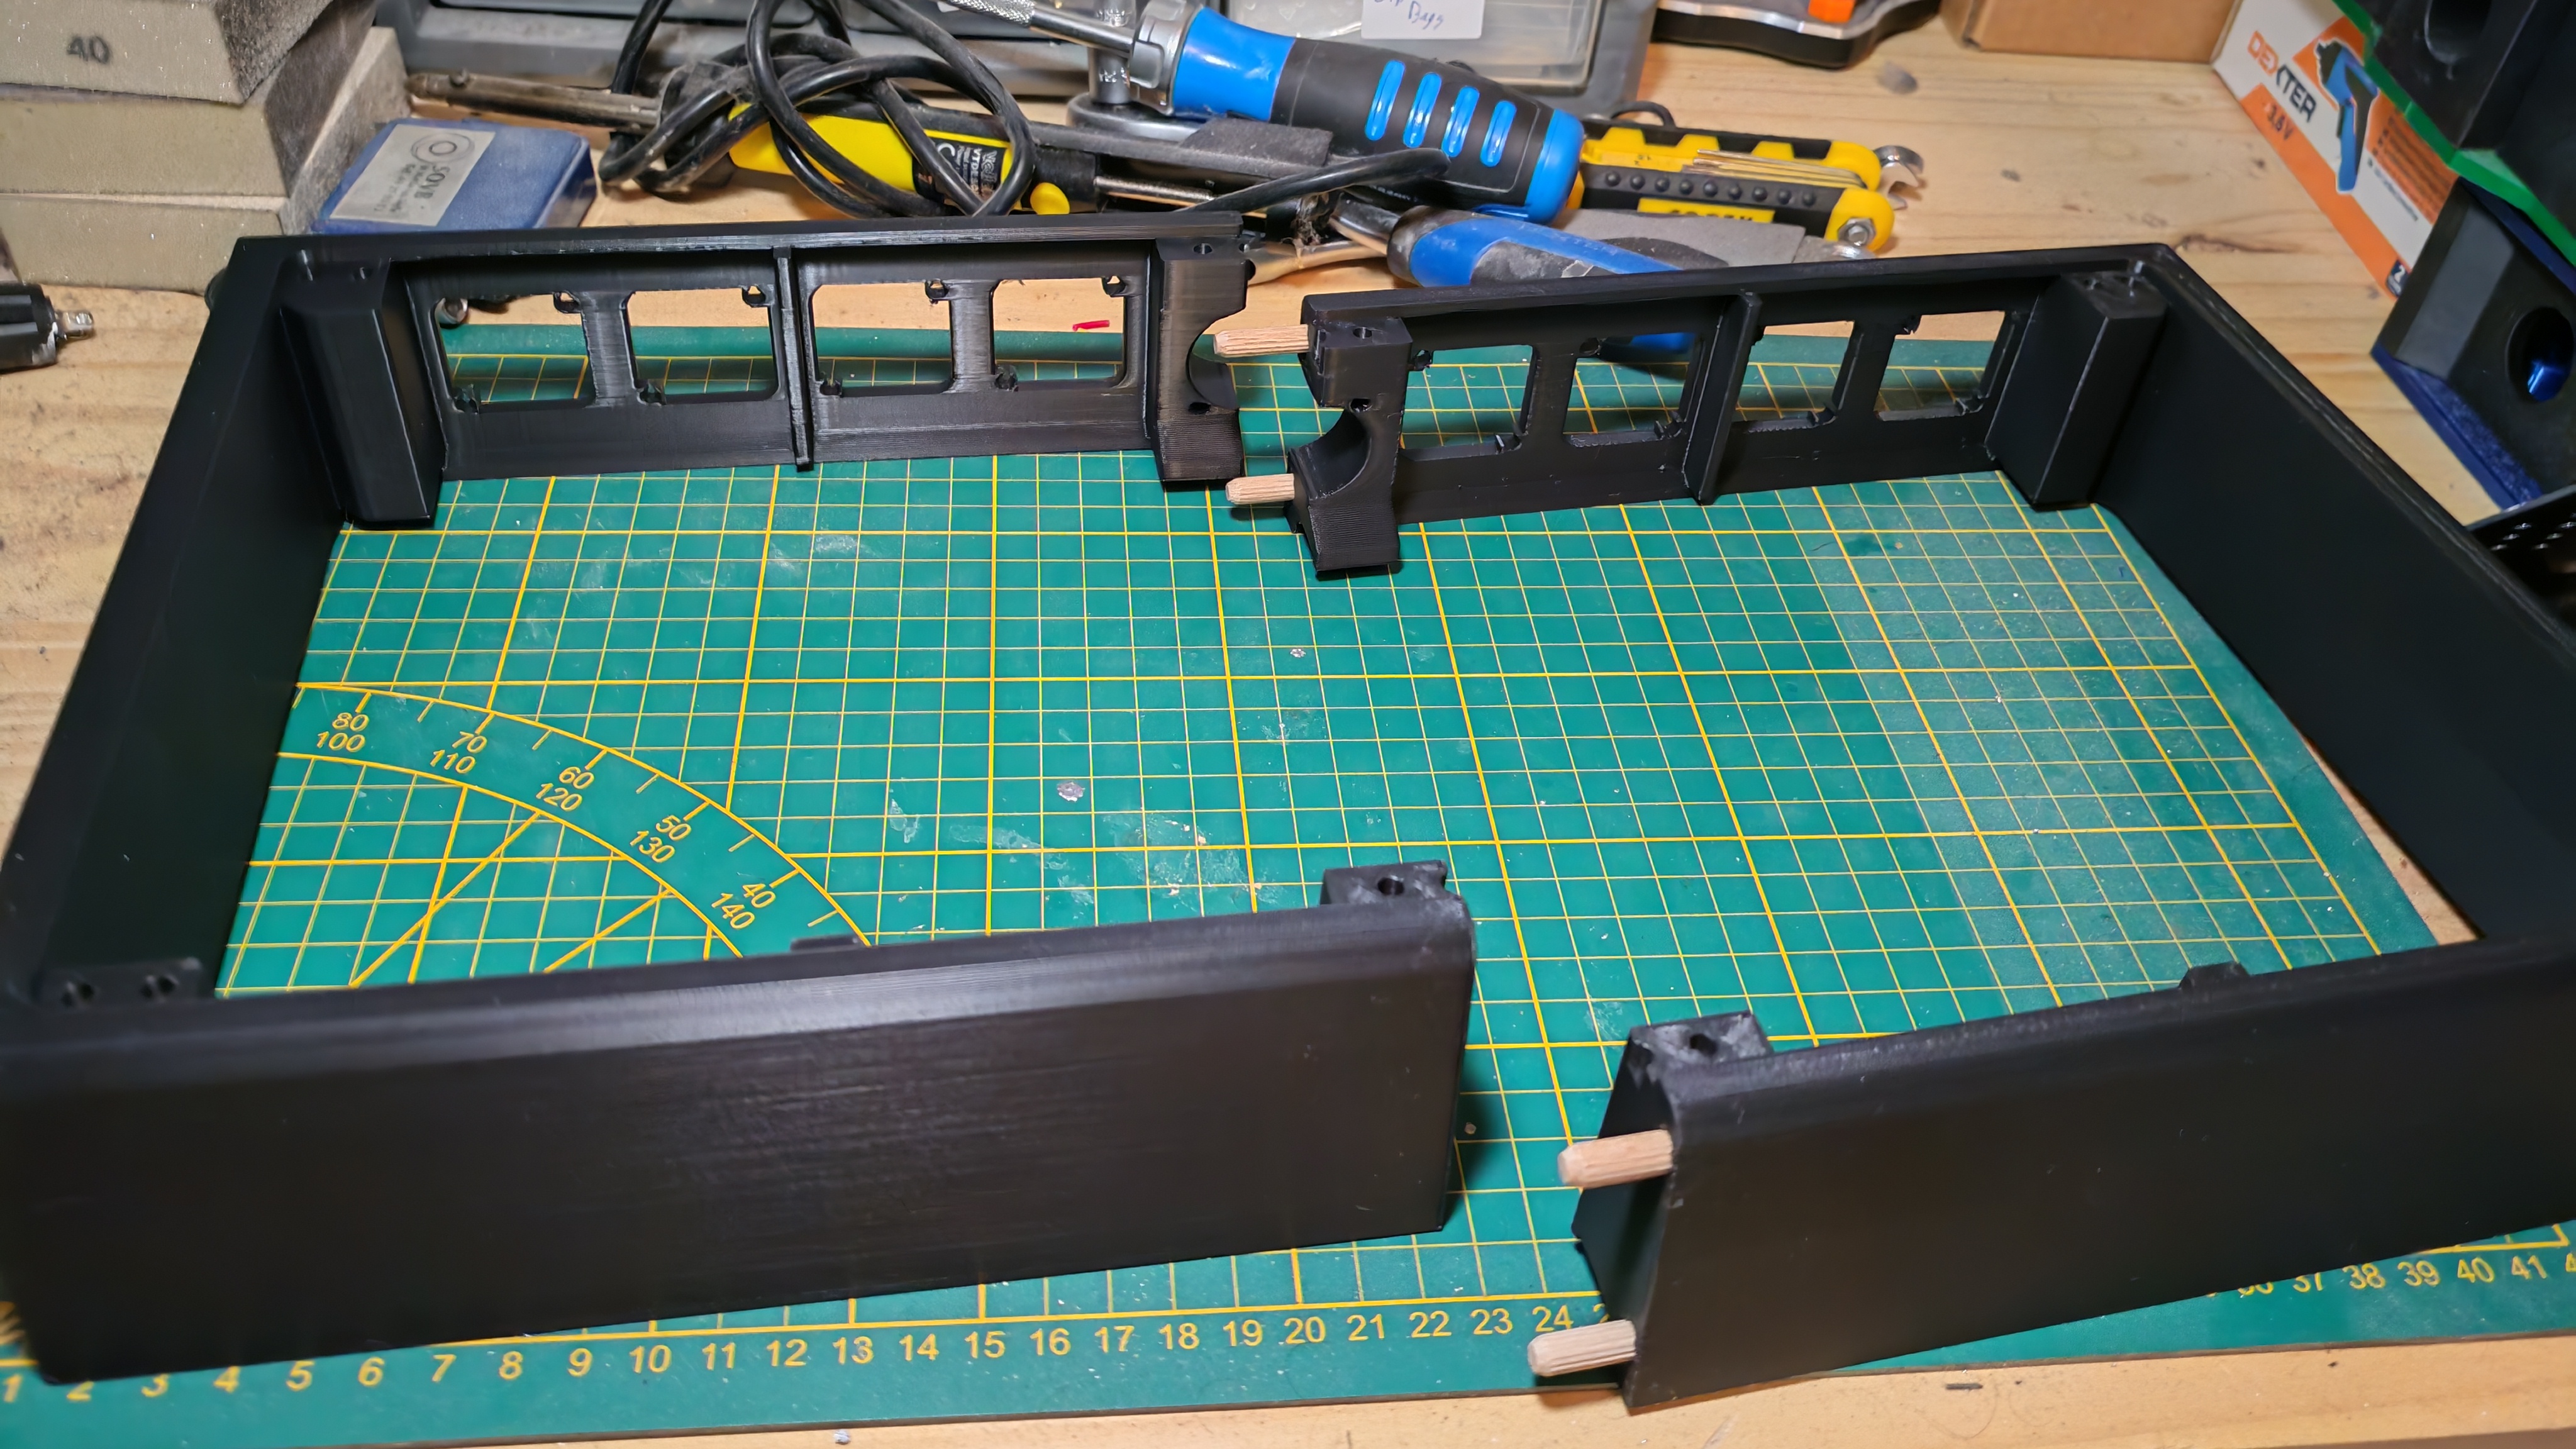
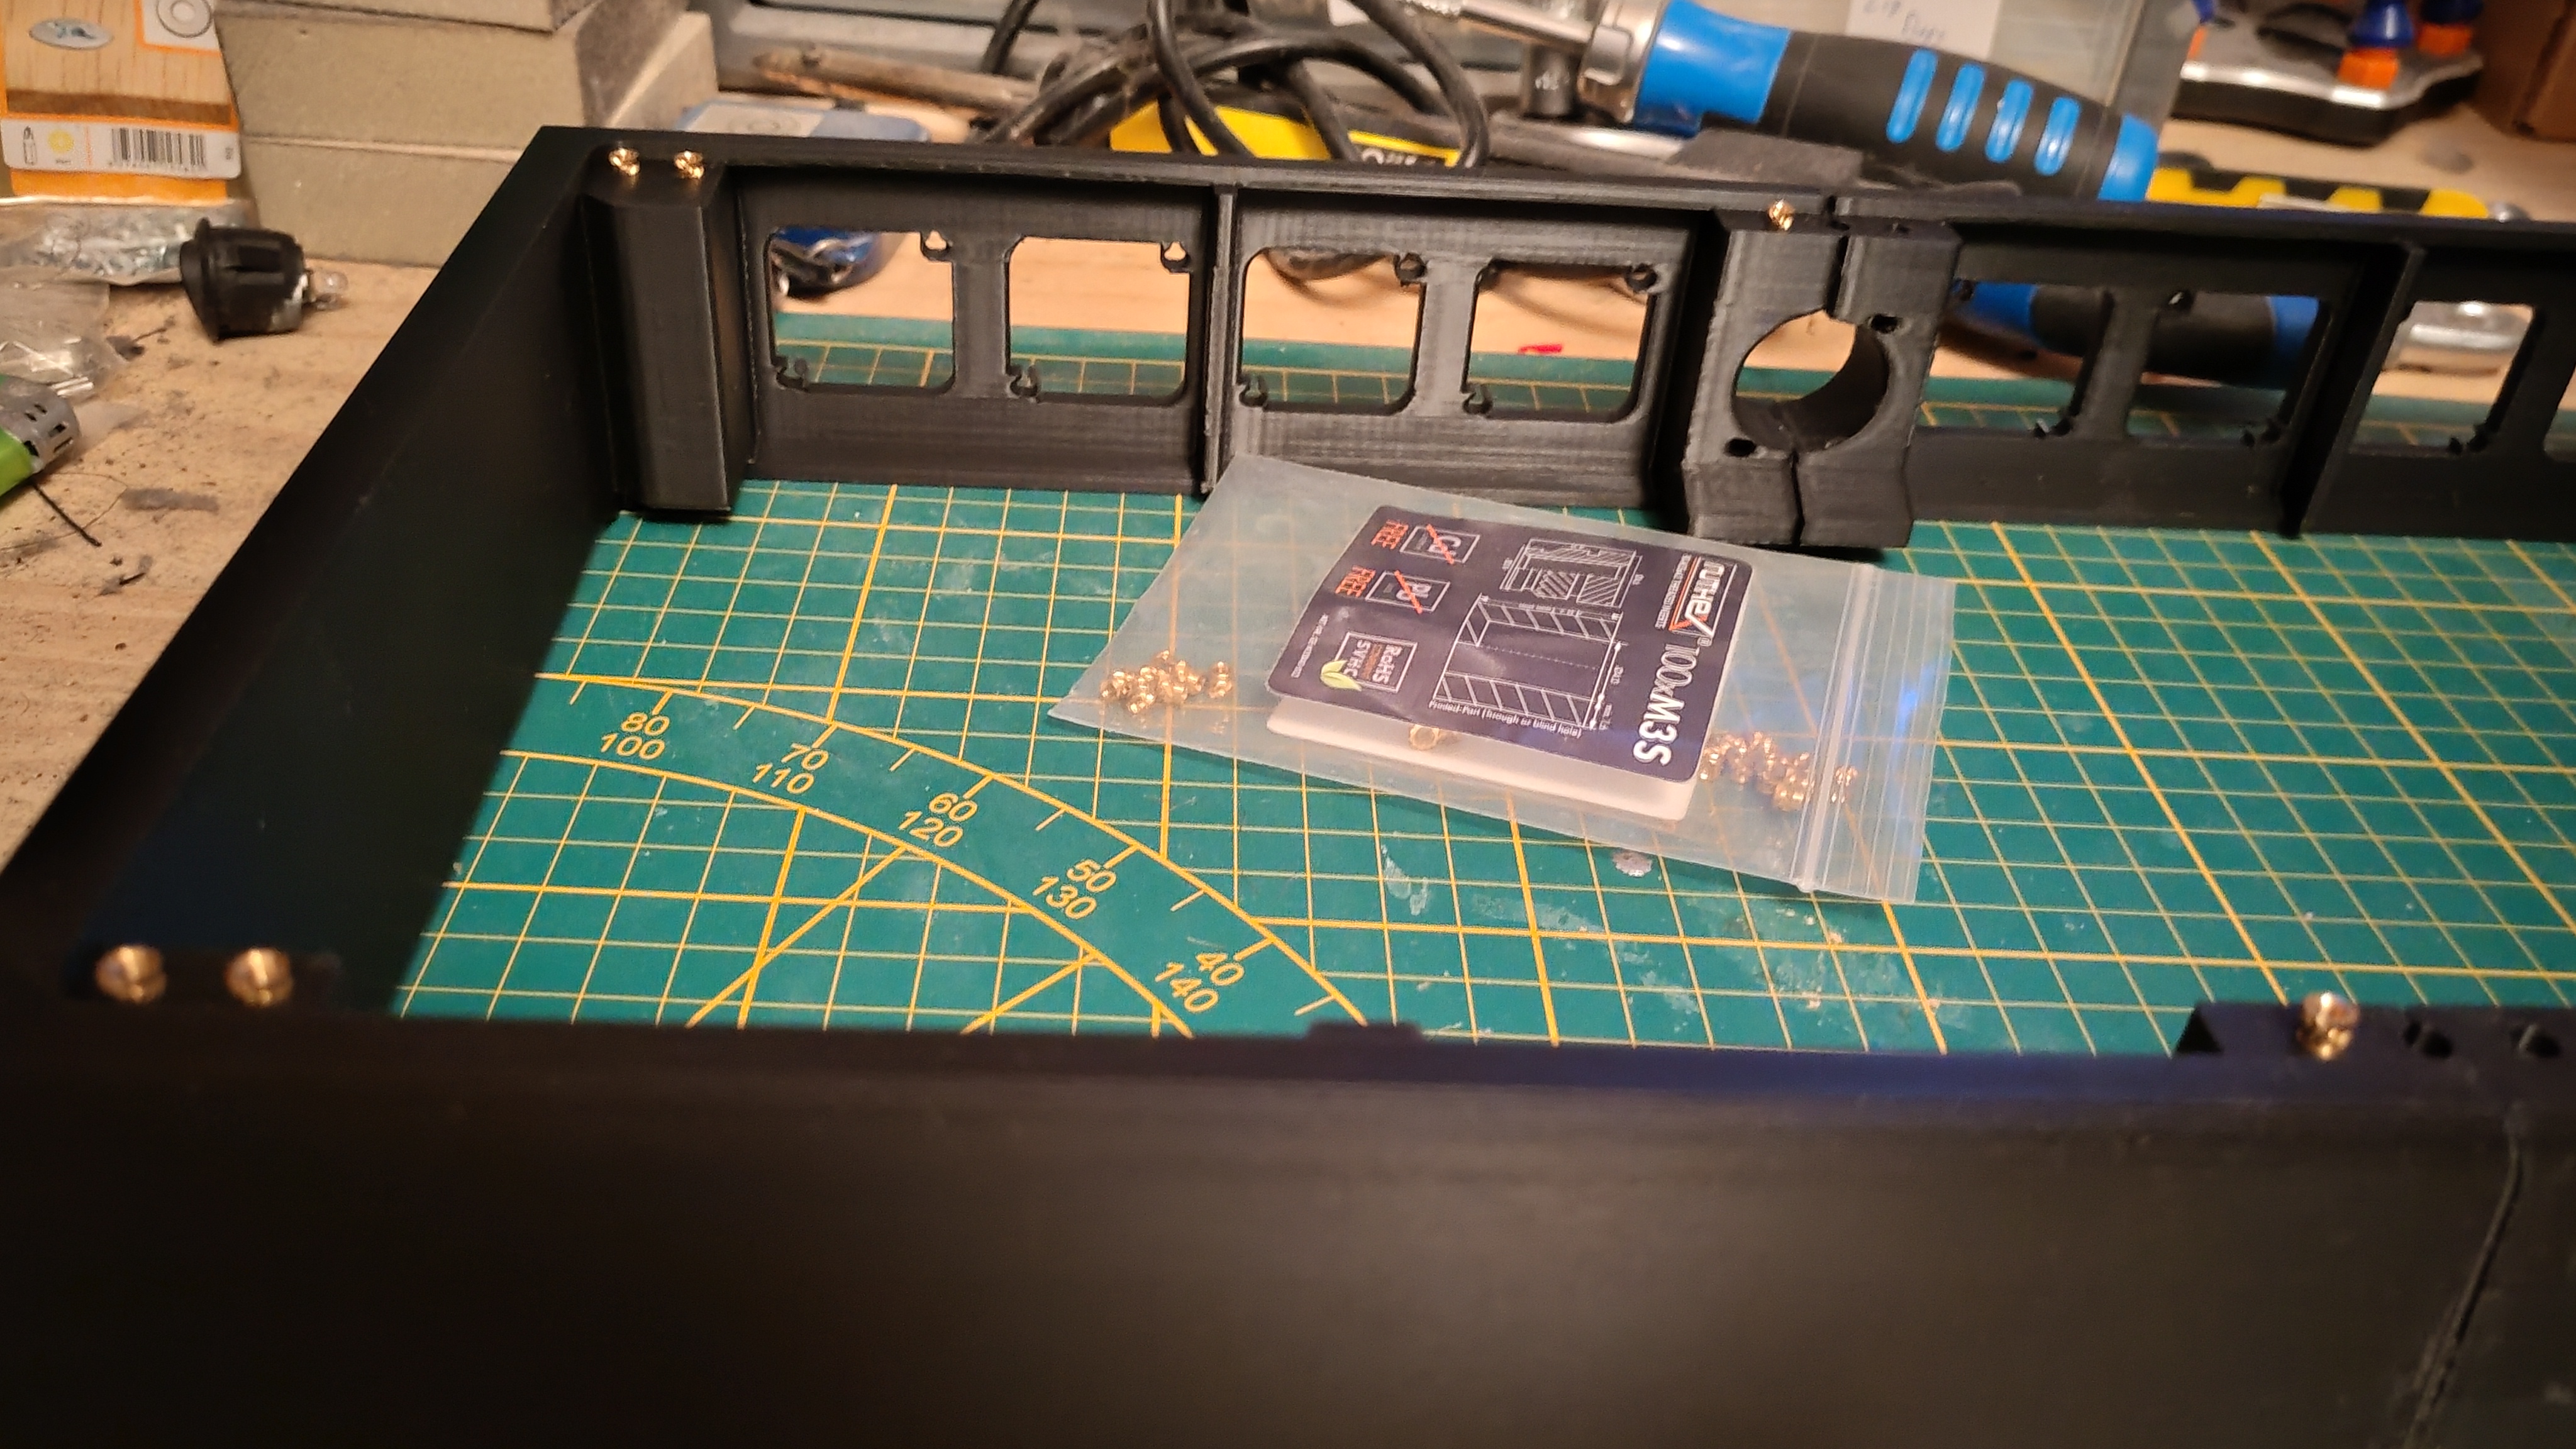
To start building the frame, I first add 12 of the 14 heat-set inserts to the top panel, specifically all but the two center posts. The top panels, once screwed in, will add mechanical constraints to the frame, keeping it steady while the glue dries.

The case isn't glued yet, I just forgot to take it apart while doing the heat-set inserts
More blur than in Modern Life is Rubbish
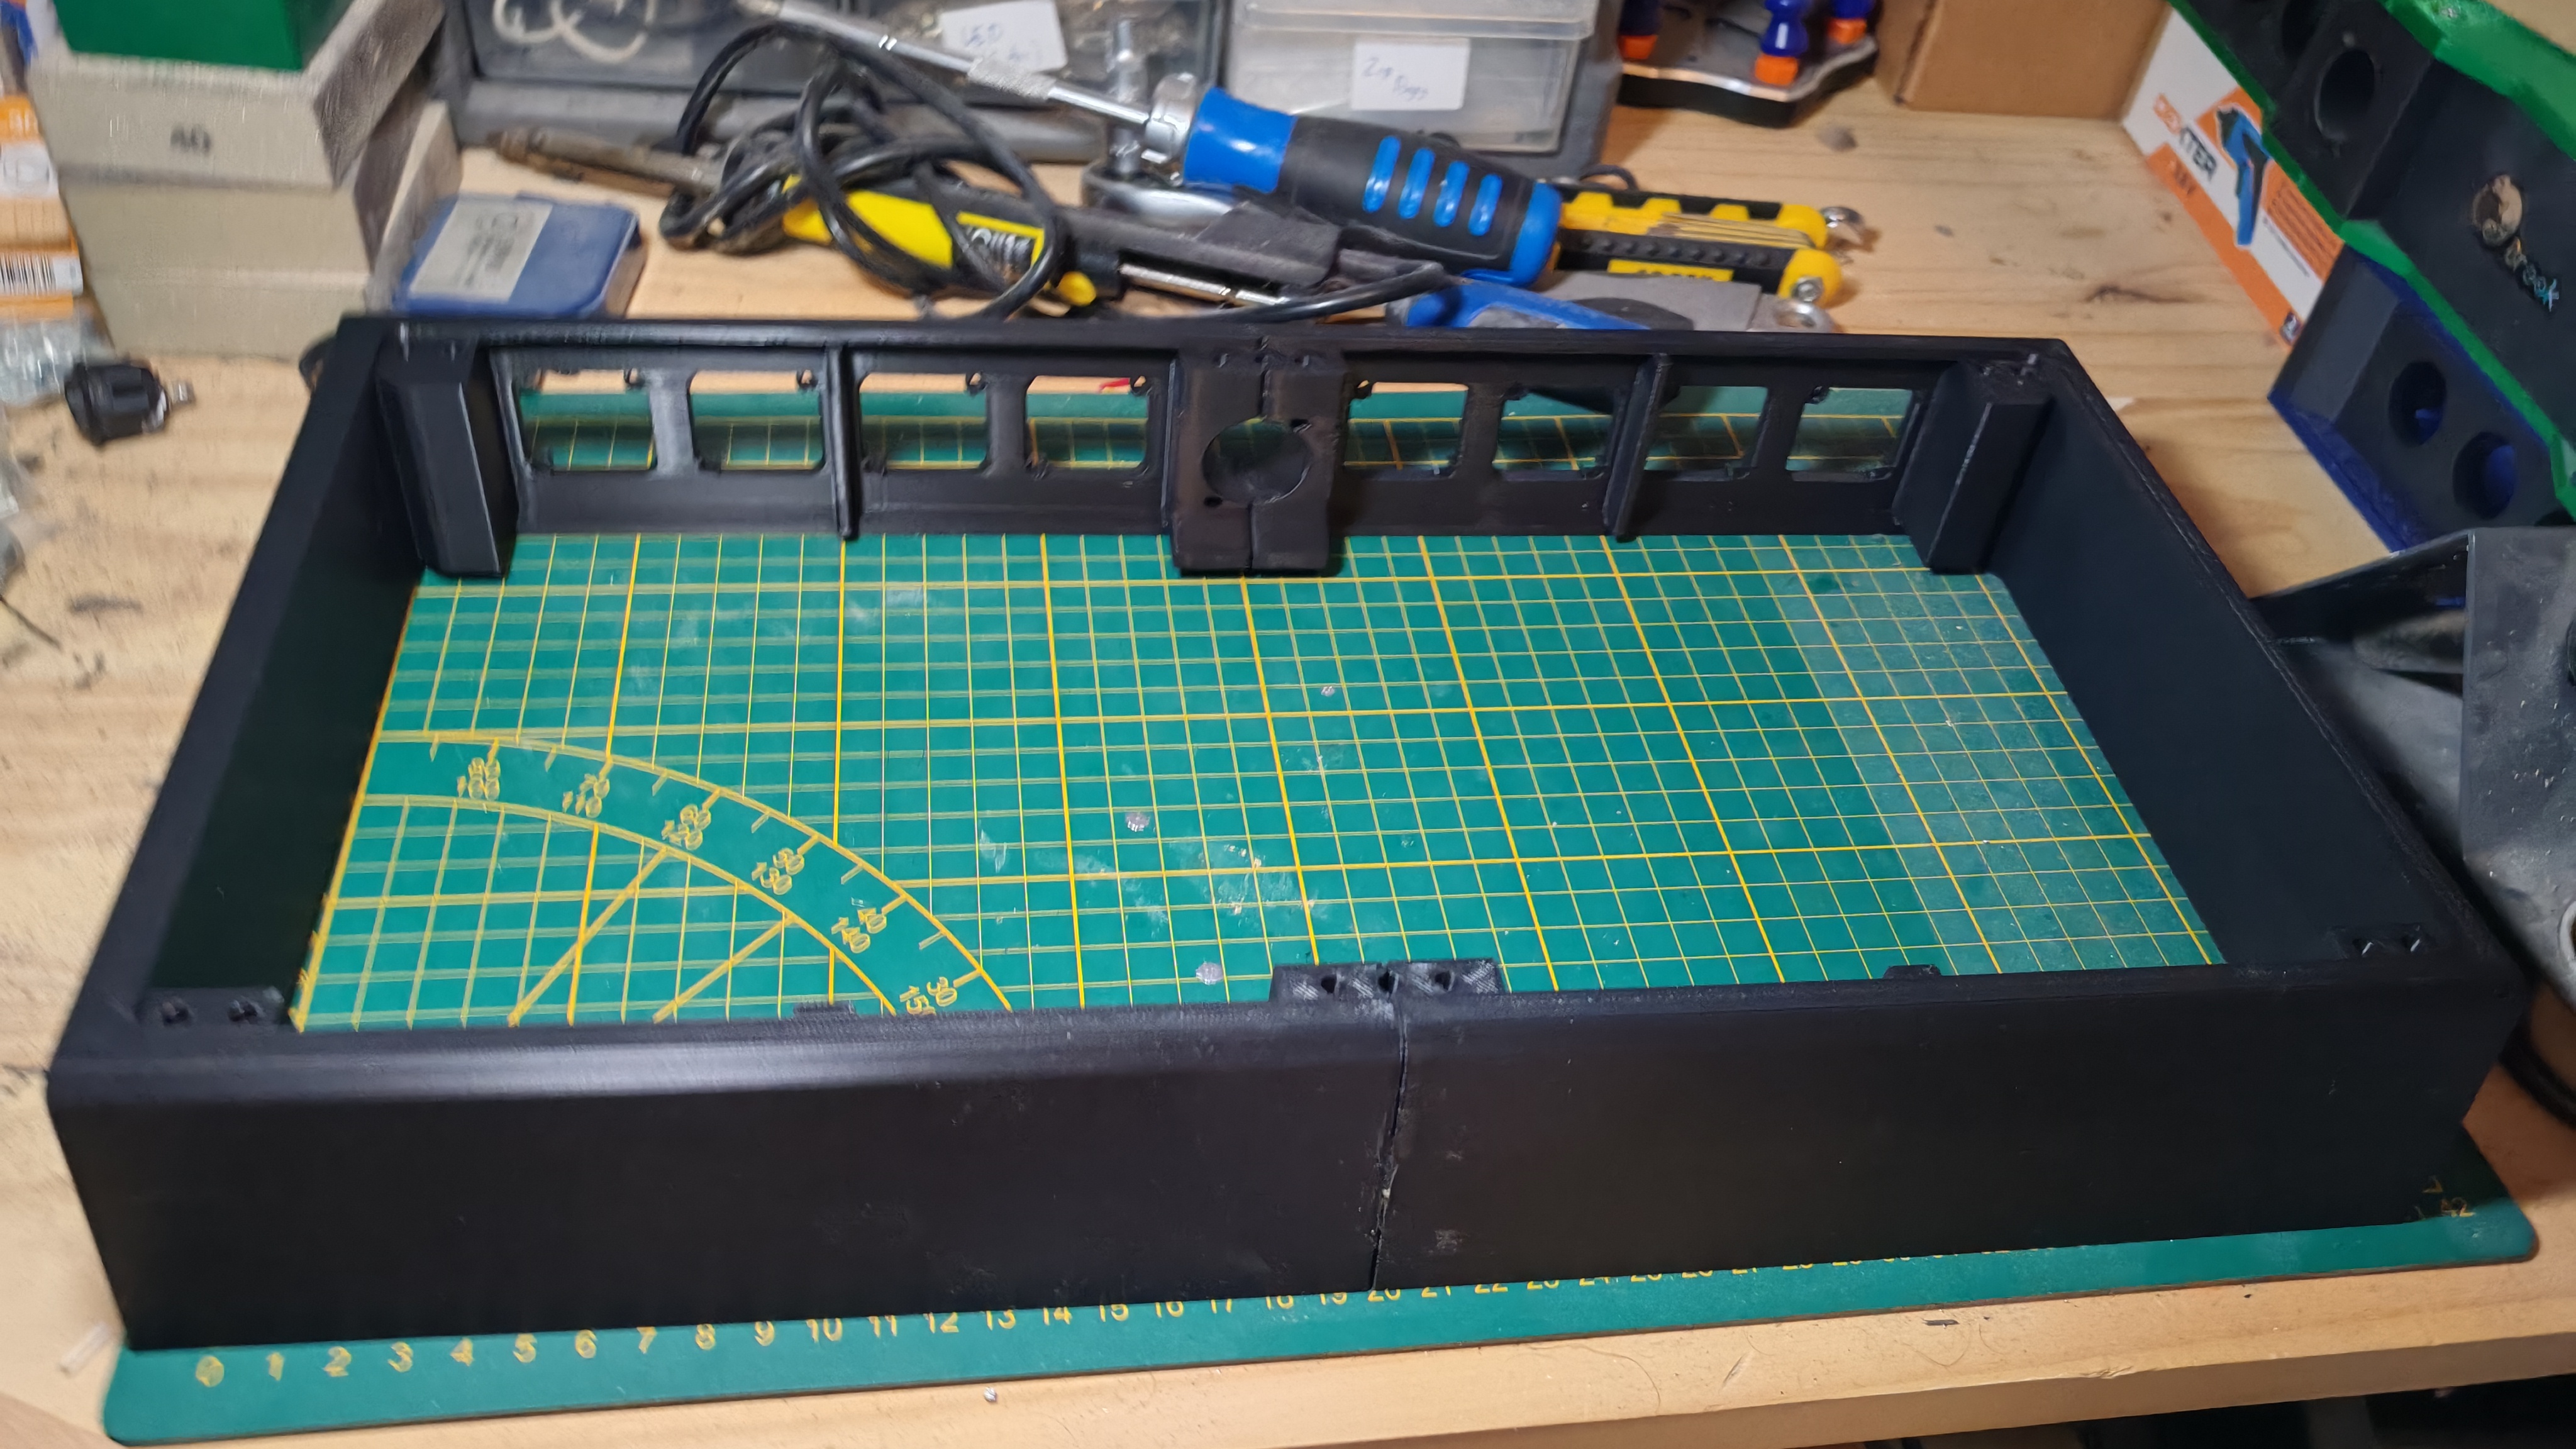
Using the dowels and some neoprene glue, we join both halves of the frame. I didn't take a picture of it but once the glue sets in, I add the two remaining inserts to be able to screw down the top panels.

Abracadabra, your case is now 50% dust (yay workbench)
Now that the top plates are screwed in and the case is (somewhat) rigidified, I take the opportunity to plastic weld the halves together. I didn't weld the panels to the frame in case I ever need to change them.
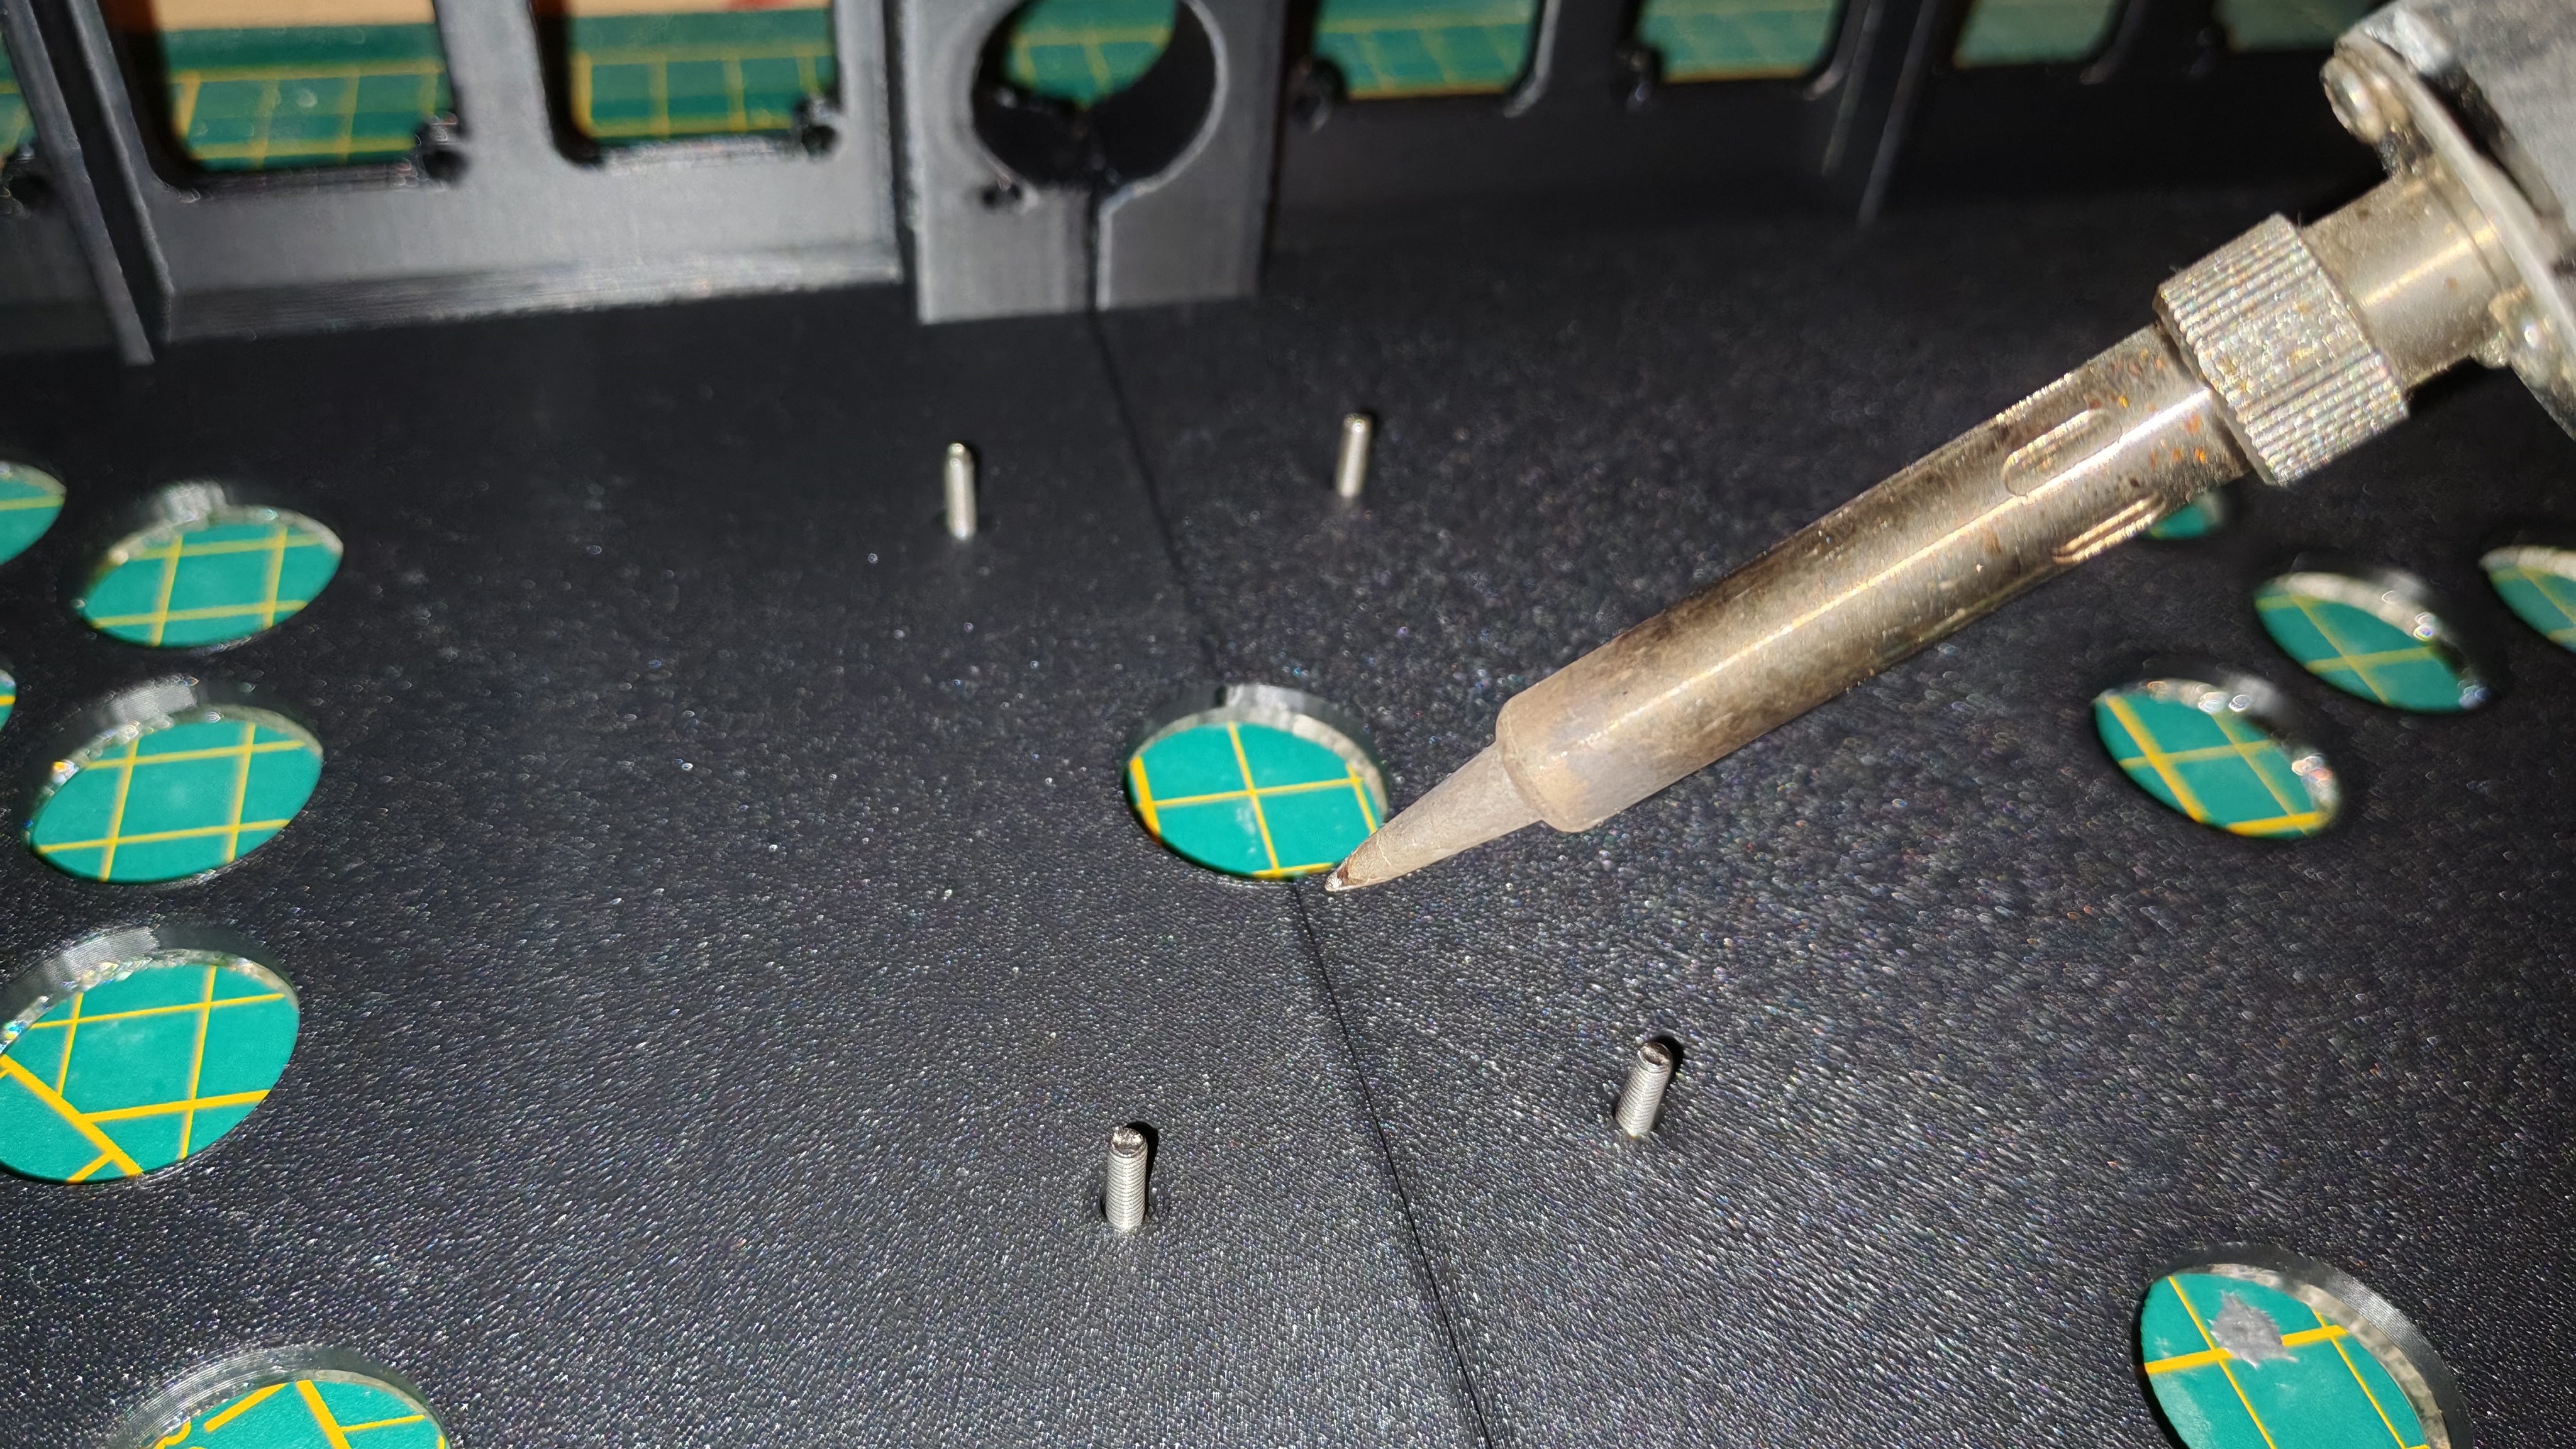
This is the best picture I was able to take of me doing the welding. Do note I am not even touching the plastic because I was really struggling to hold the phone, the light, and the iron at the same time.
I also take this opportunity to screw on the acrylic. Yeah, I will have to take it off when I'll put the lever in, but since that won't happen anytime soon, I figure it's not that much of an issue. Worst case scenario, it will be a mild annoyance for Future Bad64.
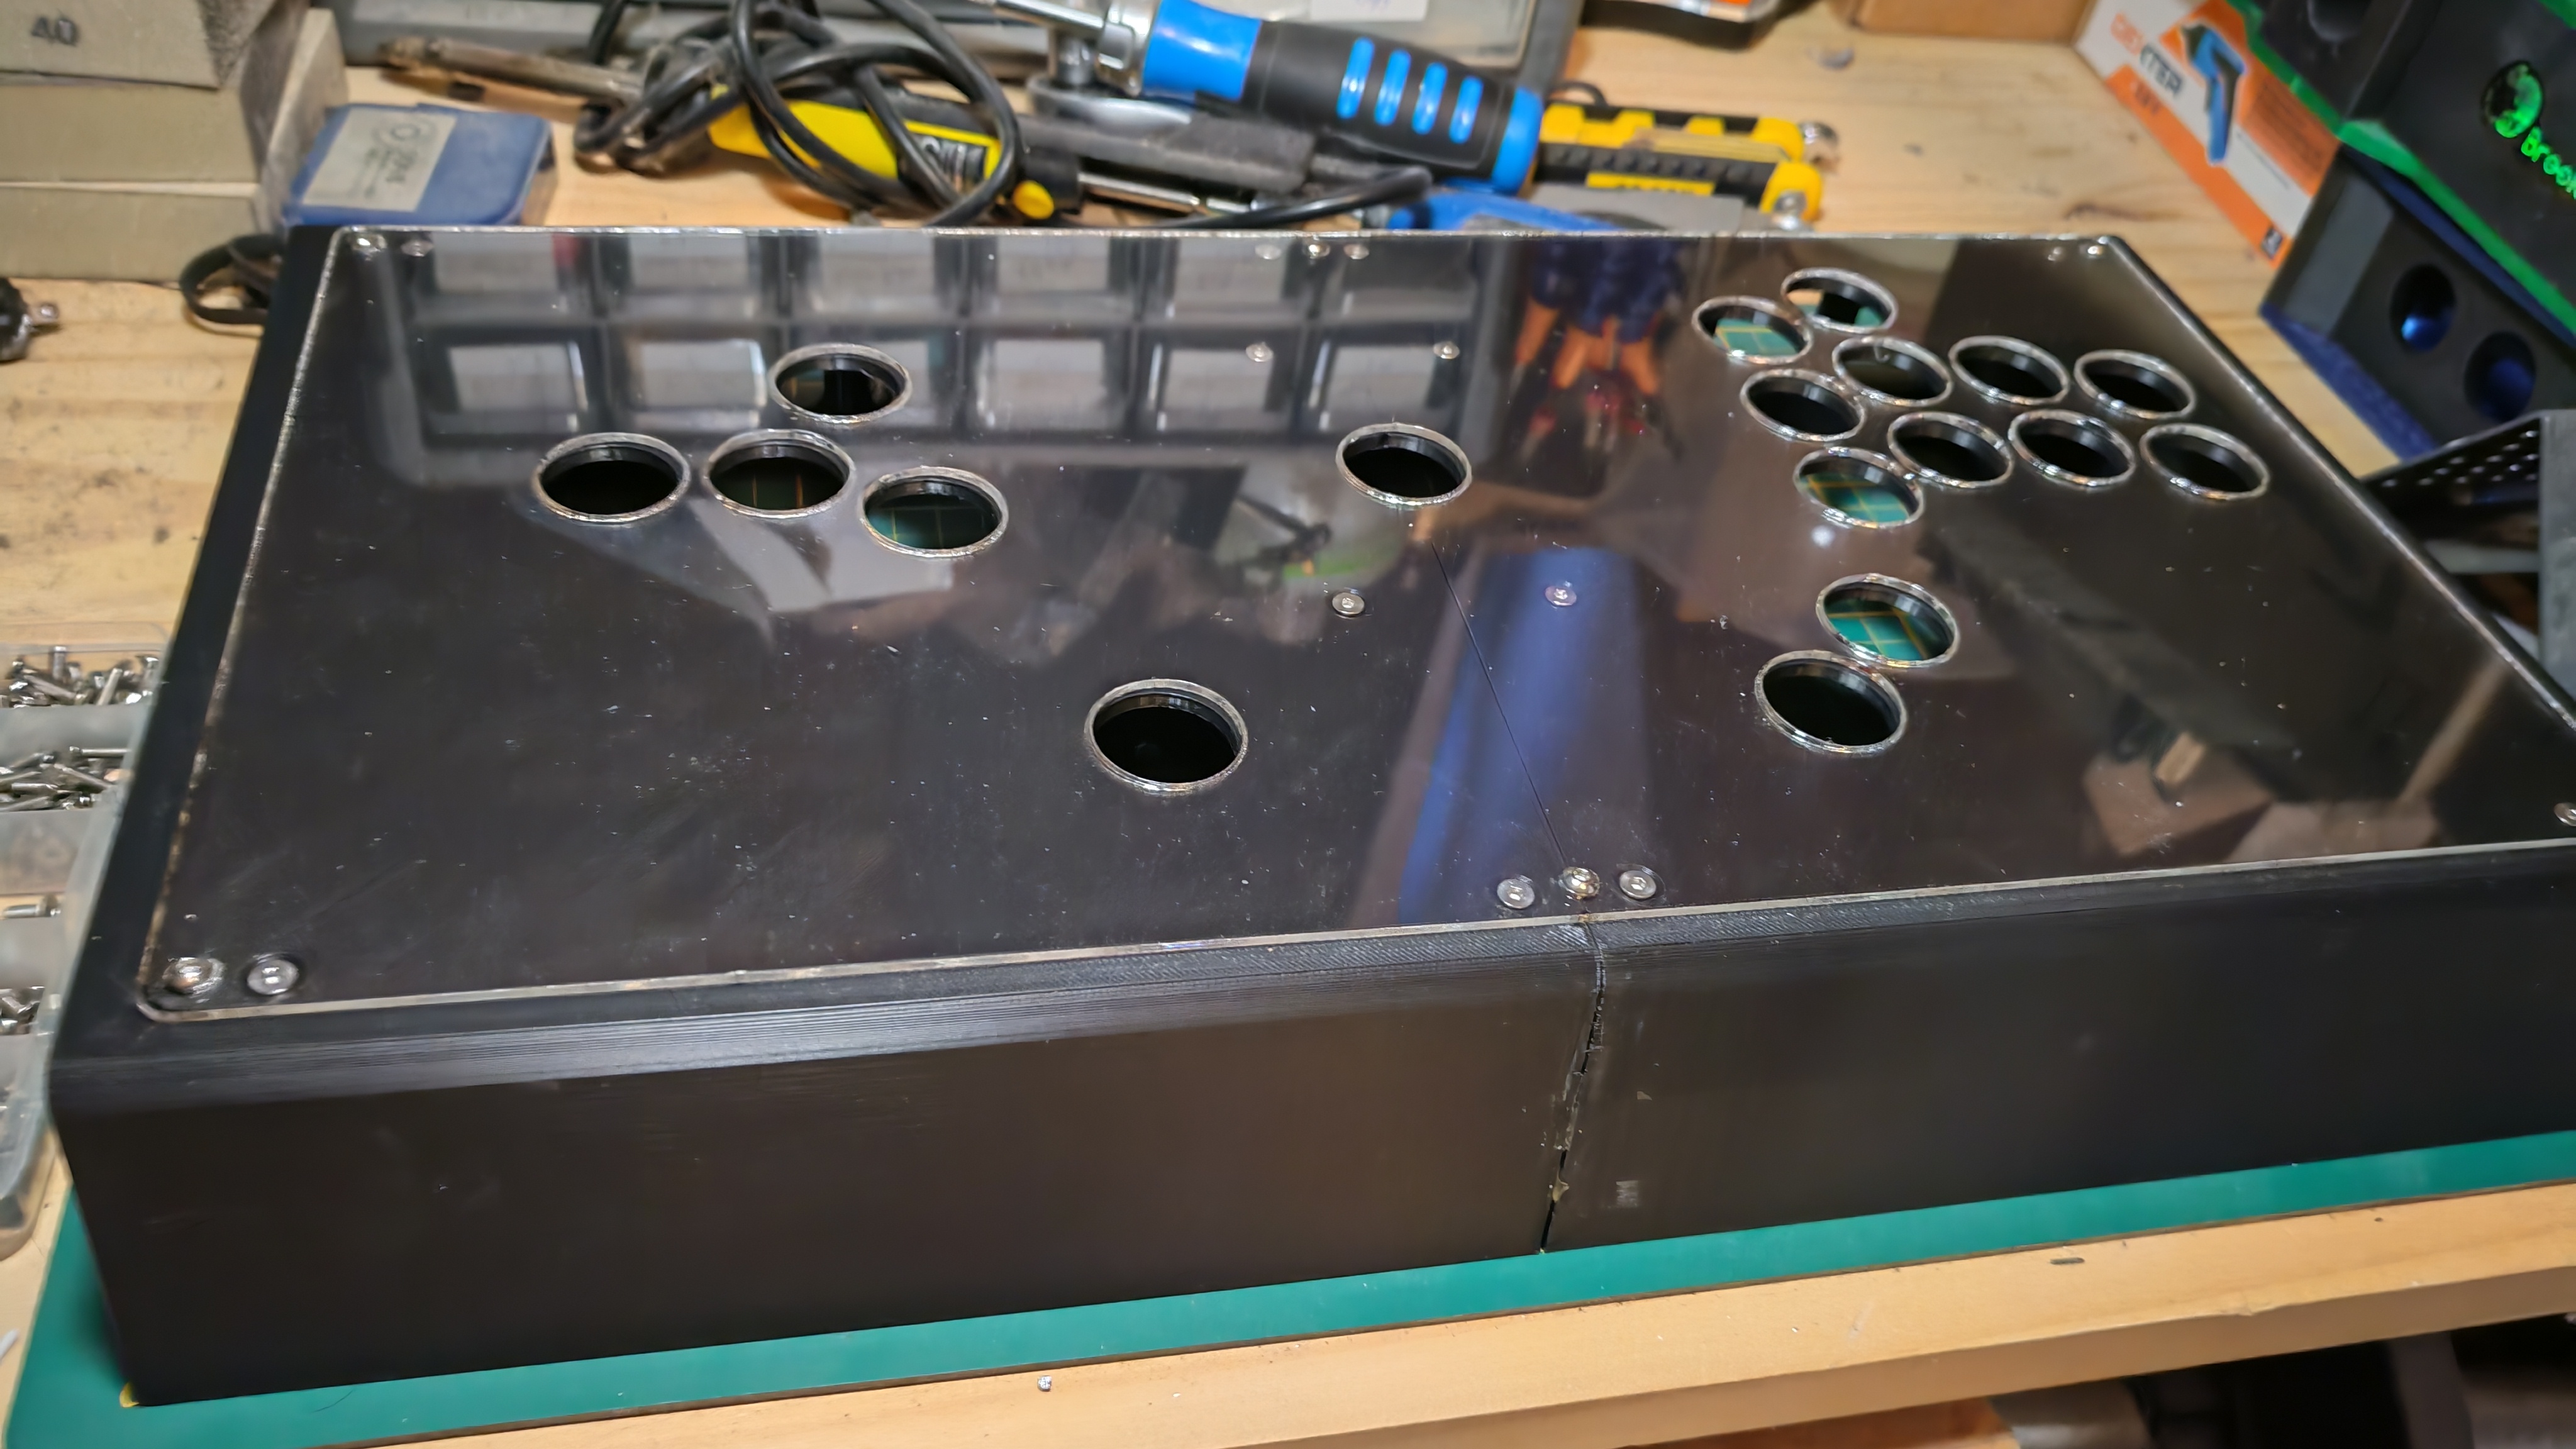
Hey, it's almost shaped like a not-cursed thing !
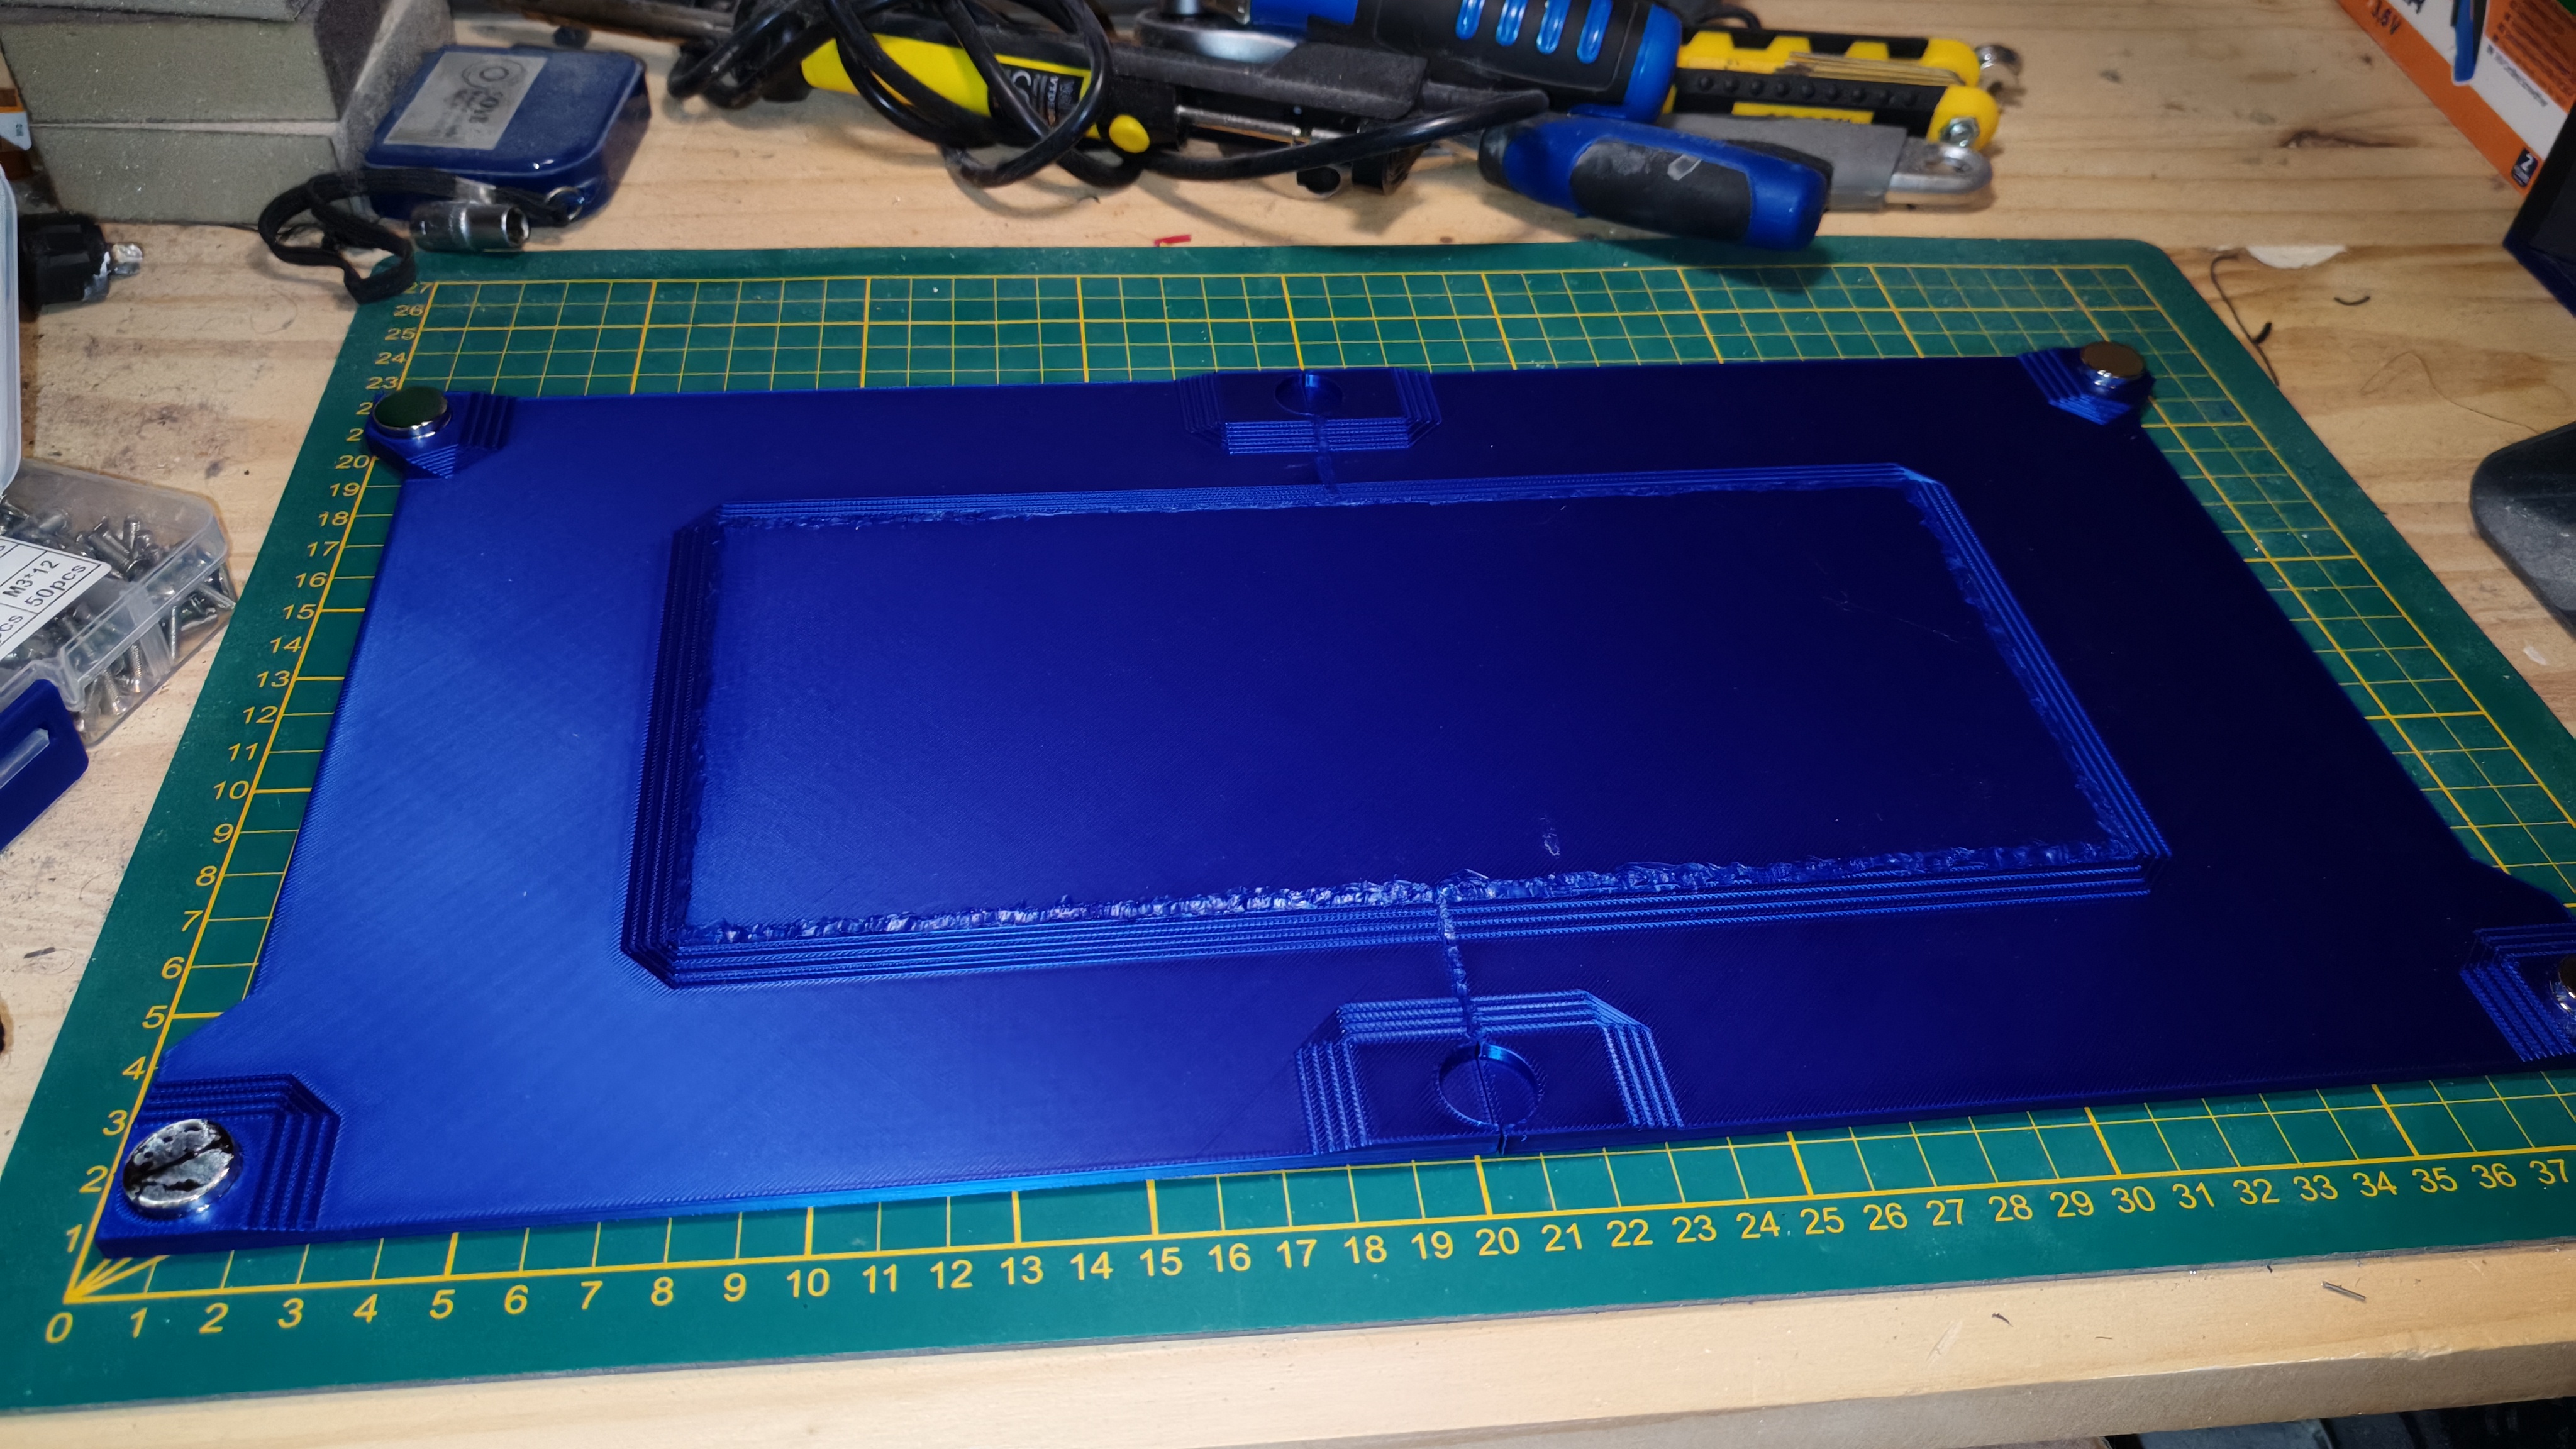
Let's set this part of the frame aside and start working on the magnetically attached bottom plate. First I have to glue all the elements together:
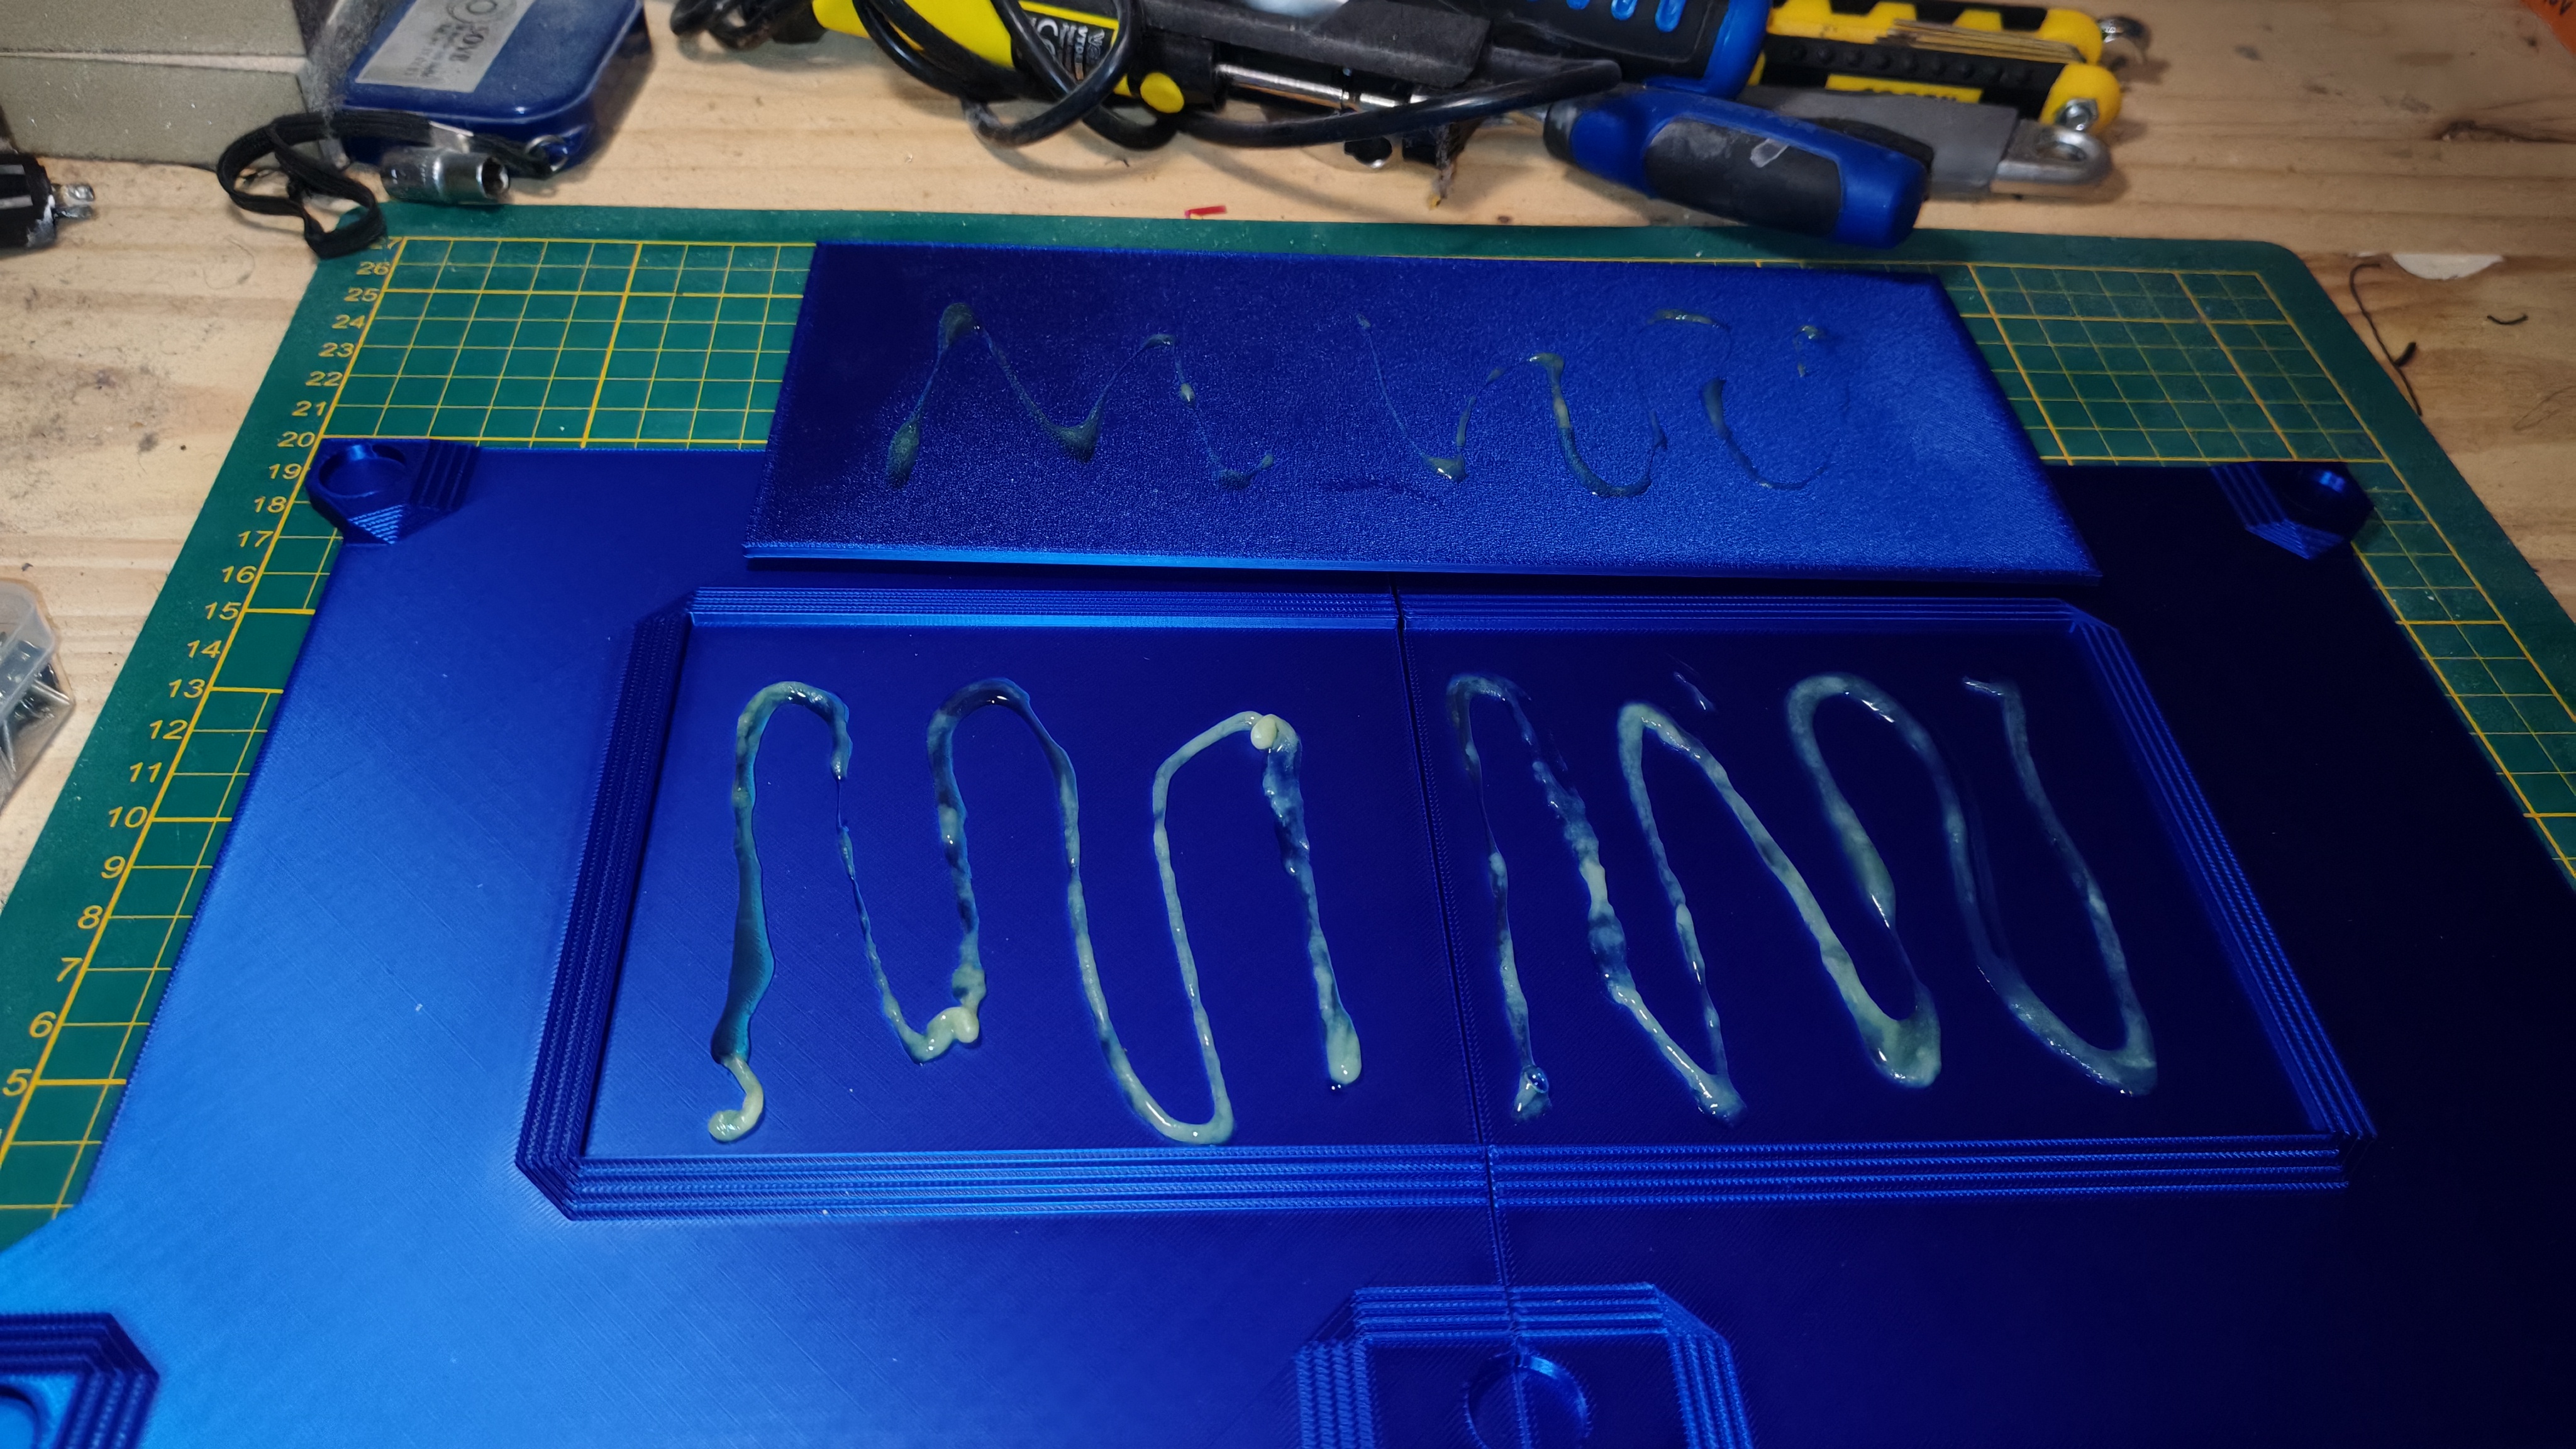
Welcome to the show where we use a reasonable amount of neoprene glue
I then do a truly horrible job at welding the elements together for extra ridigity.
Fun fact: I seriously contemplated using my "Click to reveal" widget due to how NSFL this picture is
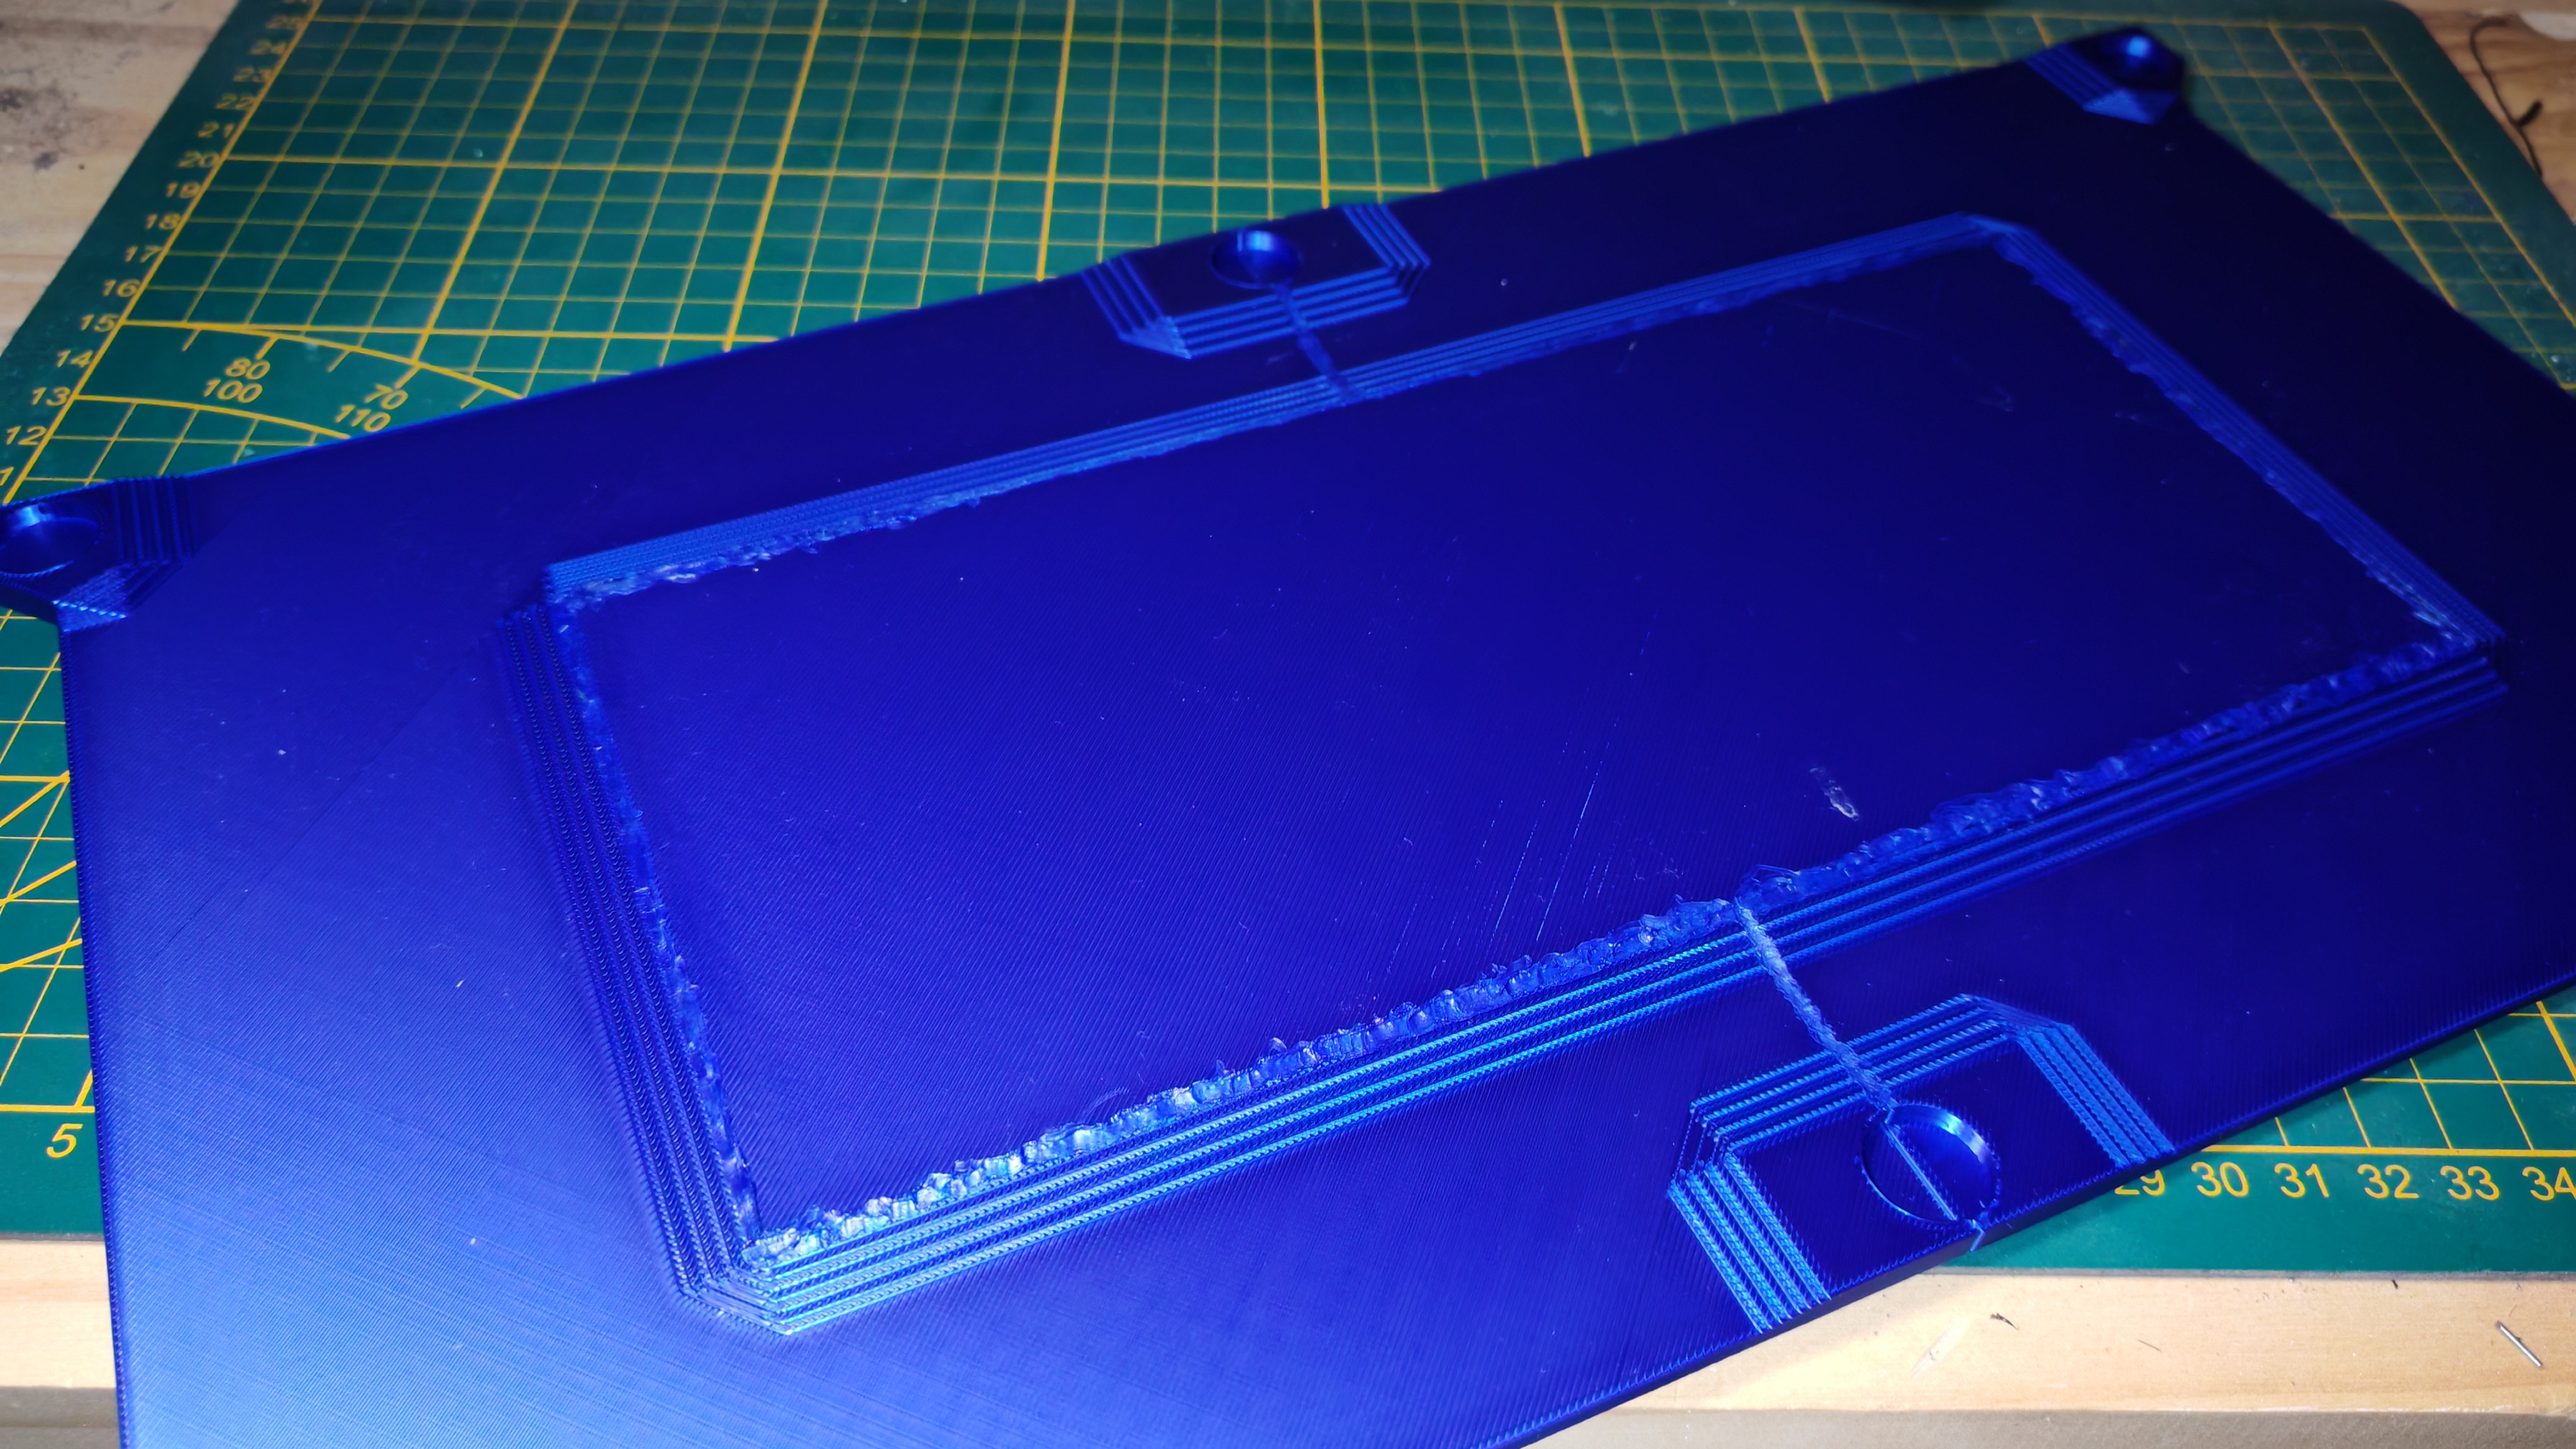
I glue the magnets inside the holes of the bottom panel,
There are extra magnet holes in case I find the four pairs to not be particularly stable. I think they're a bit overkill, but I'd rather have them and not need them, than not have them and need them. Does that make sense ?
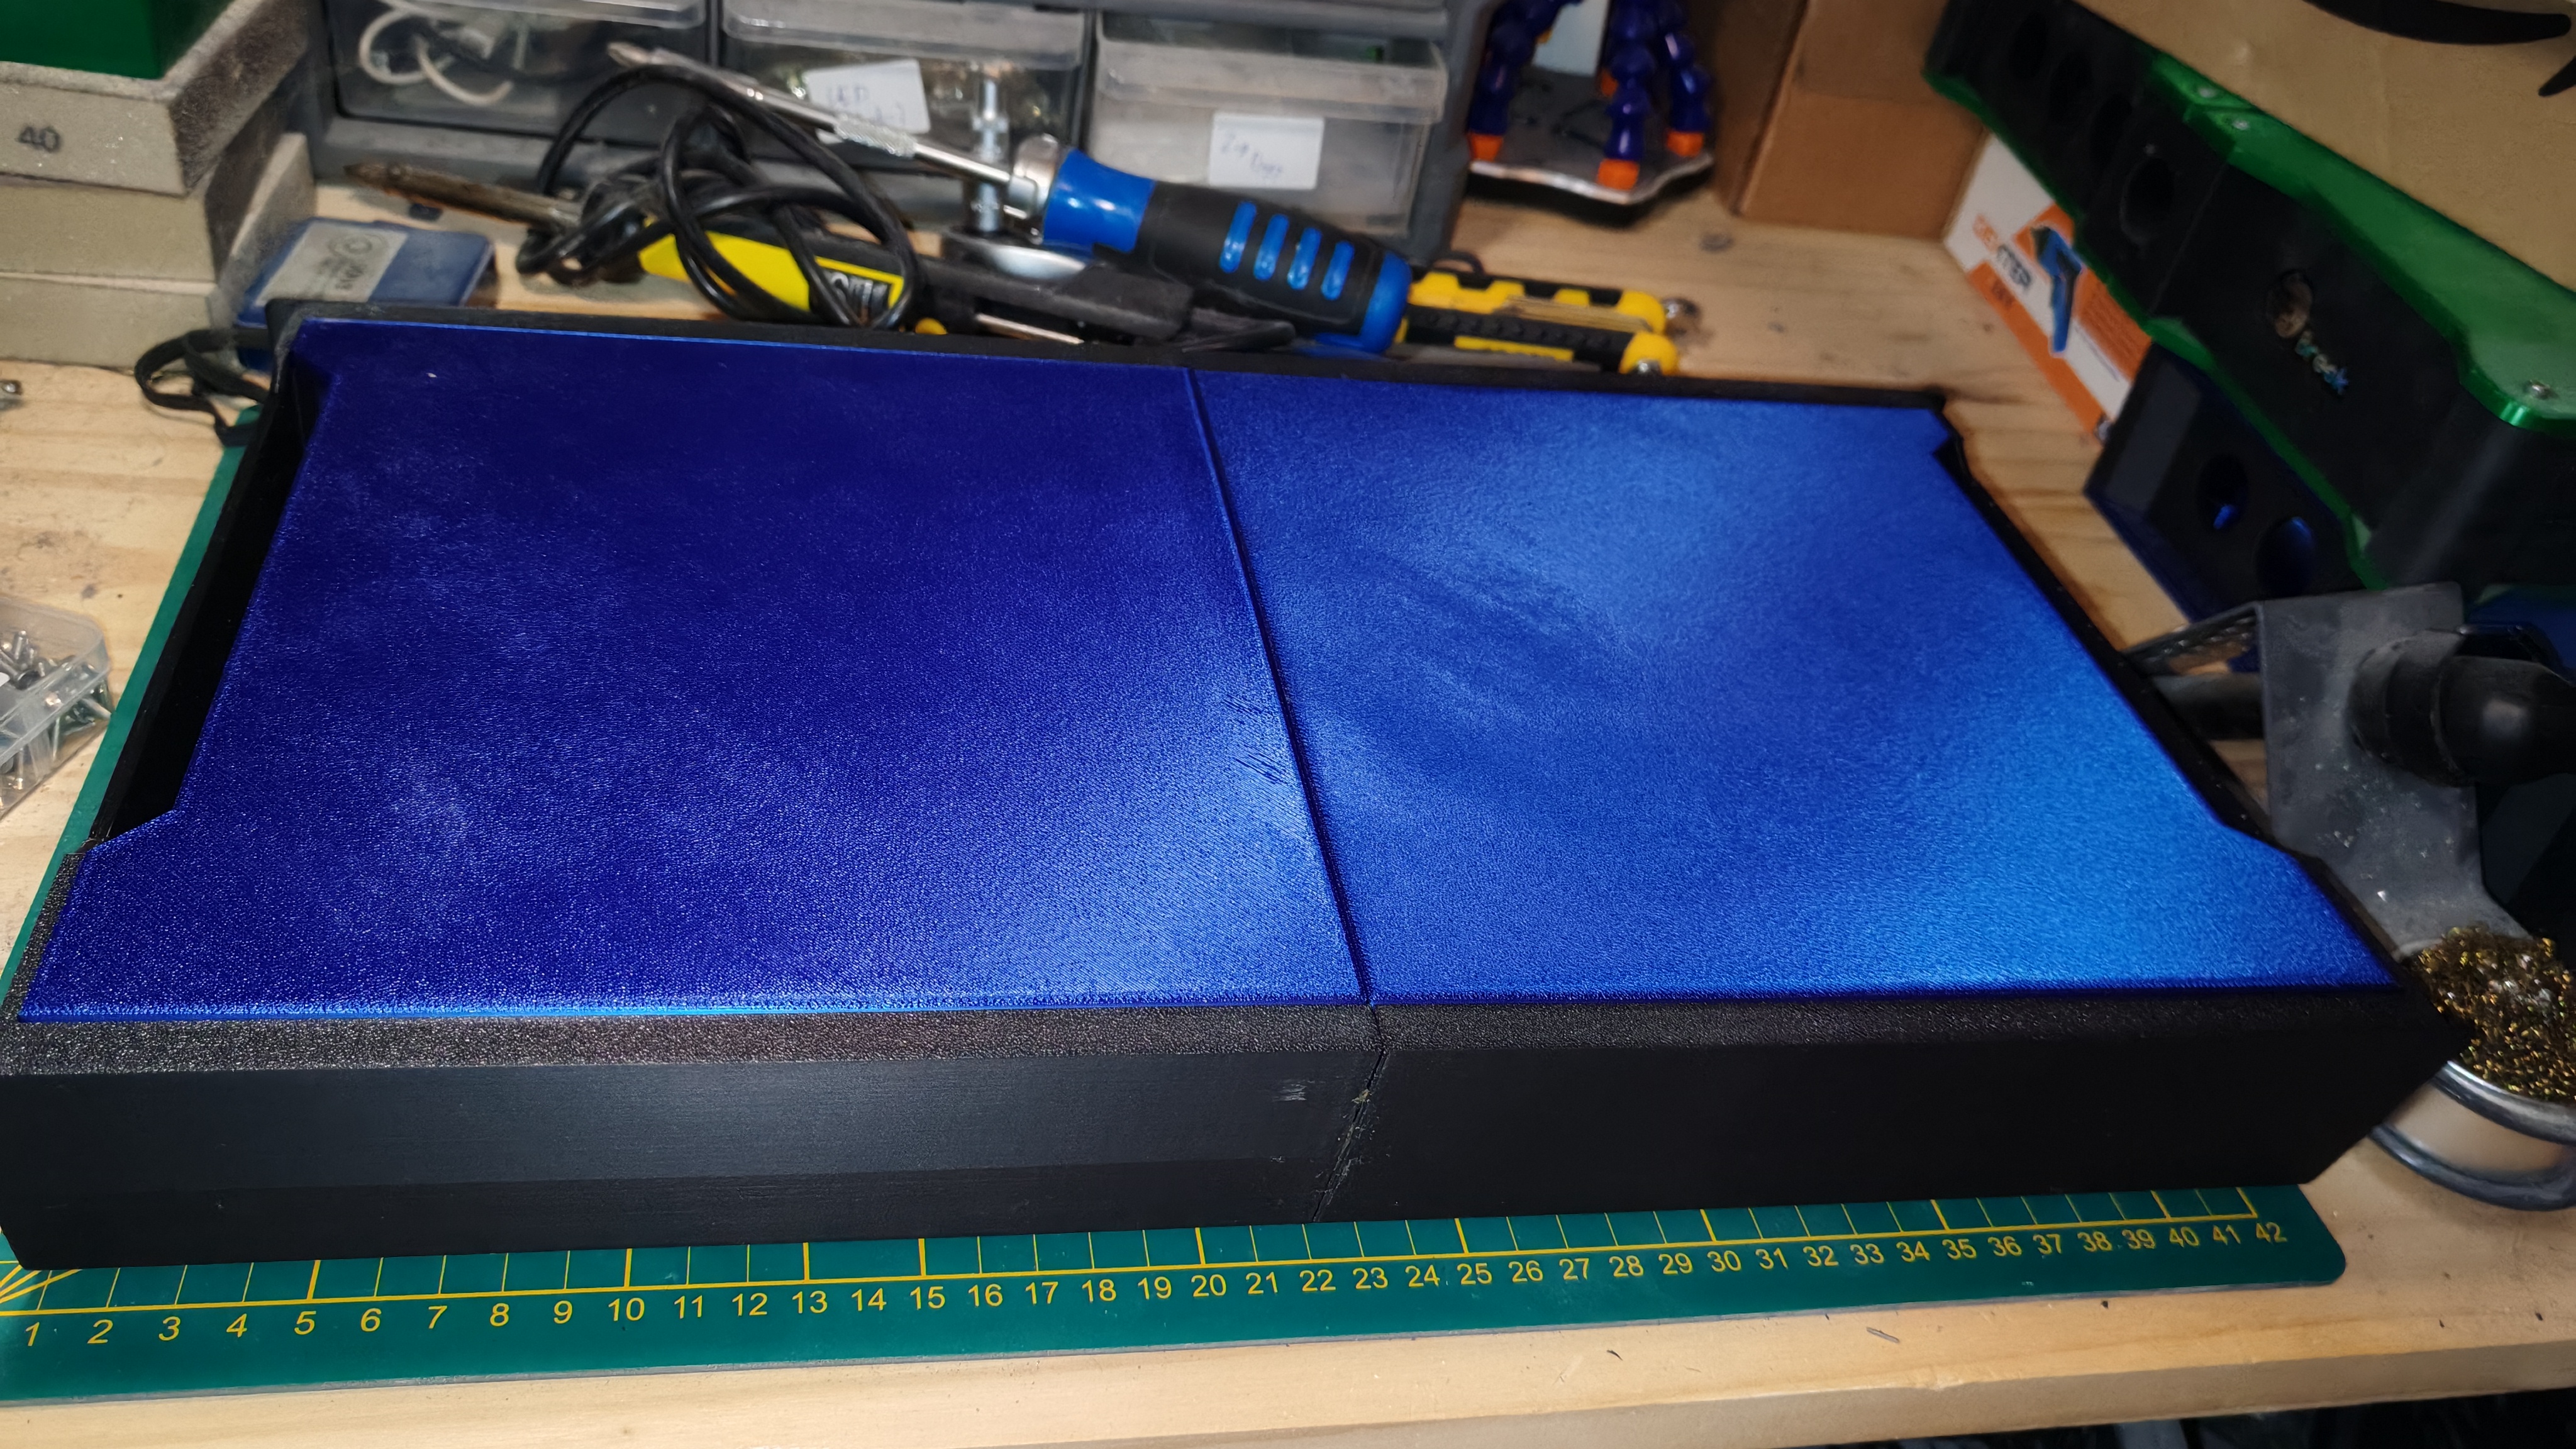
then add still more glue to the chassis, and then press them together.
And that's it for that part of the build log ! See you in about a month for the electronics !
- Bad64