Forgive me, father, for I have strayed from the path
...I can explain.
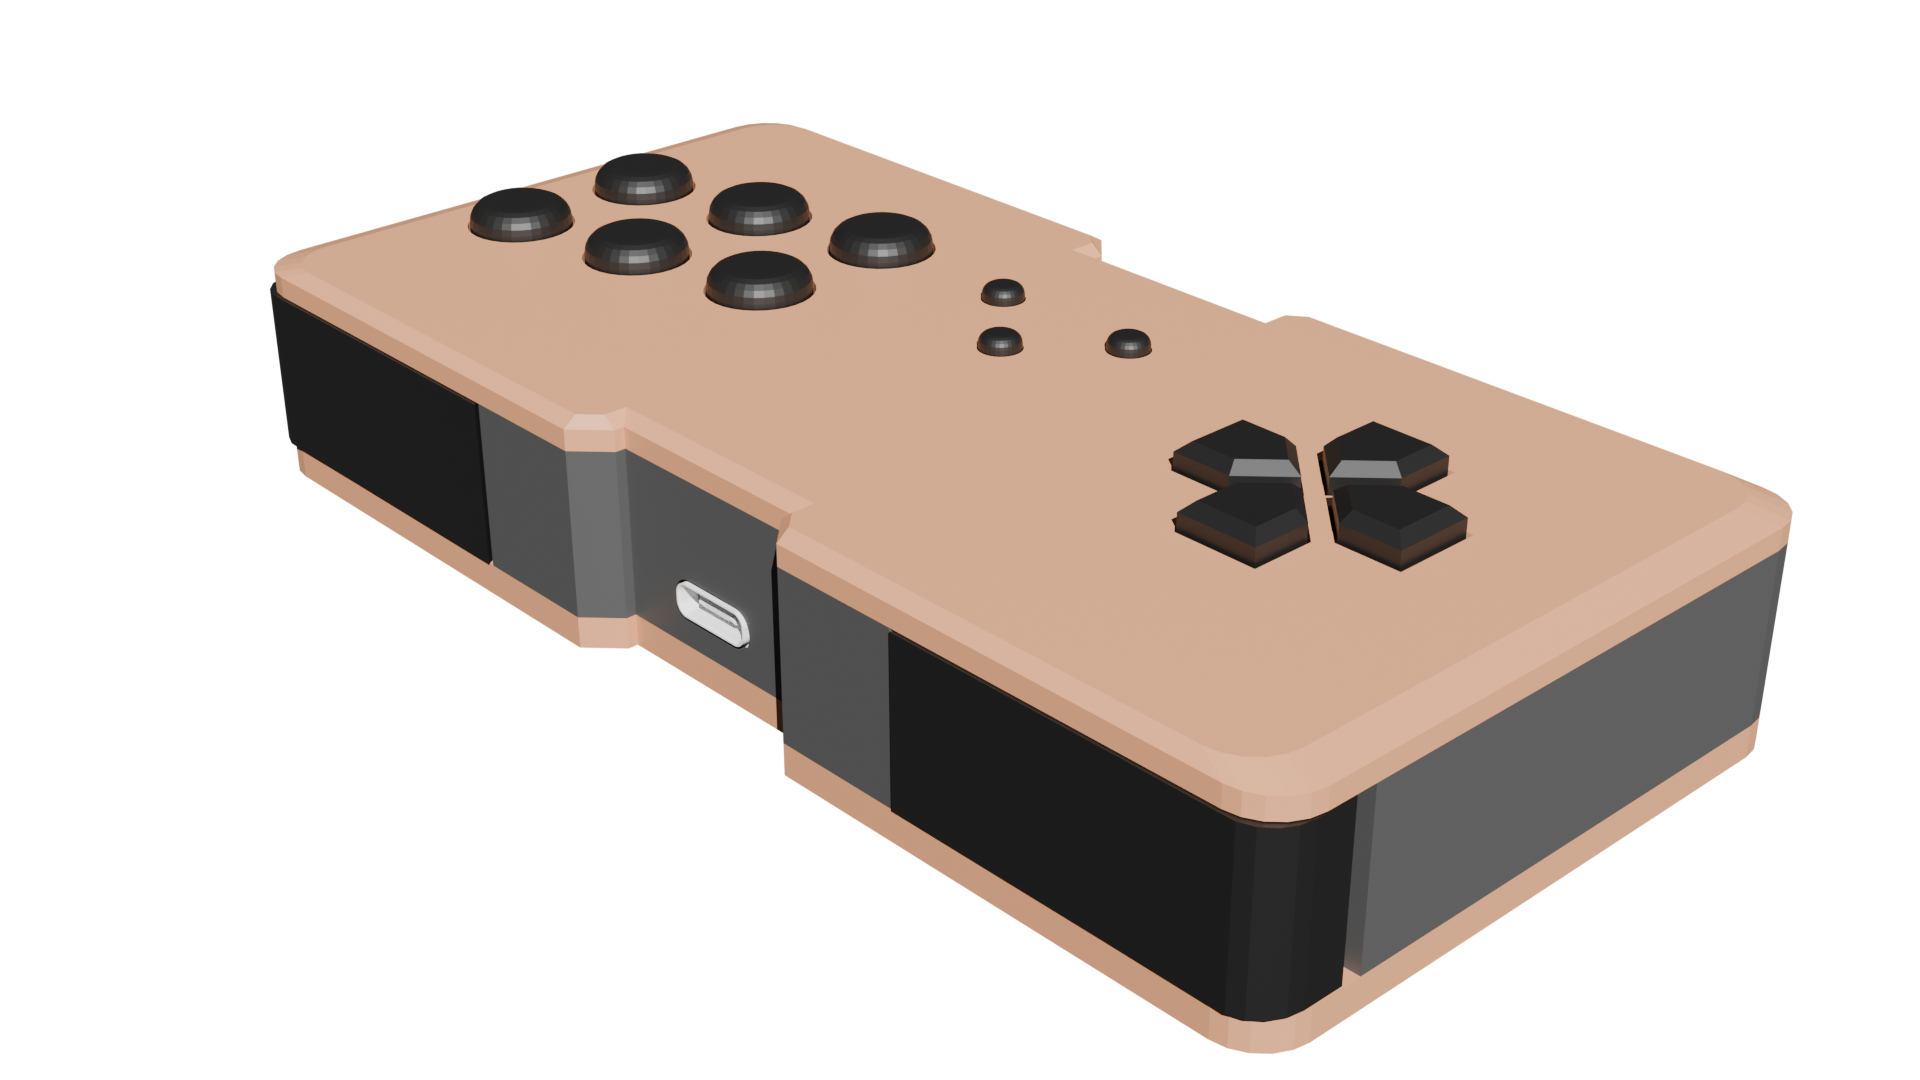
So for April Fools, aka yesterday when I'm writing this article, I wanted to make a regular controller instead of a giant arcade-style rectangular abommination. My luck stat being what it is, I ended up getting the boards delivered on April 2nd. I guess I am the fool today !

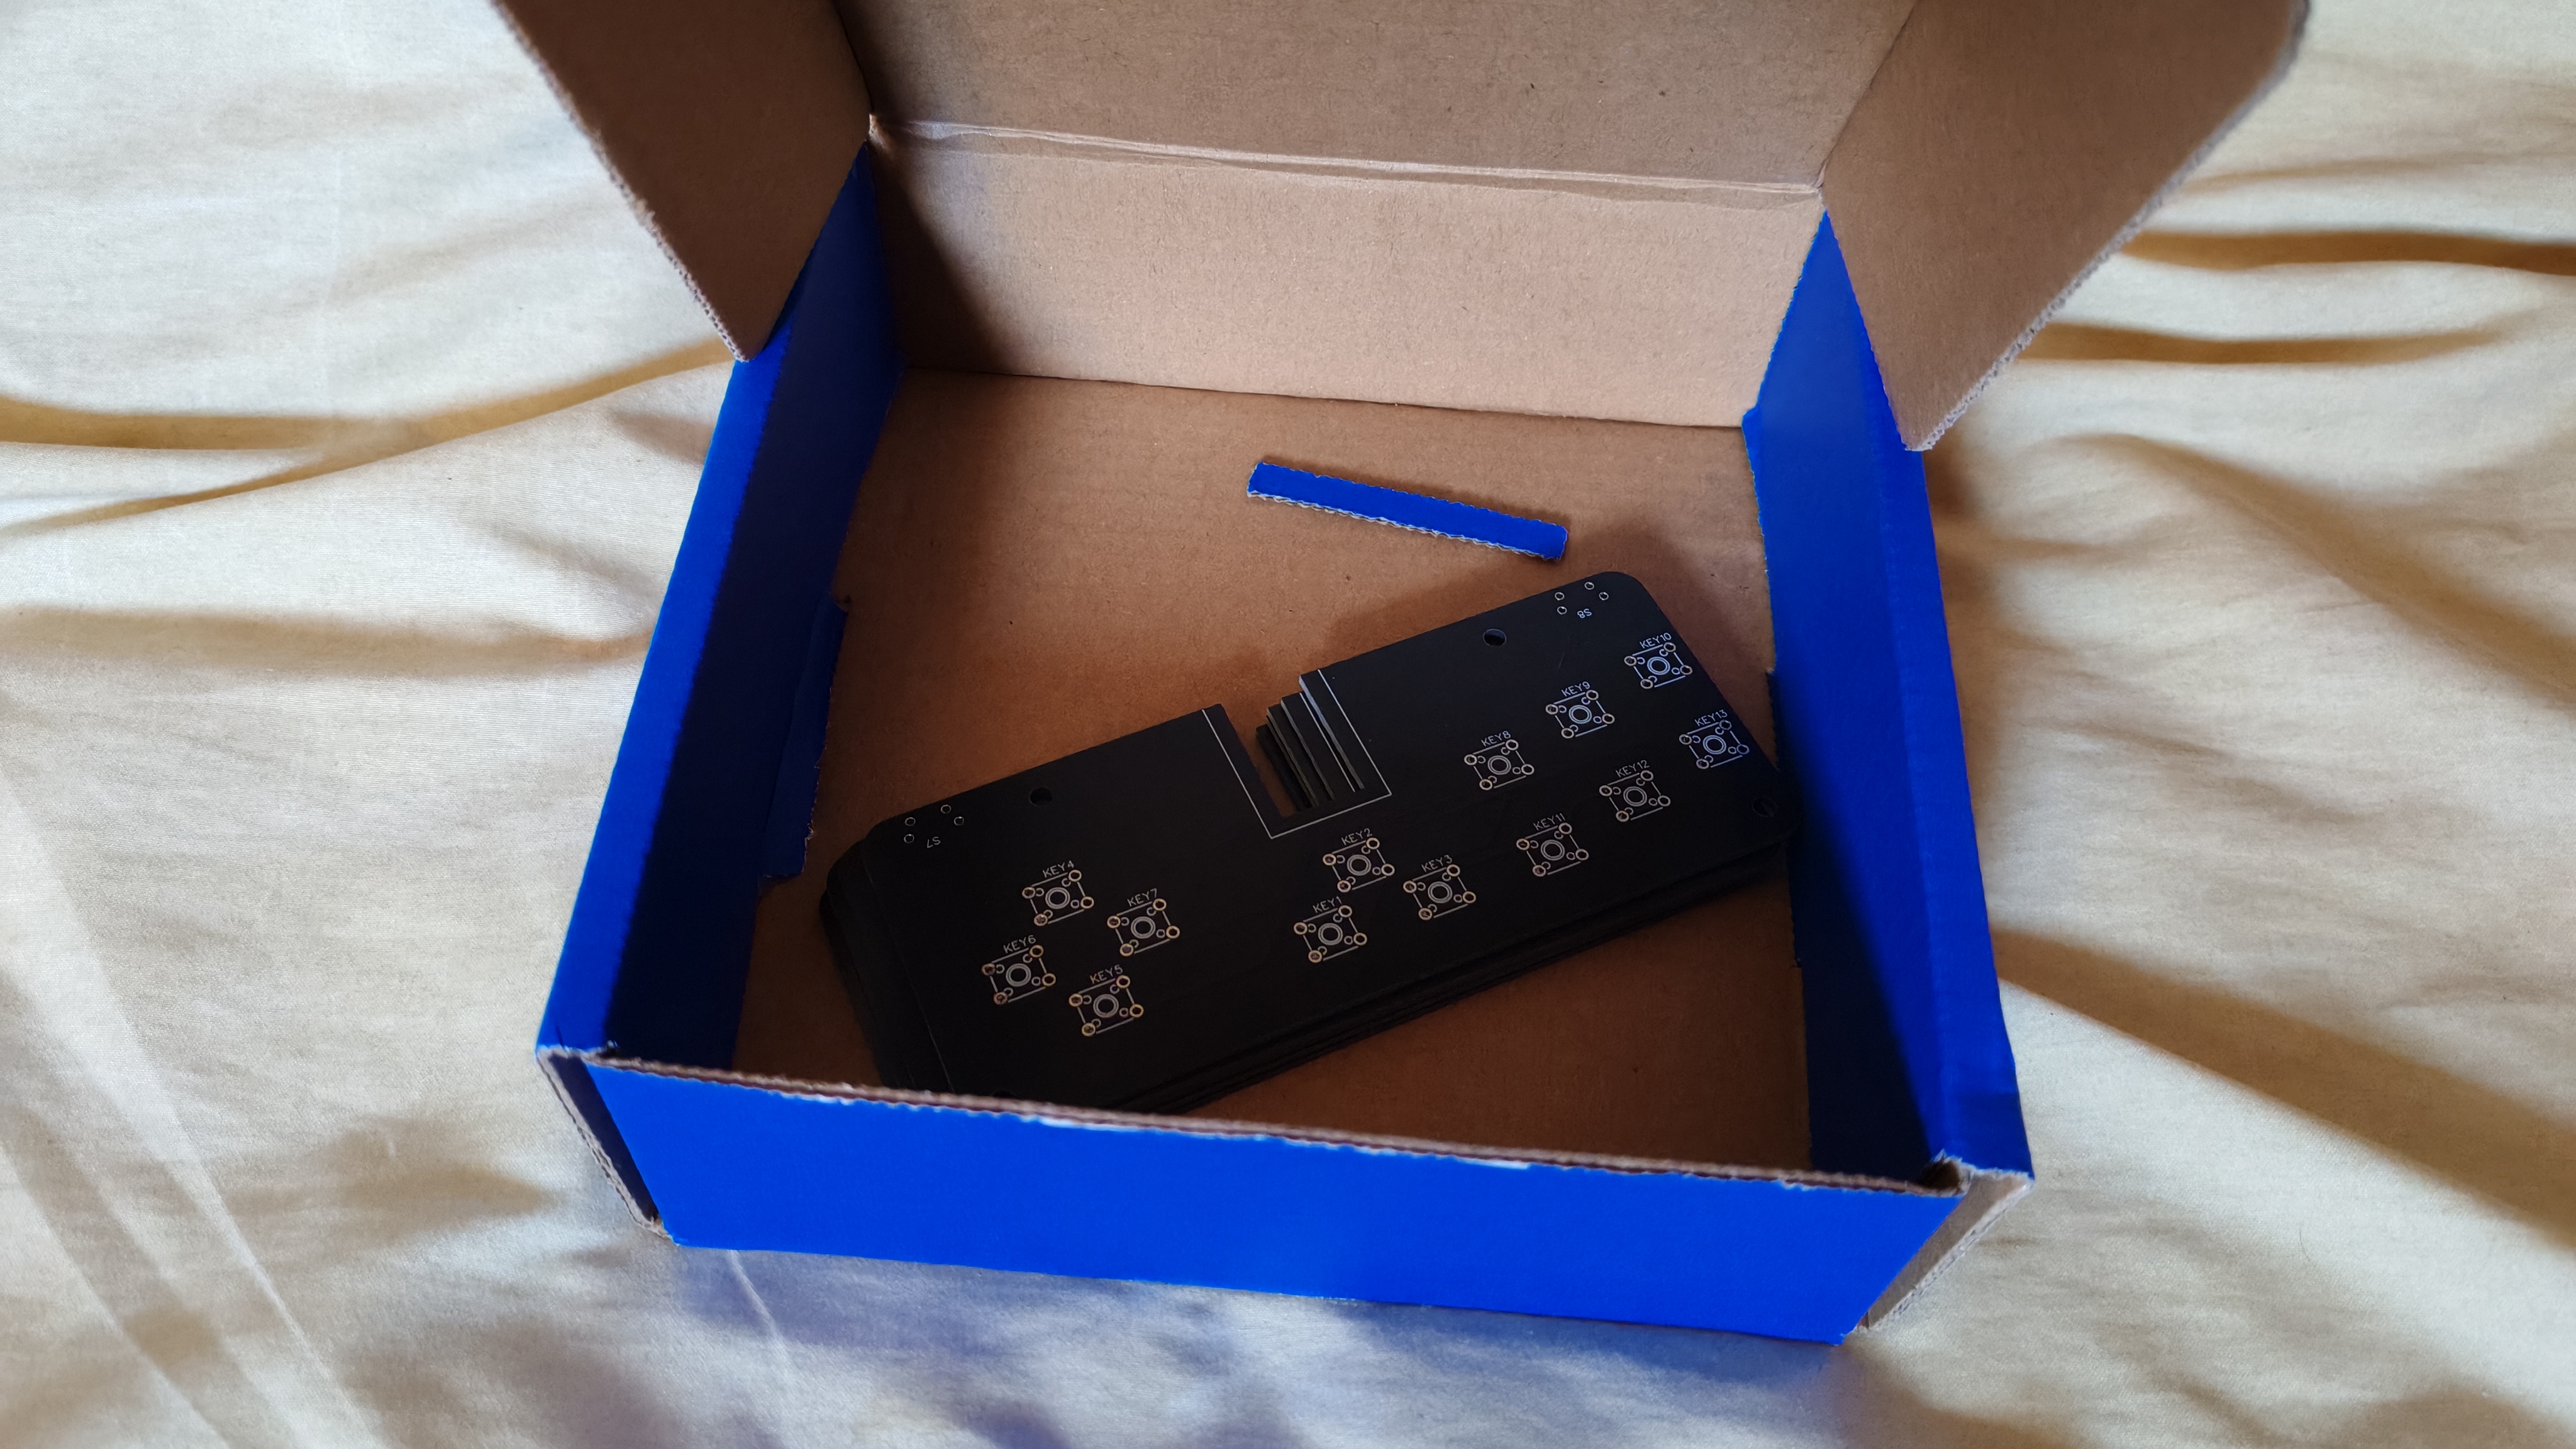
Mail time !
I have tried a few six button pads a while back, and none of them ended up being good for me. Either the plastic was too shoddy (like the original Hori Fighting Commander), the buttons were mushy, or the d-pad was total assballs. So I decided to do what I do best in those cases: Ork Mekboy-style Engineering !
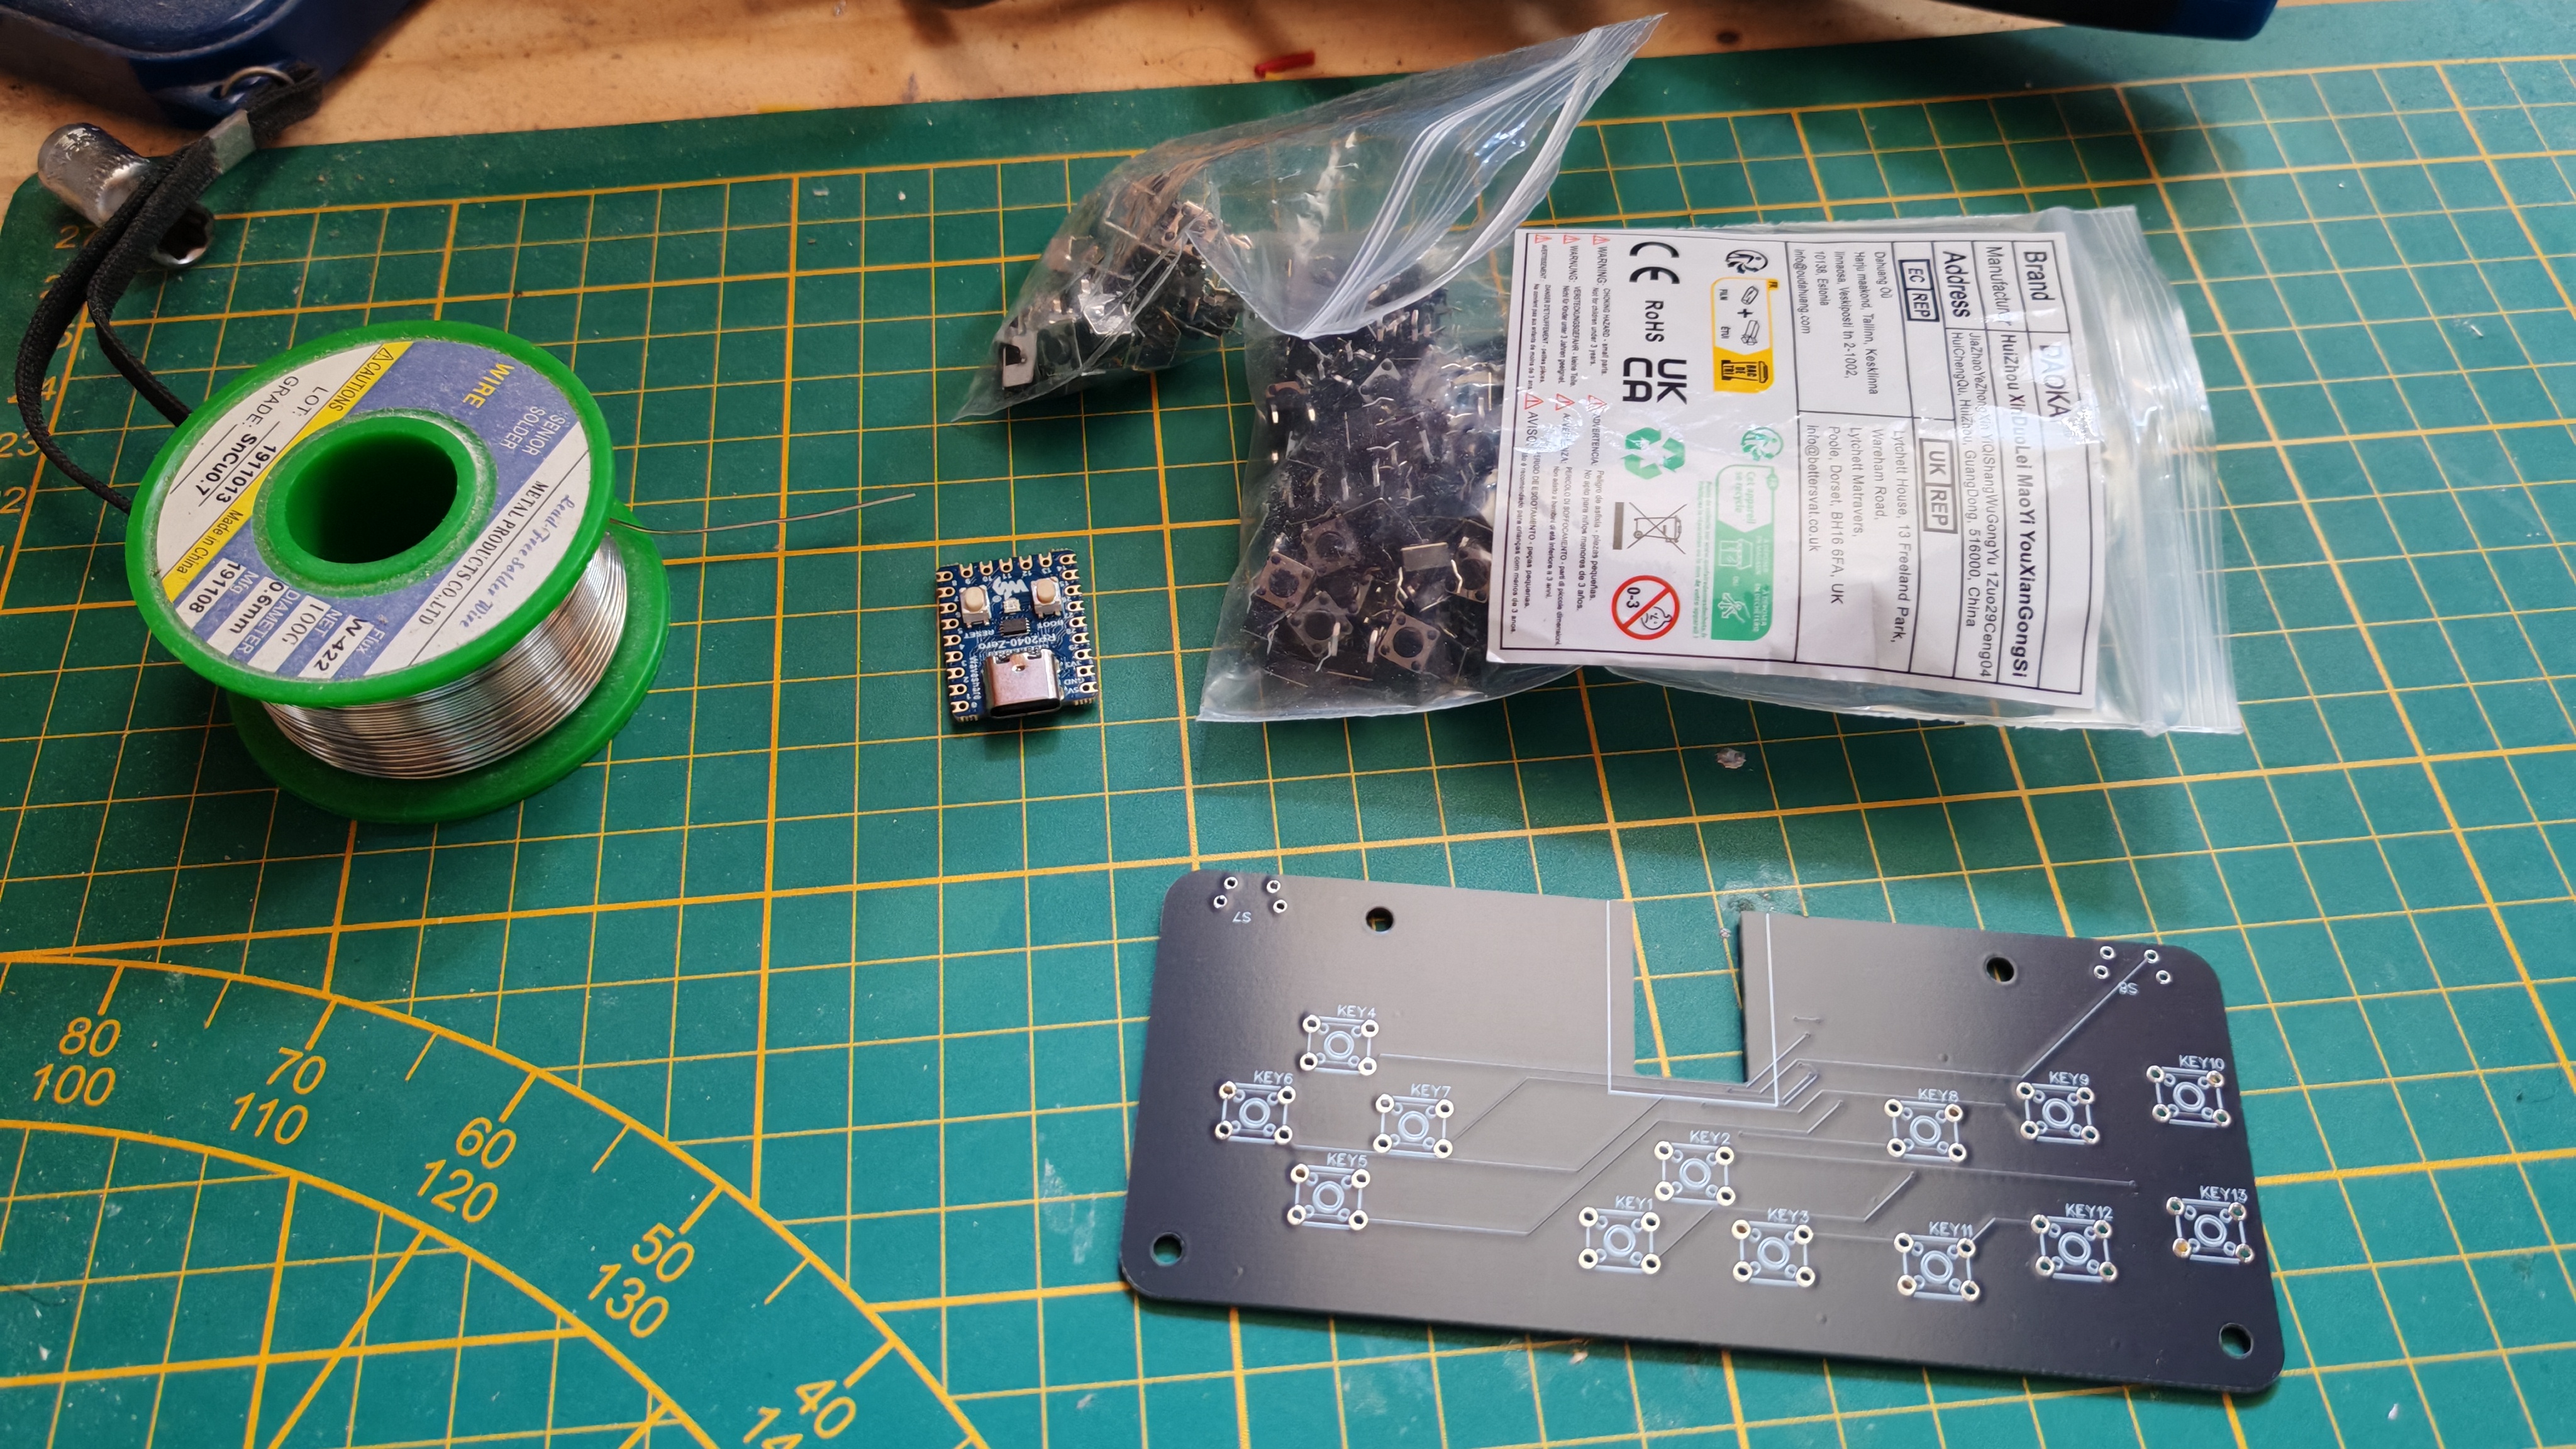
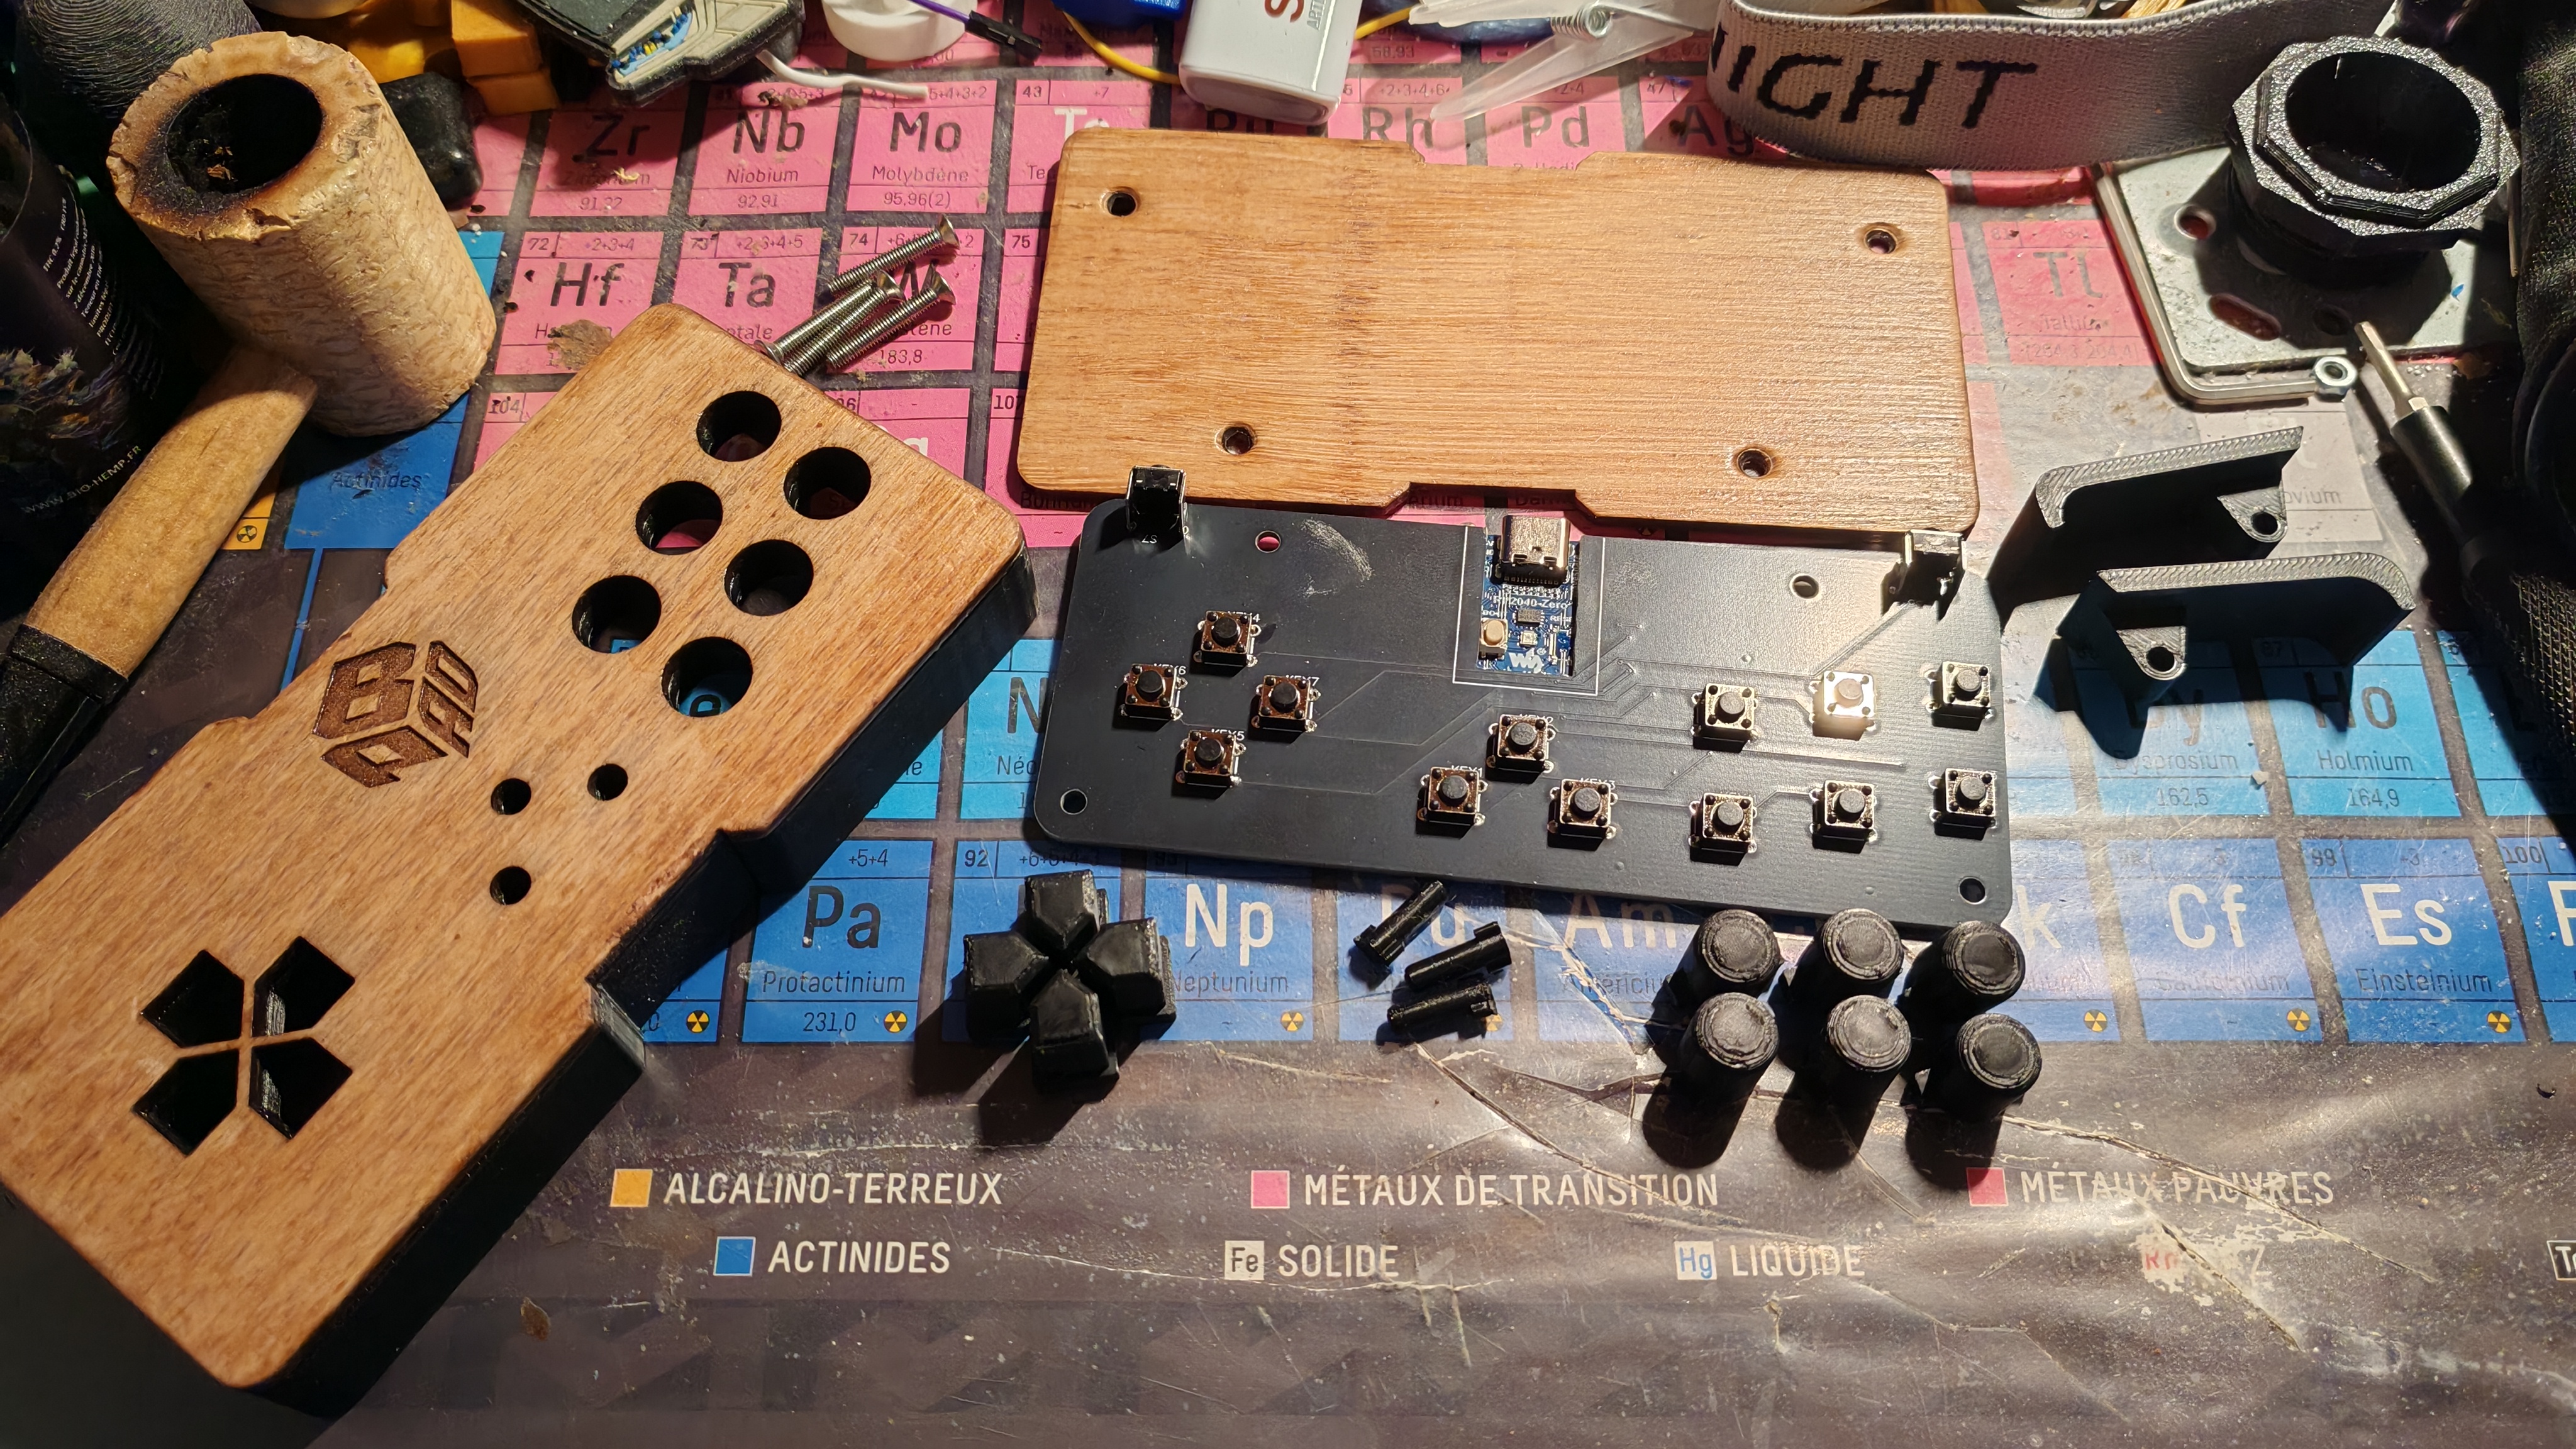
For this recipe, we will need: all this crap and more
- 13x 6x6x4.3mm through-hole tactile switches
- 2x Xbox shoulder button switches (I'm pretty sure they do have a canon part name but I don't know it)
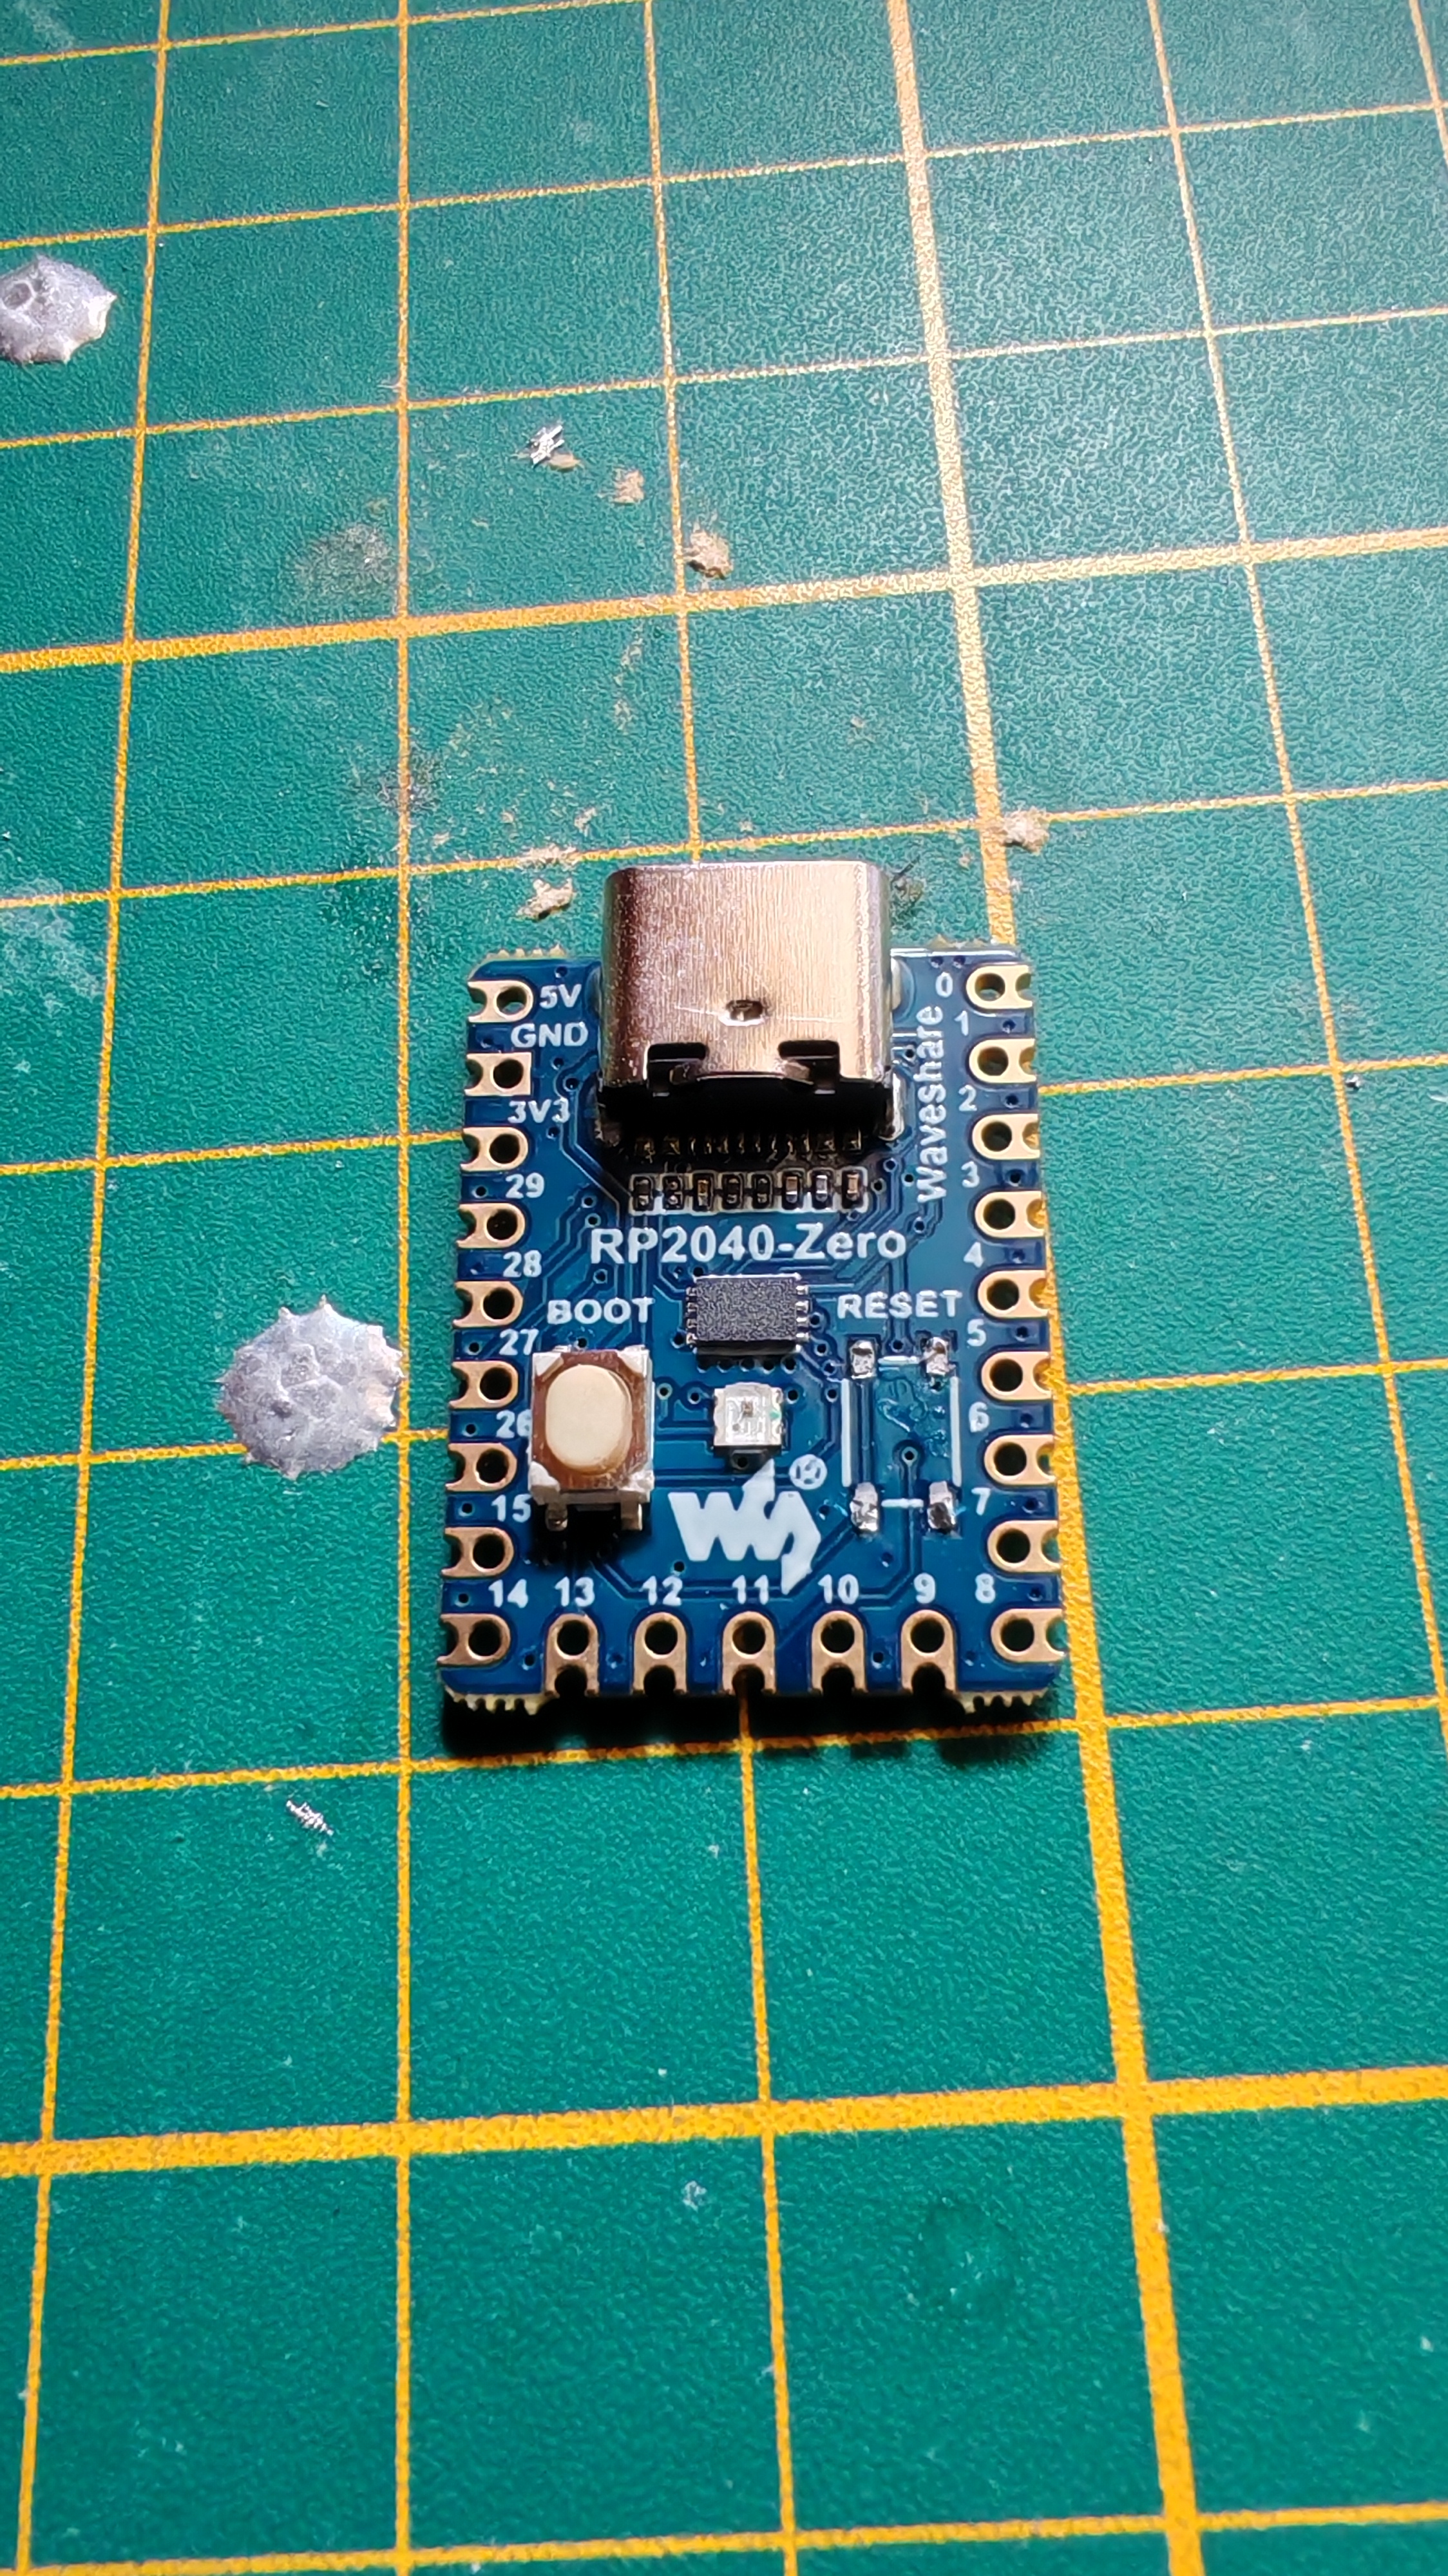
- 1x Waveshare RP2040-Zero
- 4x DIN 7991/ISO 10642 M3x20 countersunk hex bolts
- 6x M3 hex nuts
- Usual soldering stuff (iron, tin, wire, desoldering pump...)
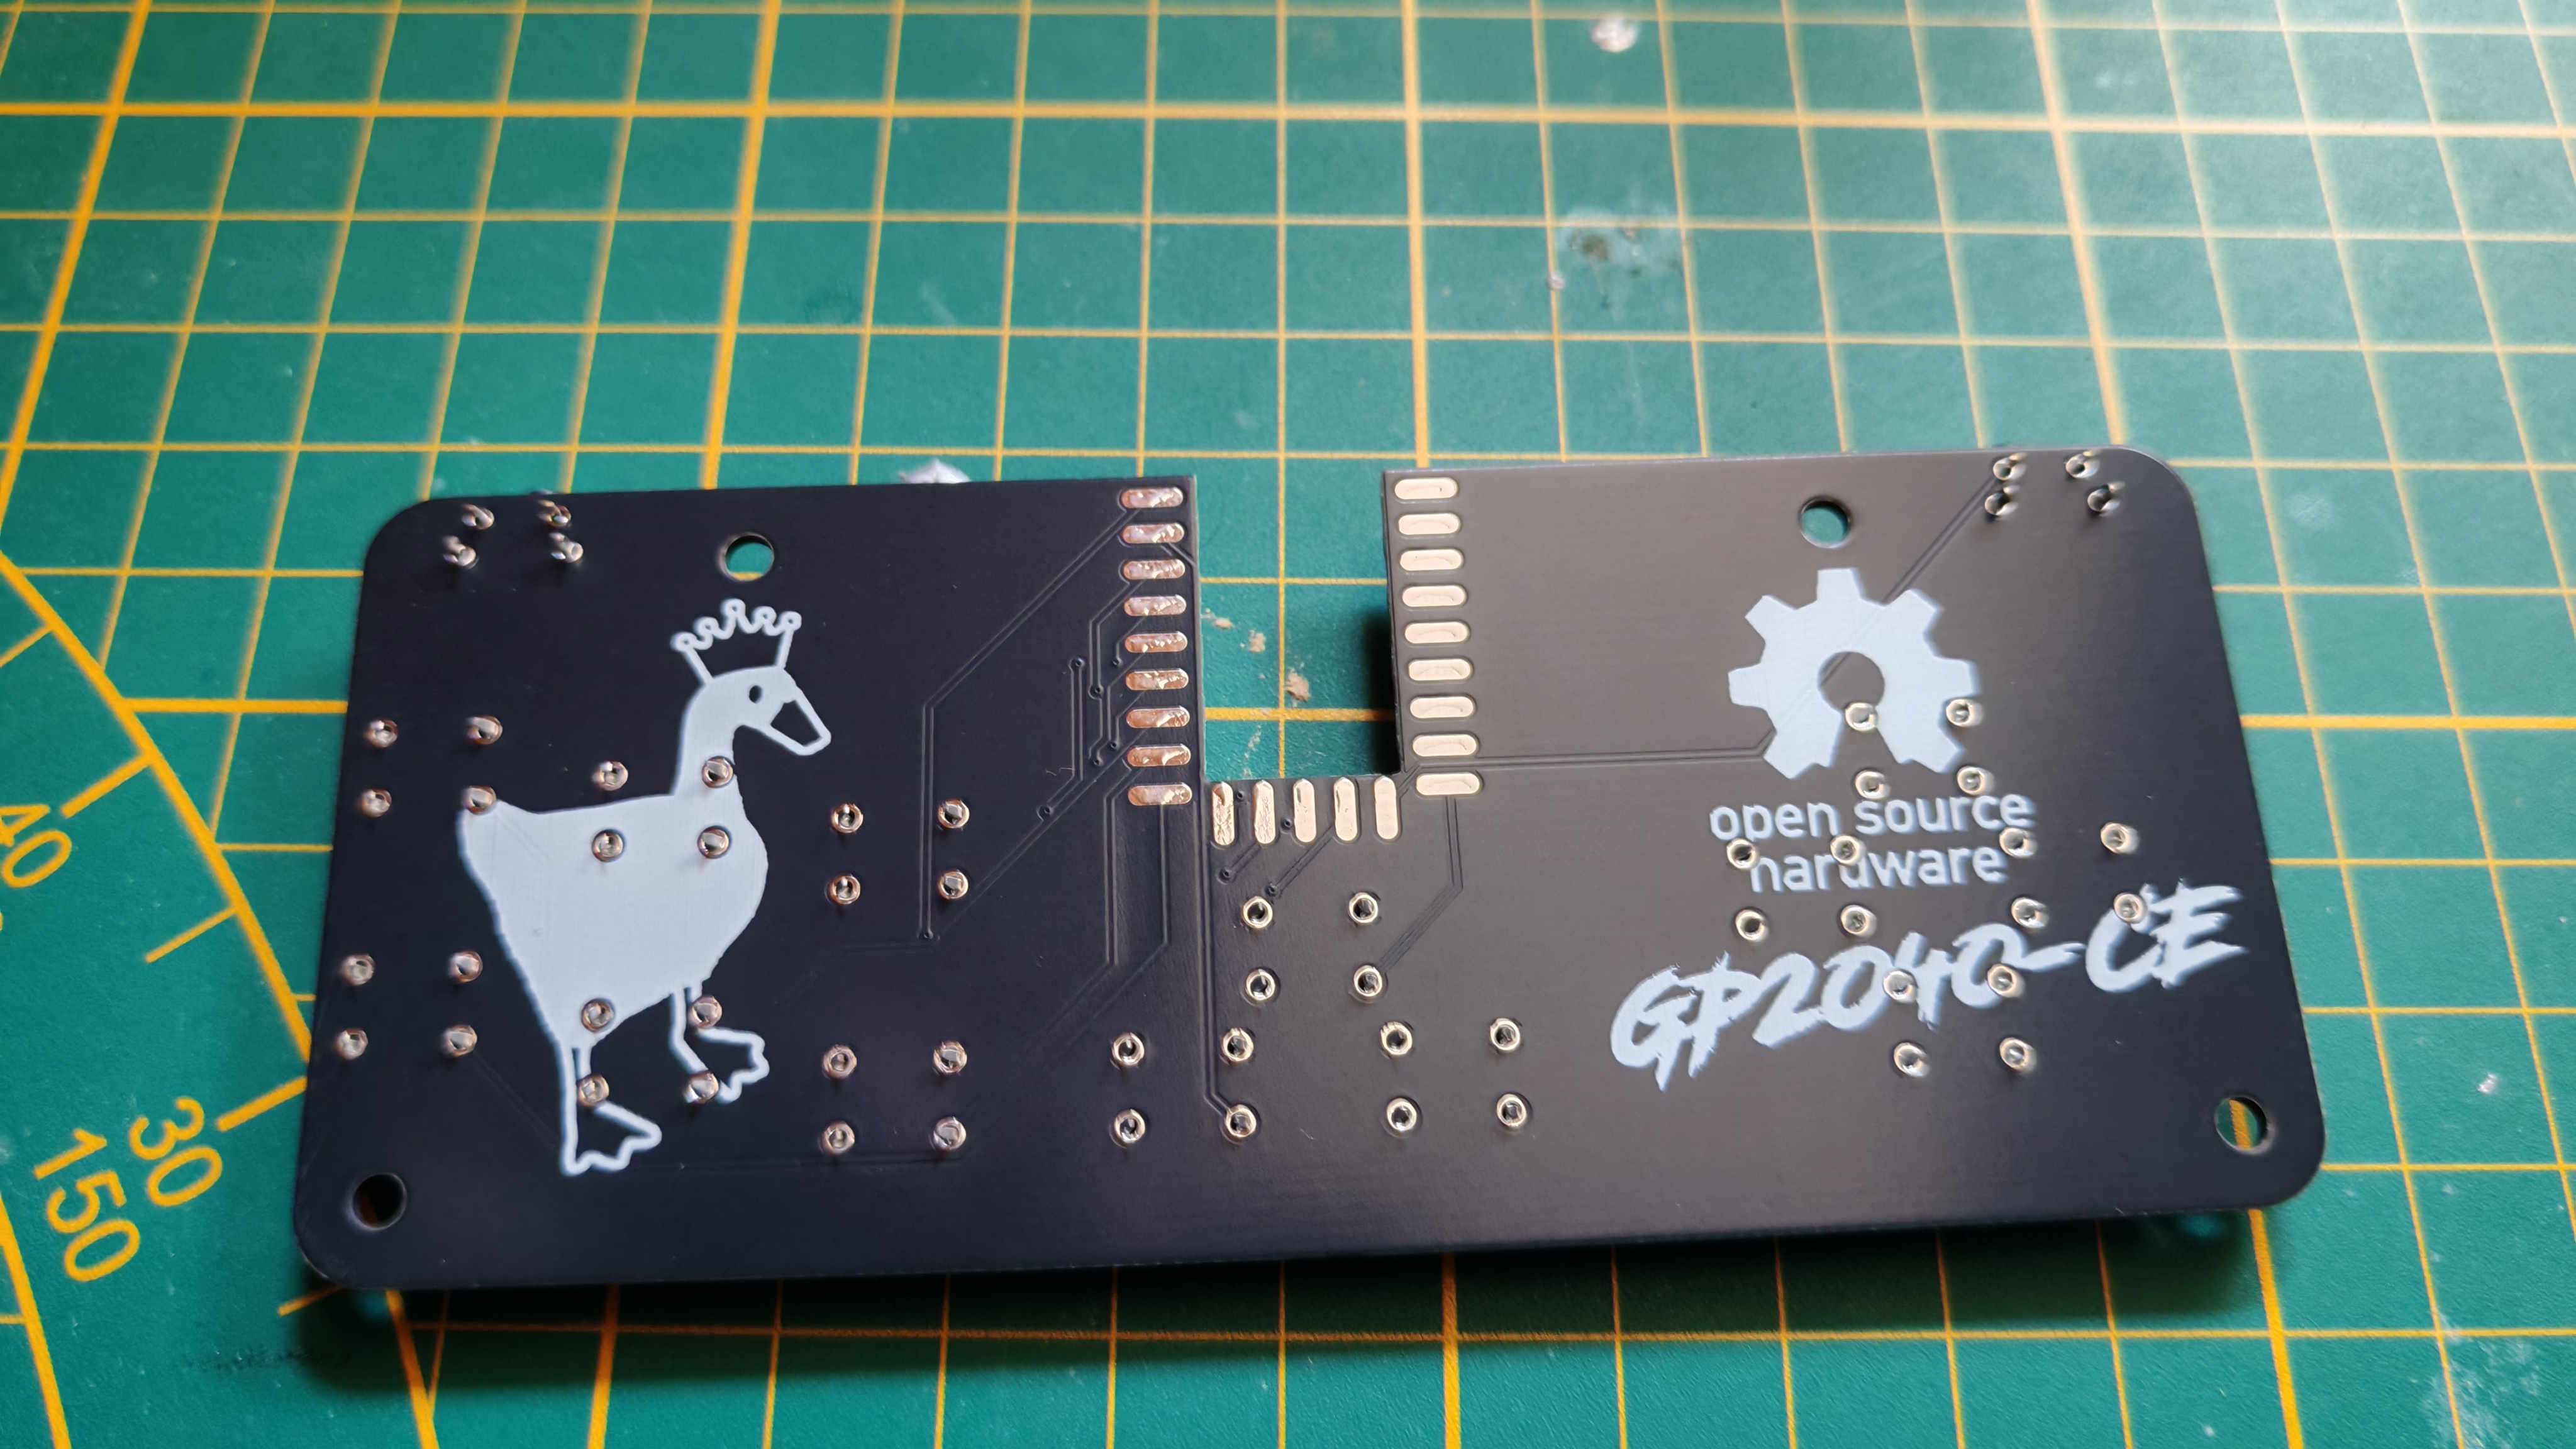
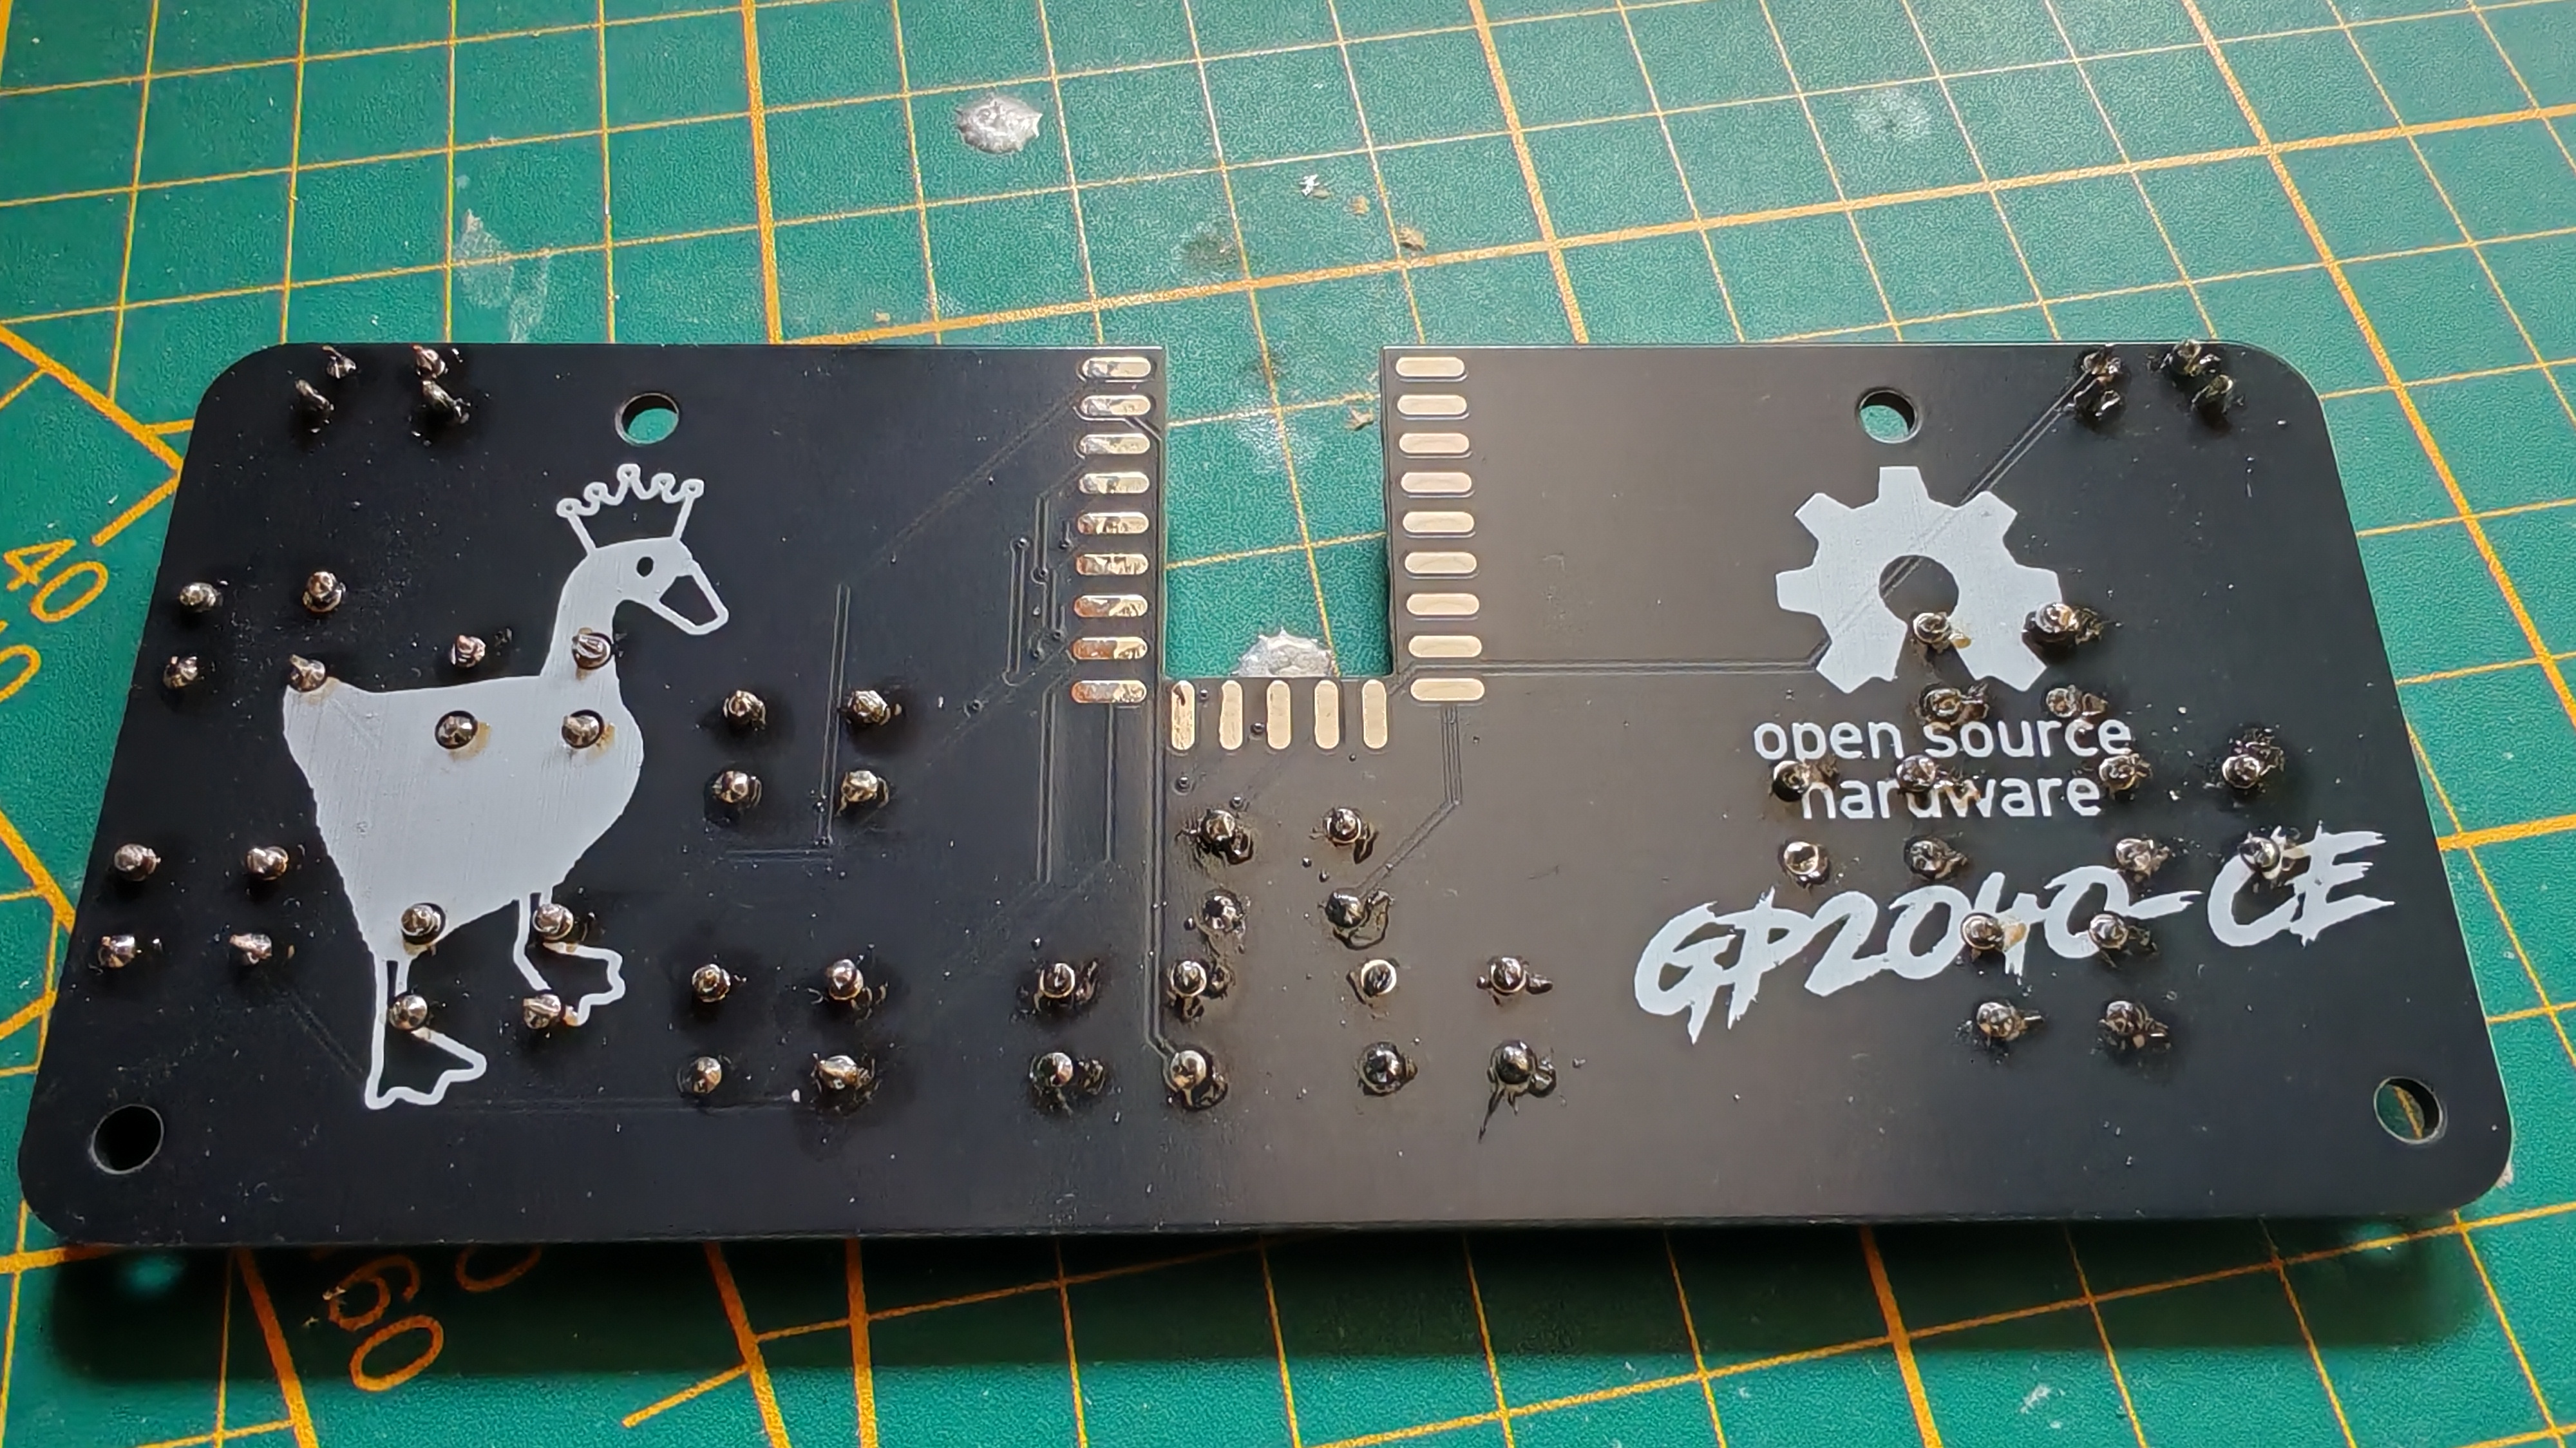
- 1x fine BadPad board (it's going to be on the repo)
Hold the phone. You got boards fabbed for this ?
Technically the boards aren't necessary, they're just a glorified carrier to facilitate wiring the buttons to the Zero.
But yes.
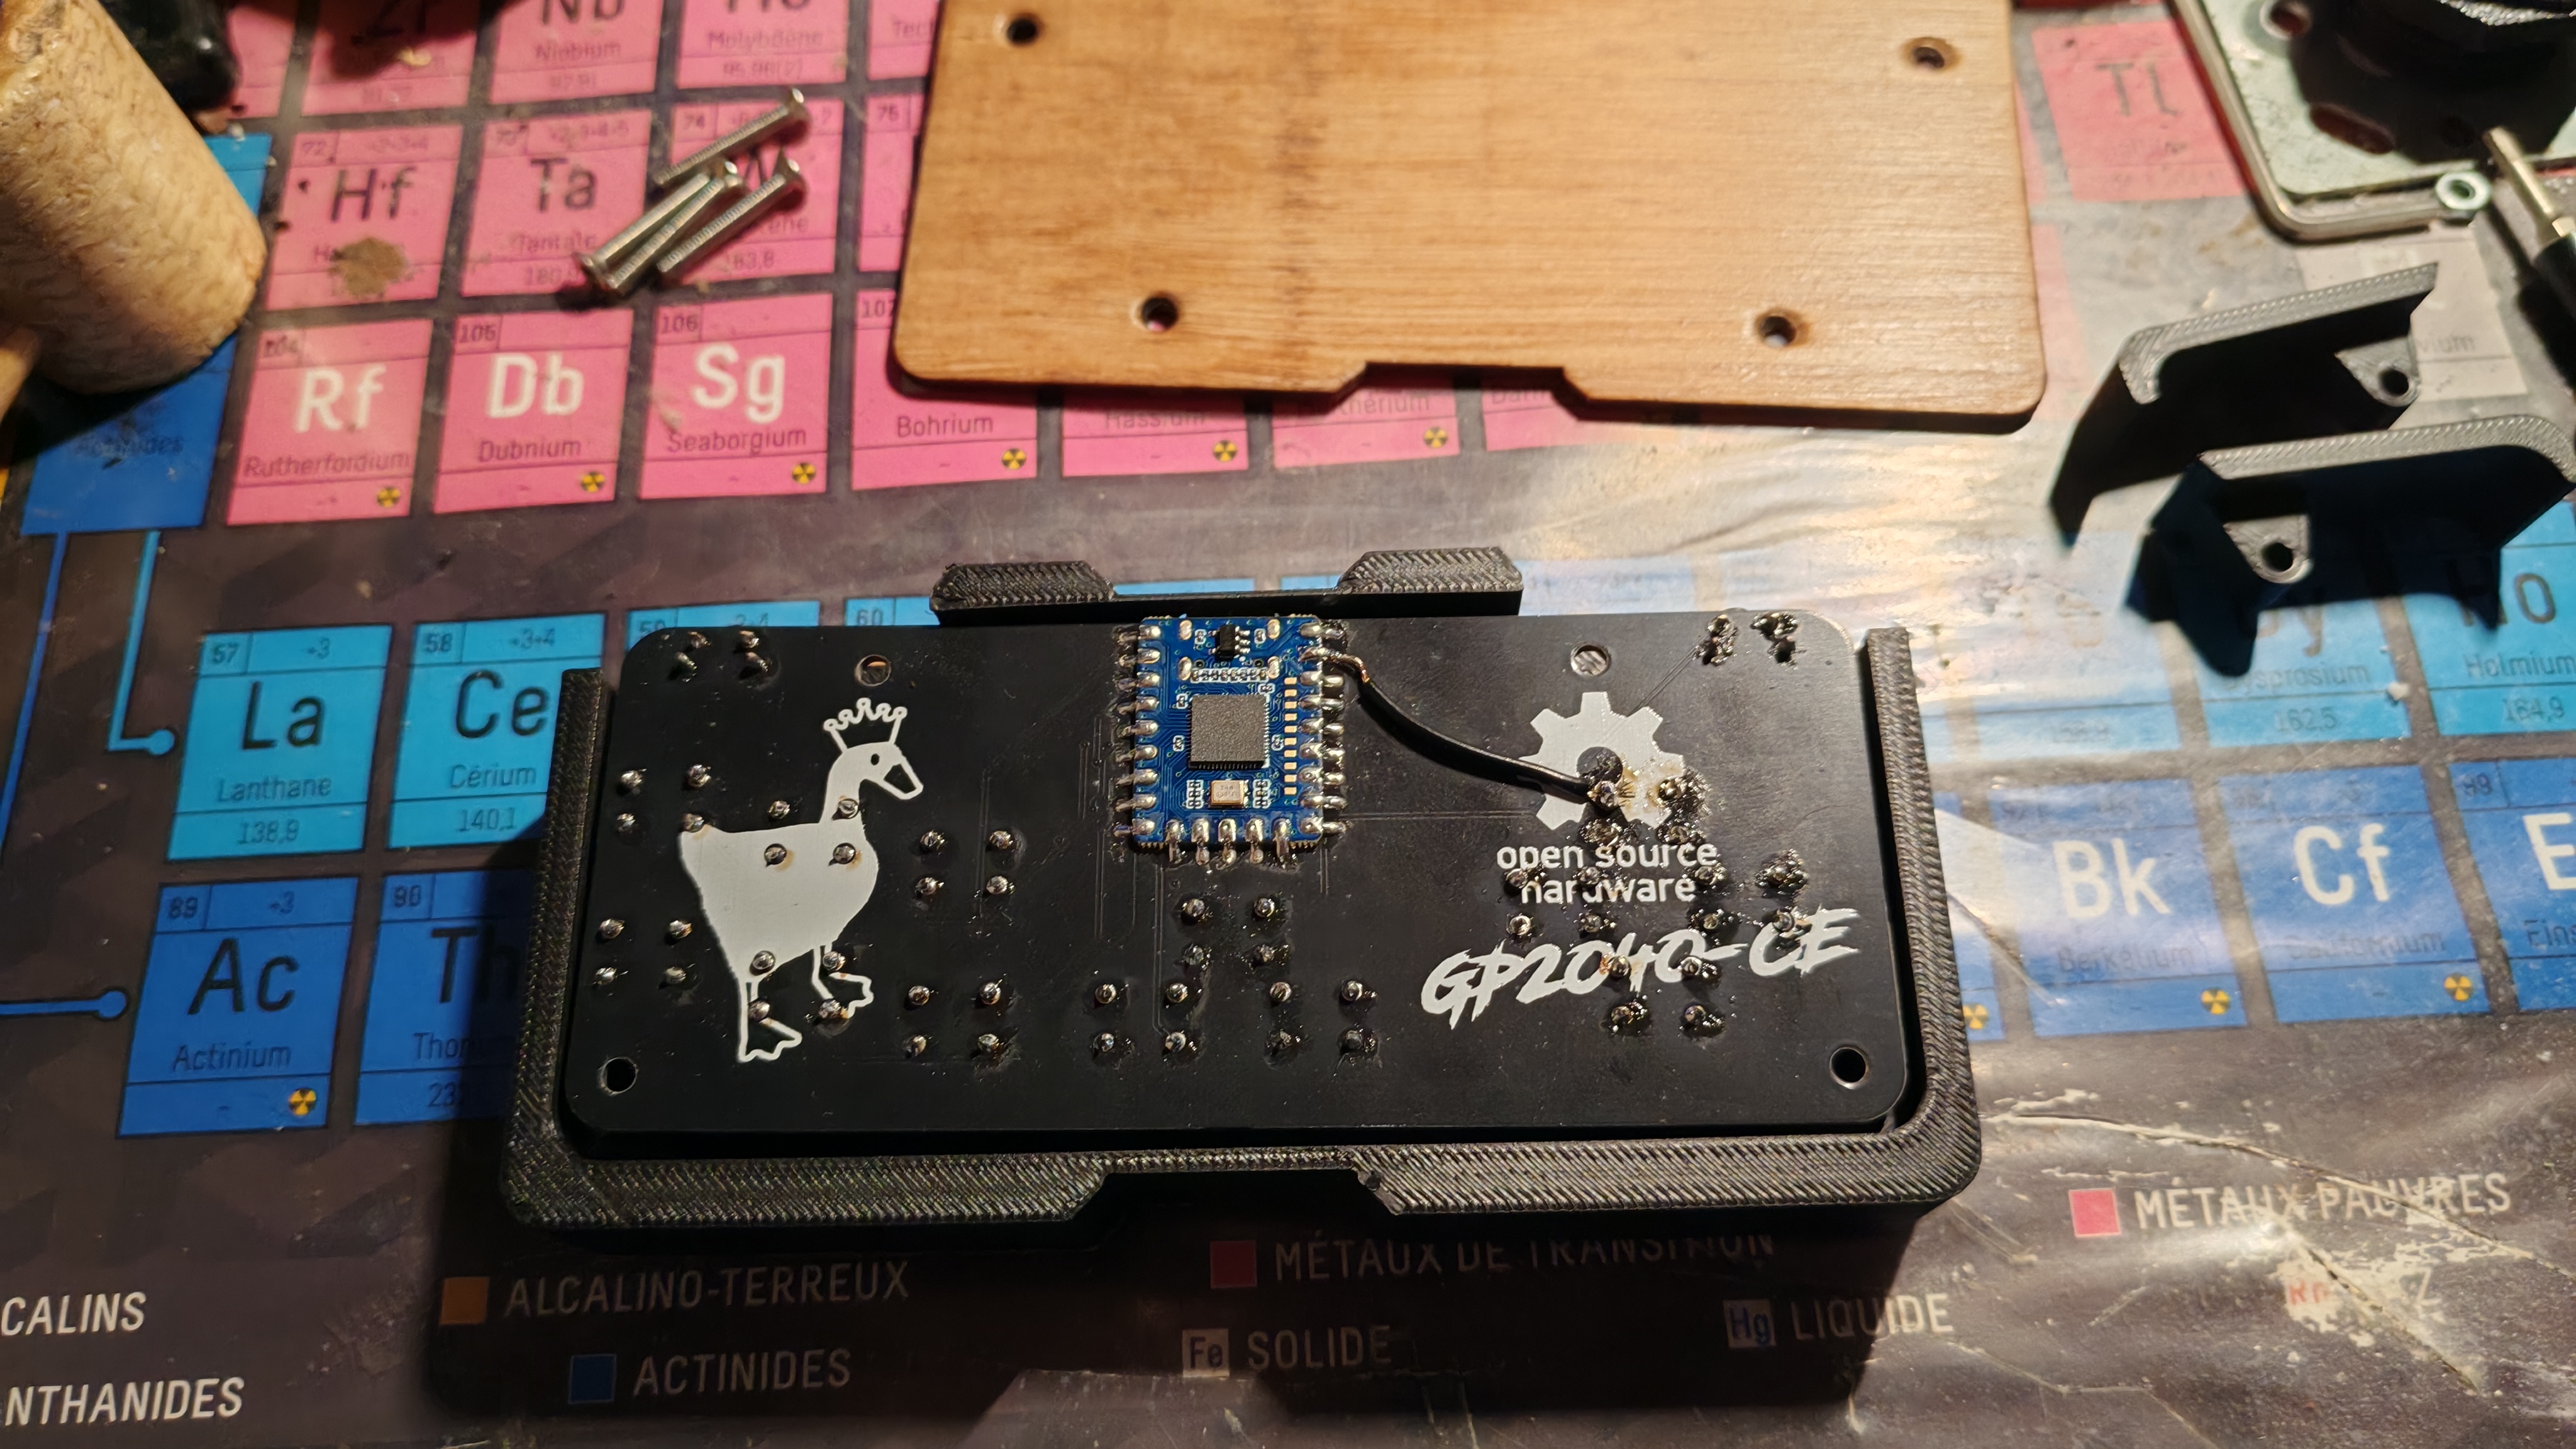
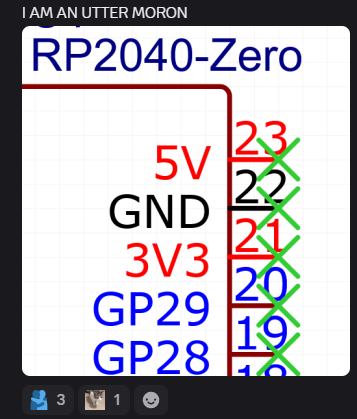
I hadn't designed a board in a while, and for Cost EfficiencyTM I decided to make a Zero carrier board, with a reverse mount style, so I could save a ton on having a USB-C connector and assorted hardware1. The Zeroes are super cheap and easy to work with, so as far as I'm concerned, it's a win-win in my book. If you really want to make things omega hard for yourselves, nothing prevents you from 3D printing a mounting plate onto which you'll mount the switches and then use regular wire to connect to the Zero. No idea how you would mount the Zero itself though !
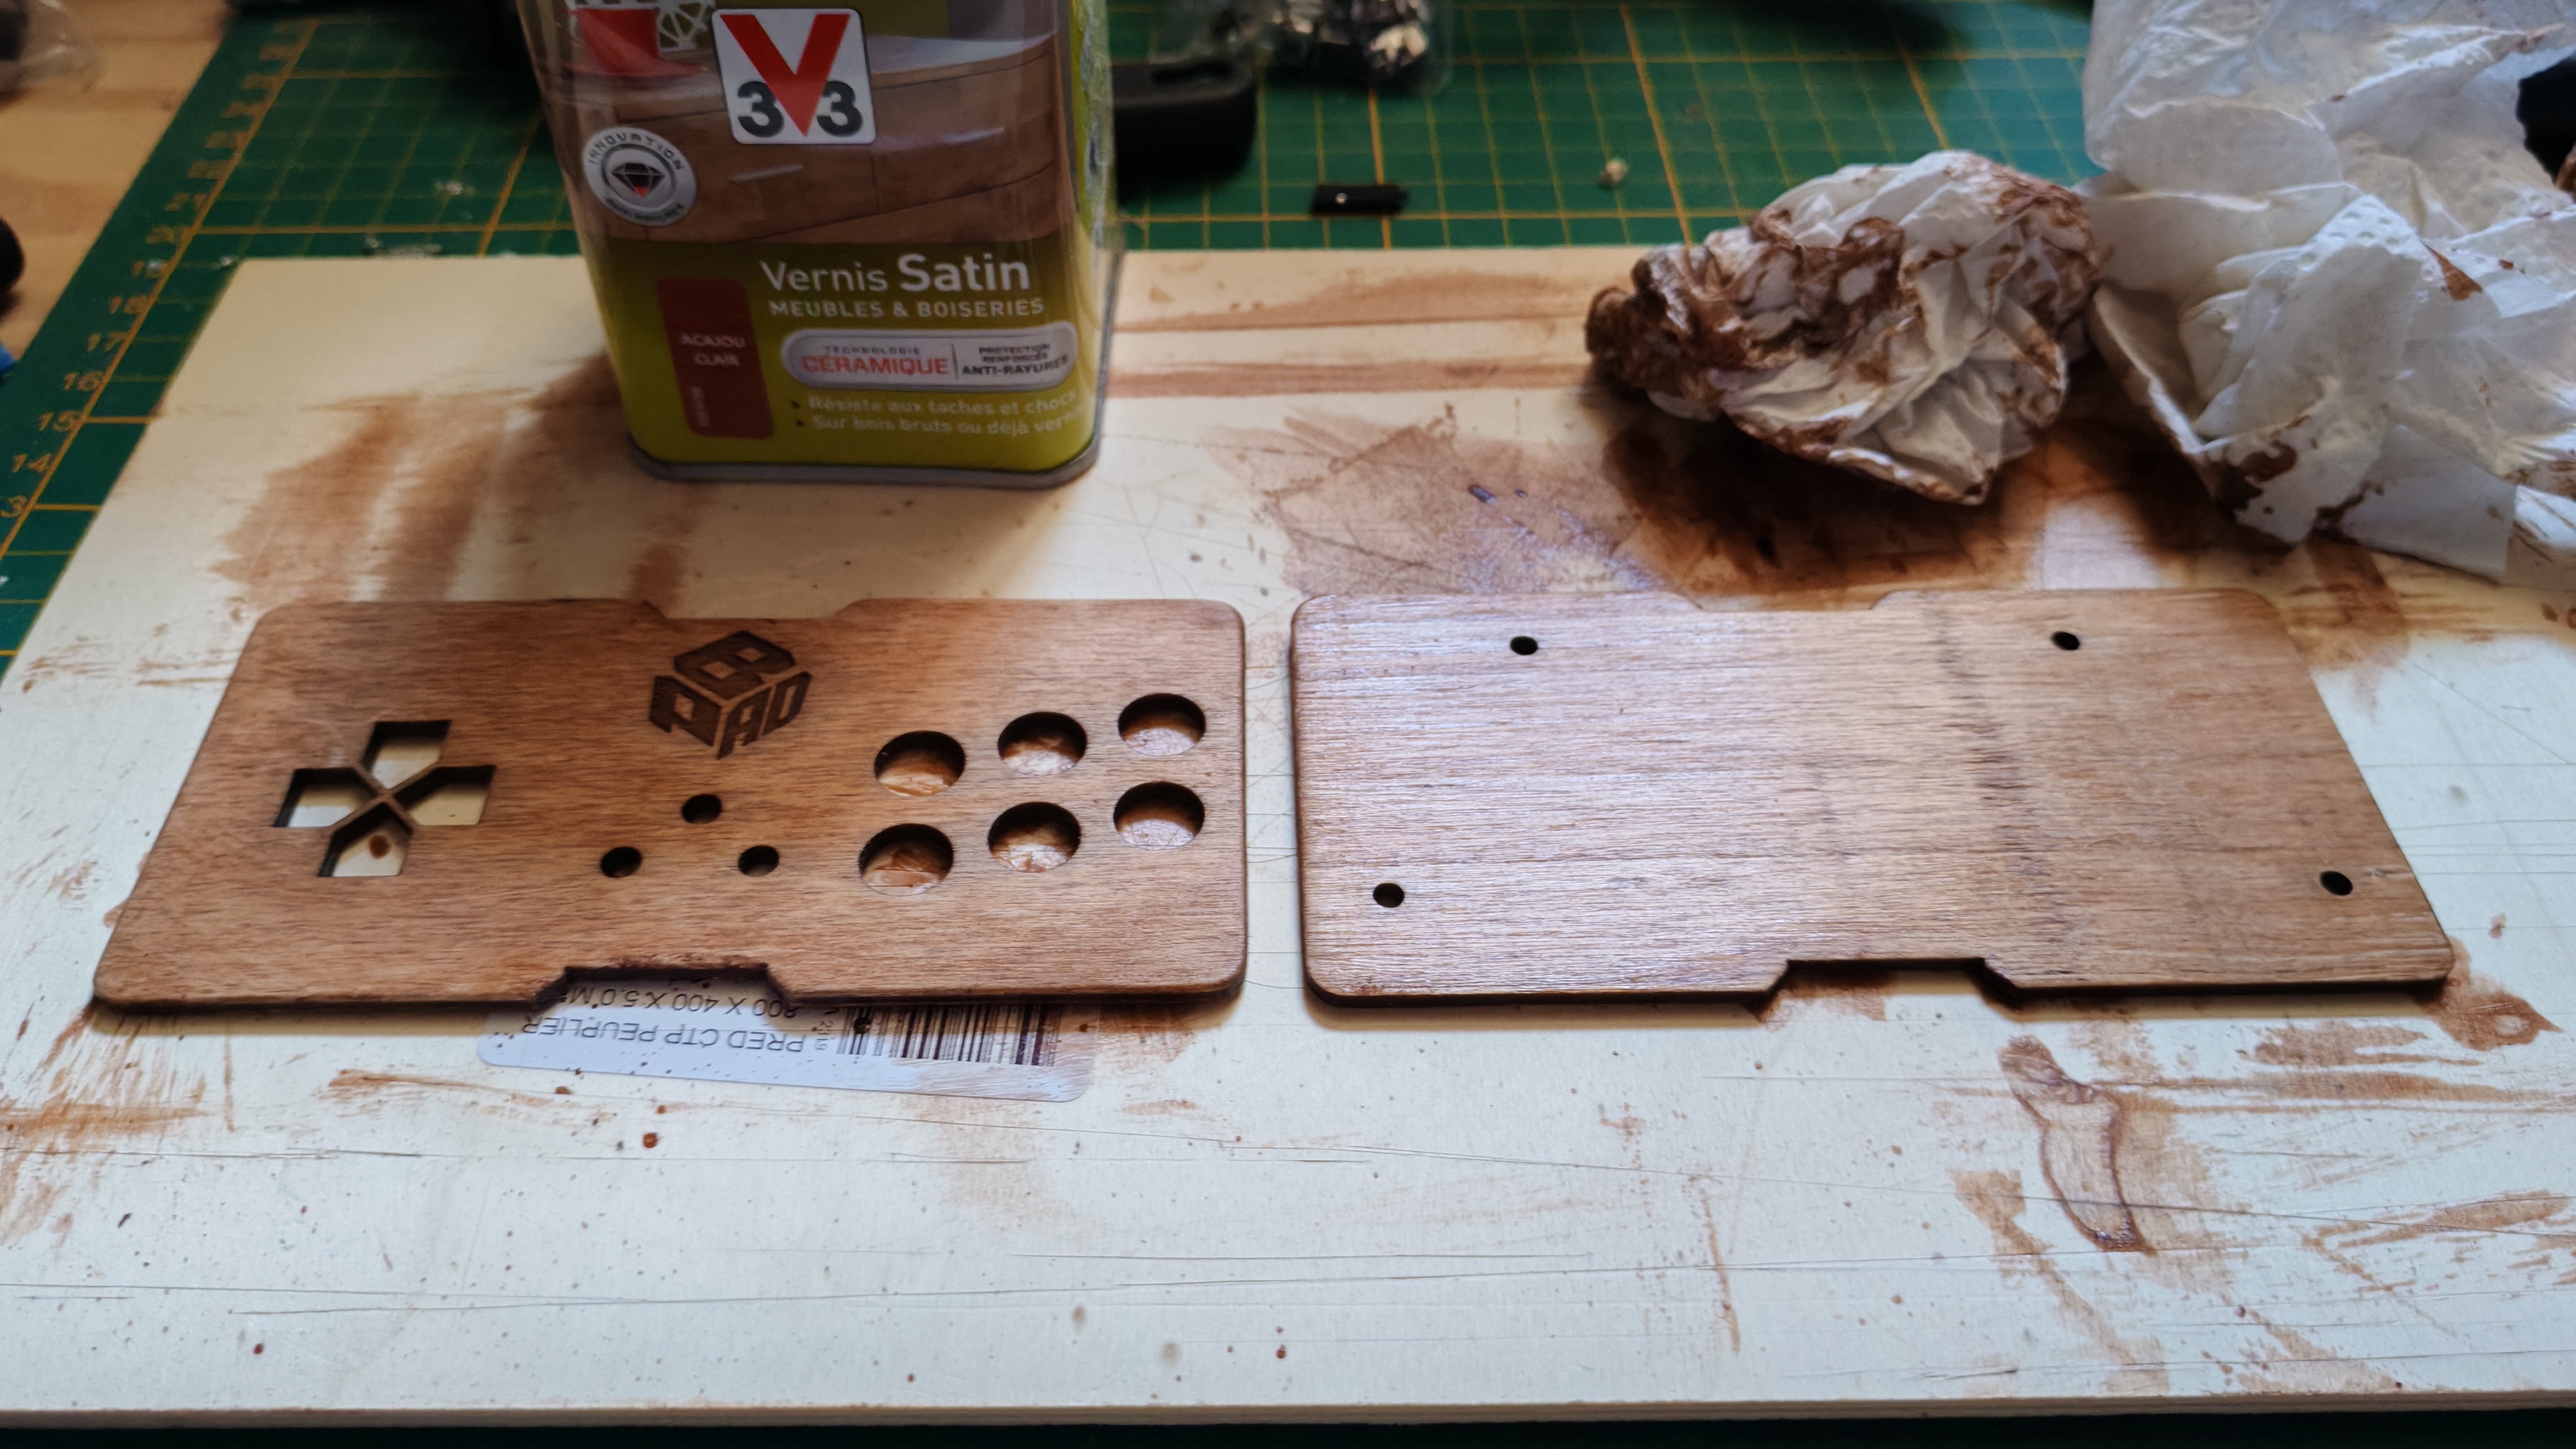
Anyways, let's put them buttons in place. I put on some background music (today's flavor is Chuck Person's Eccojams Volume 1 if you're interested) and get to work:

Aaaaaand it's a World Record for the fastest SNAFU from the French player !
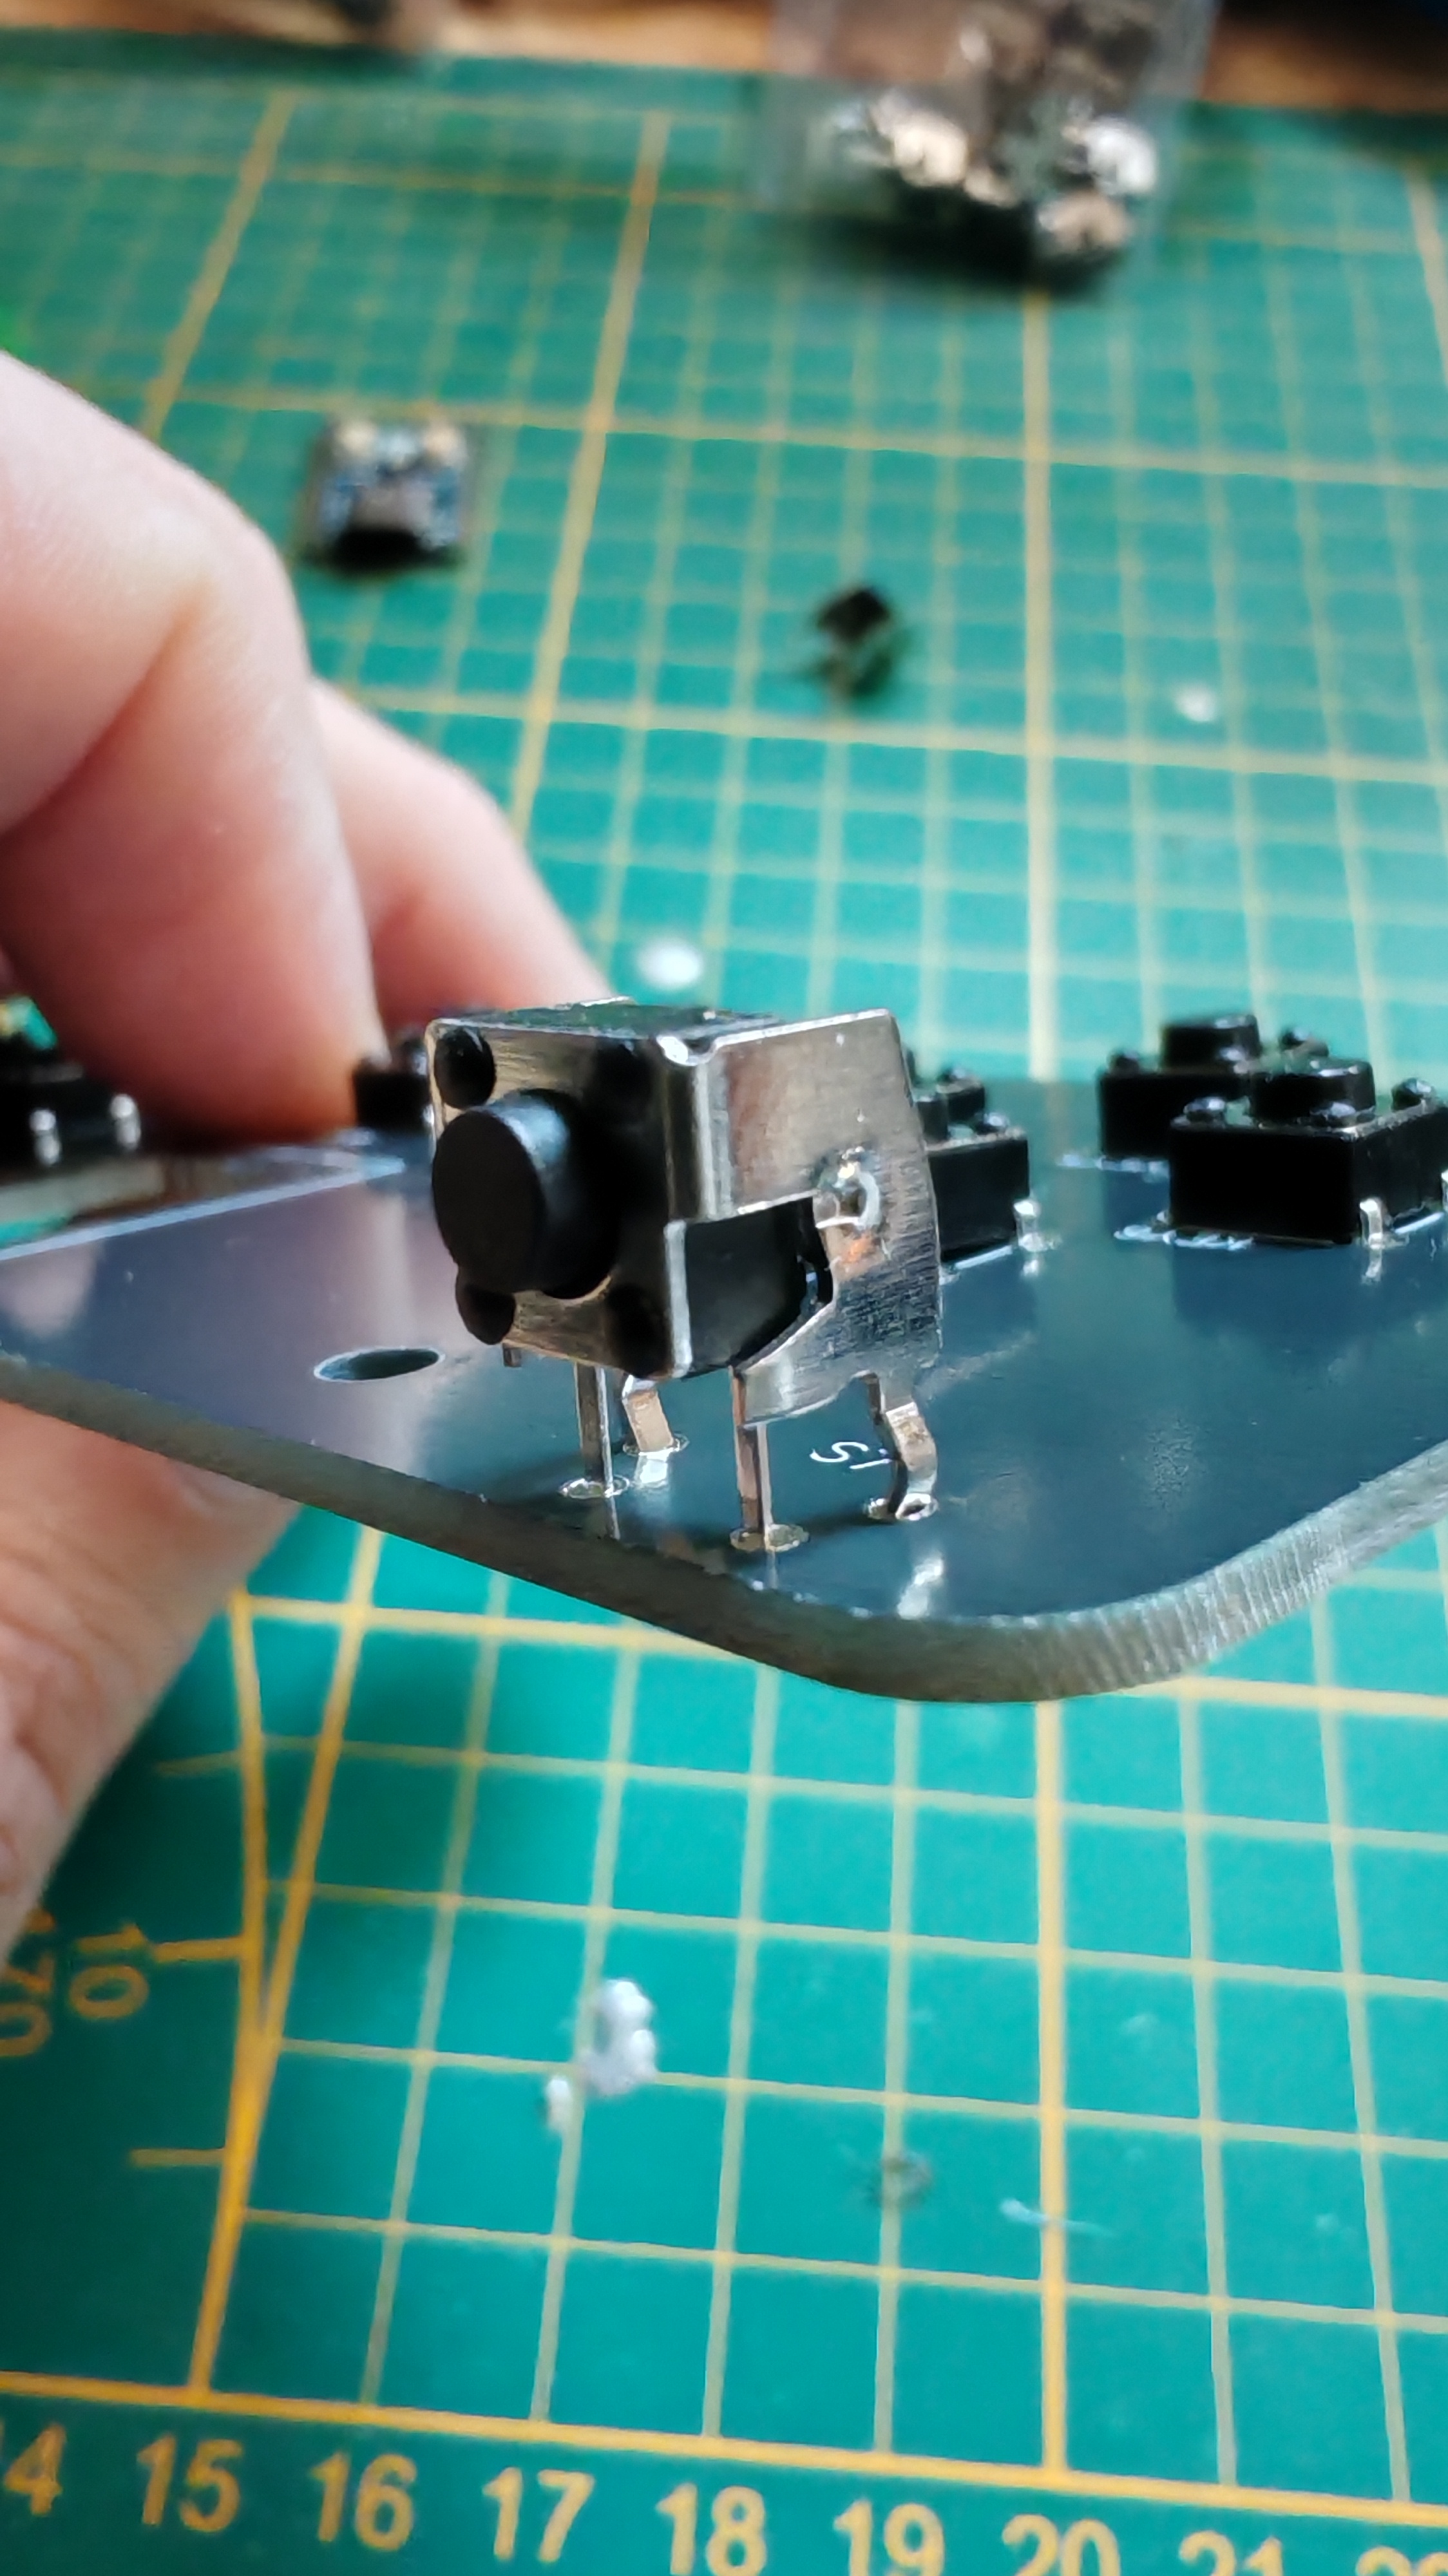
I immediately run into the first snag of this project: for whatever reason the Xbox shoulder button switches are a lil' chonky on the rear legs, so I straighten them away with some pliers. And now they fit like a glove !
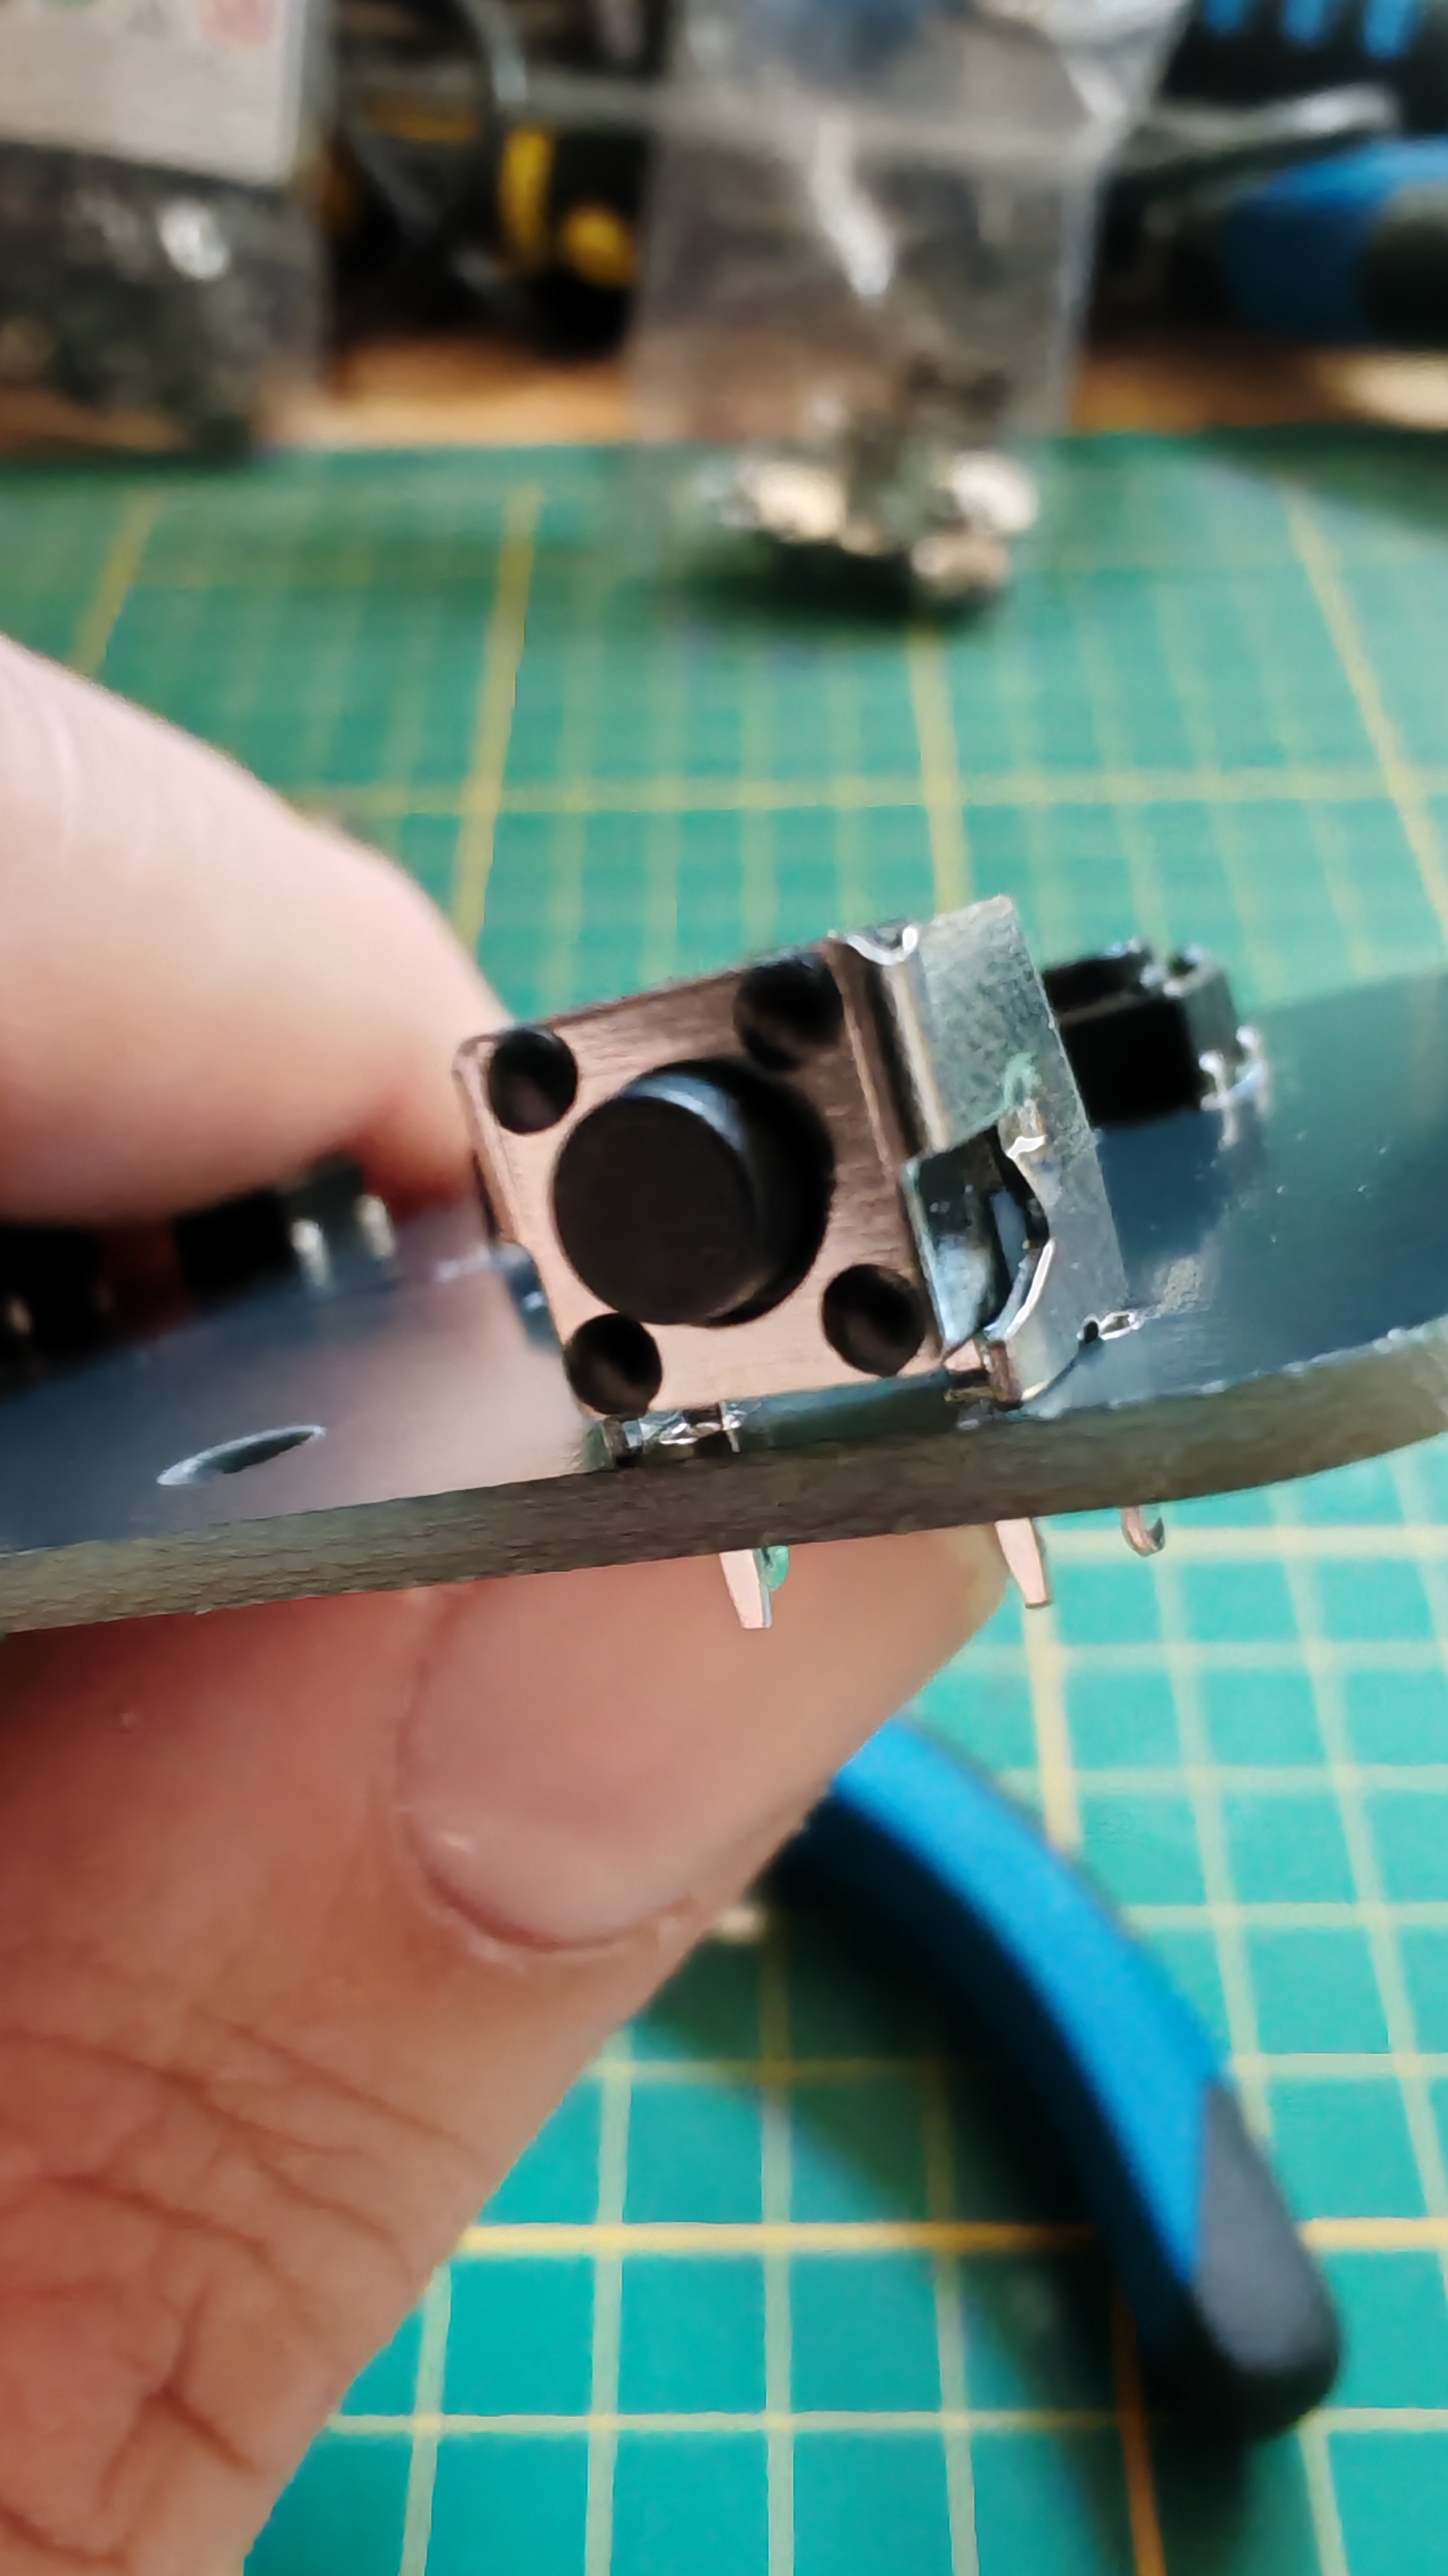
If only everything was this simple (subtle foreshadowing)
You can very probably guess what's next. If not, lemme spell it out for you: addition of a mixture of tin and copper in molten form through careful application of localized heating in order to form a coherent mechanical and electrical connection between the components and the board. (Which is LinkedIn speak for "soldering")
Always do a horrible job at soldering grounds so you have an excuse to blame your turbo oxidized tip instead of your shoddy technique
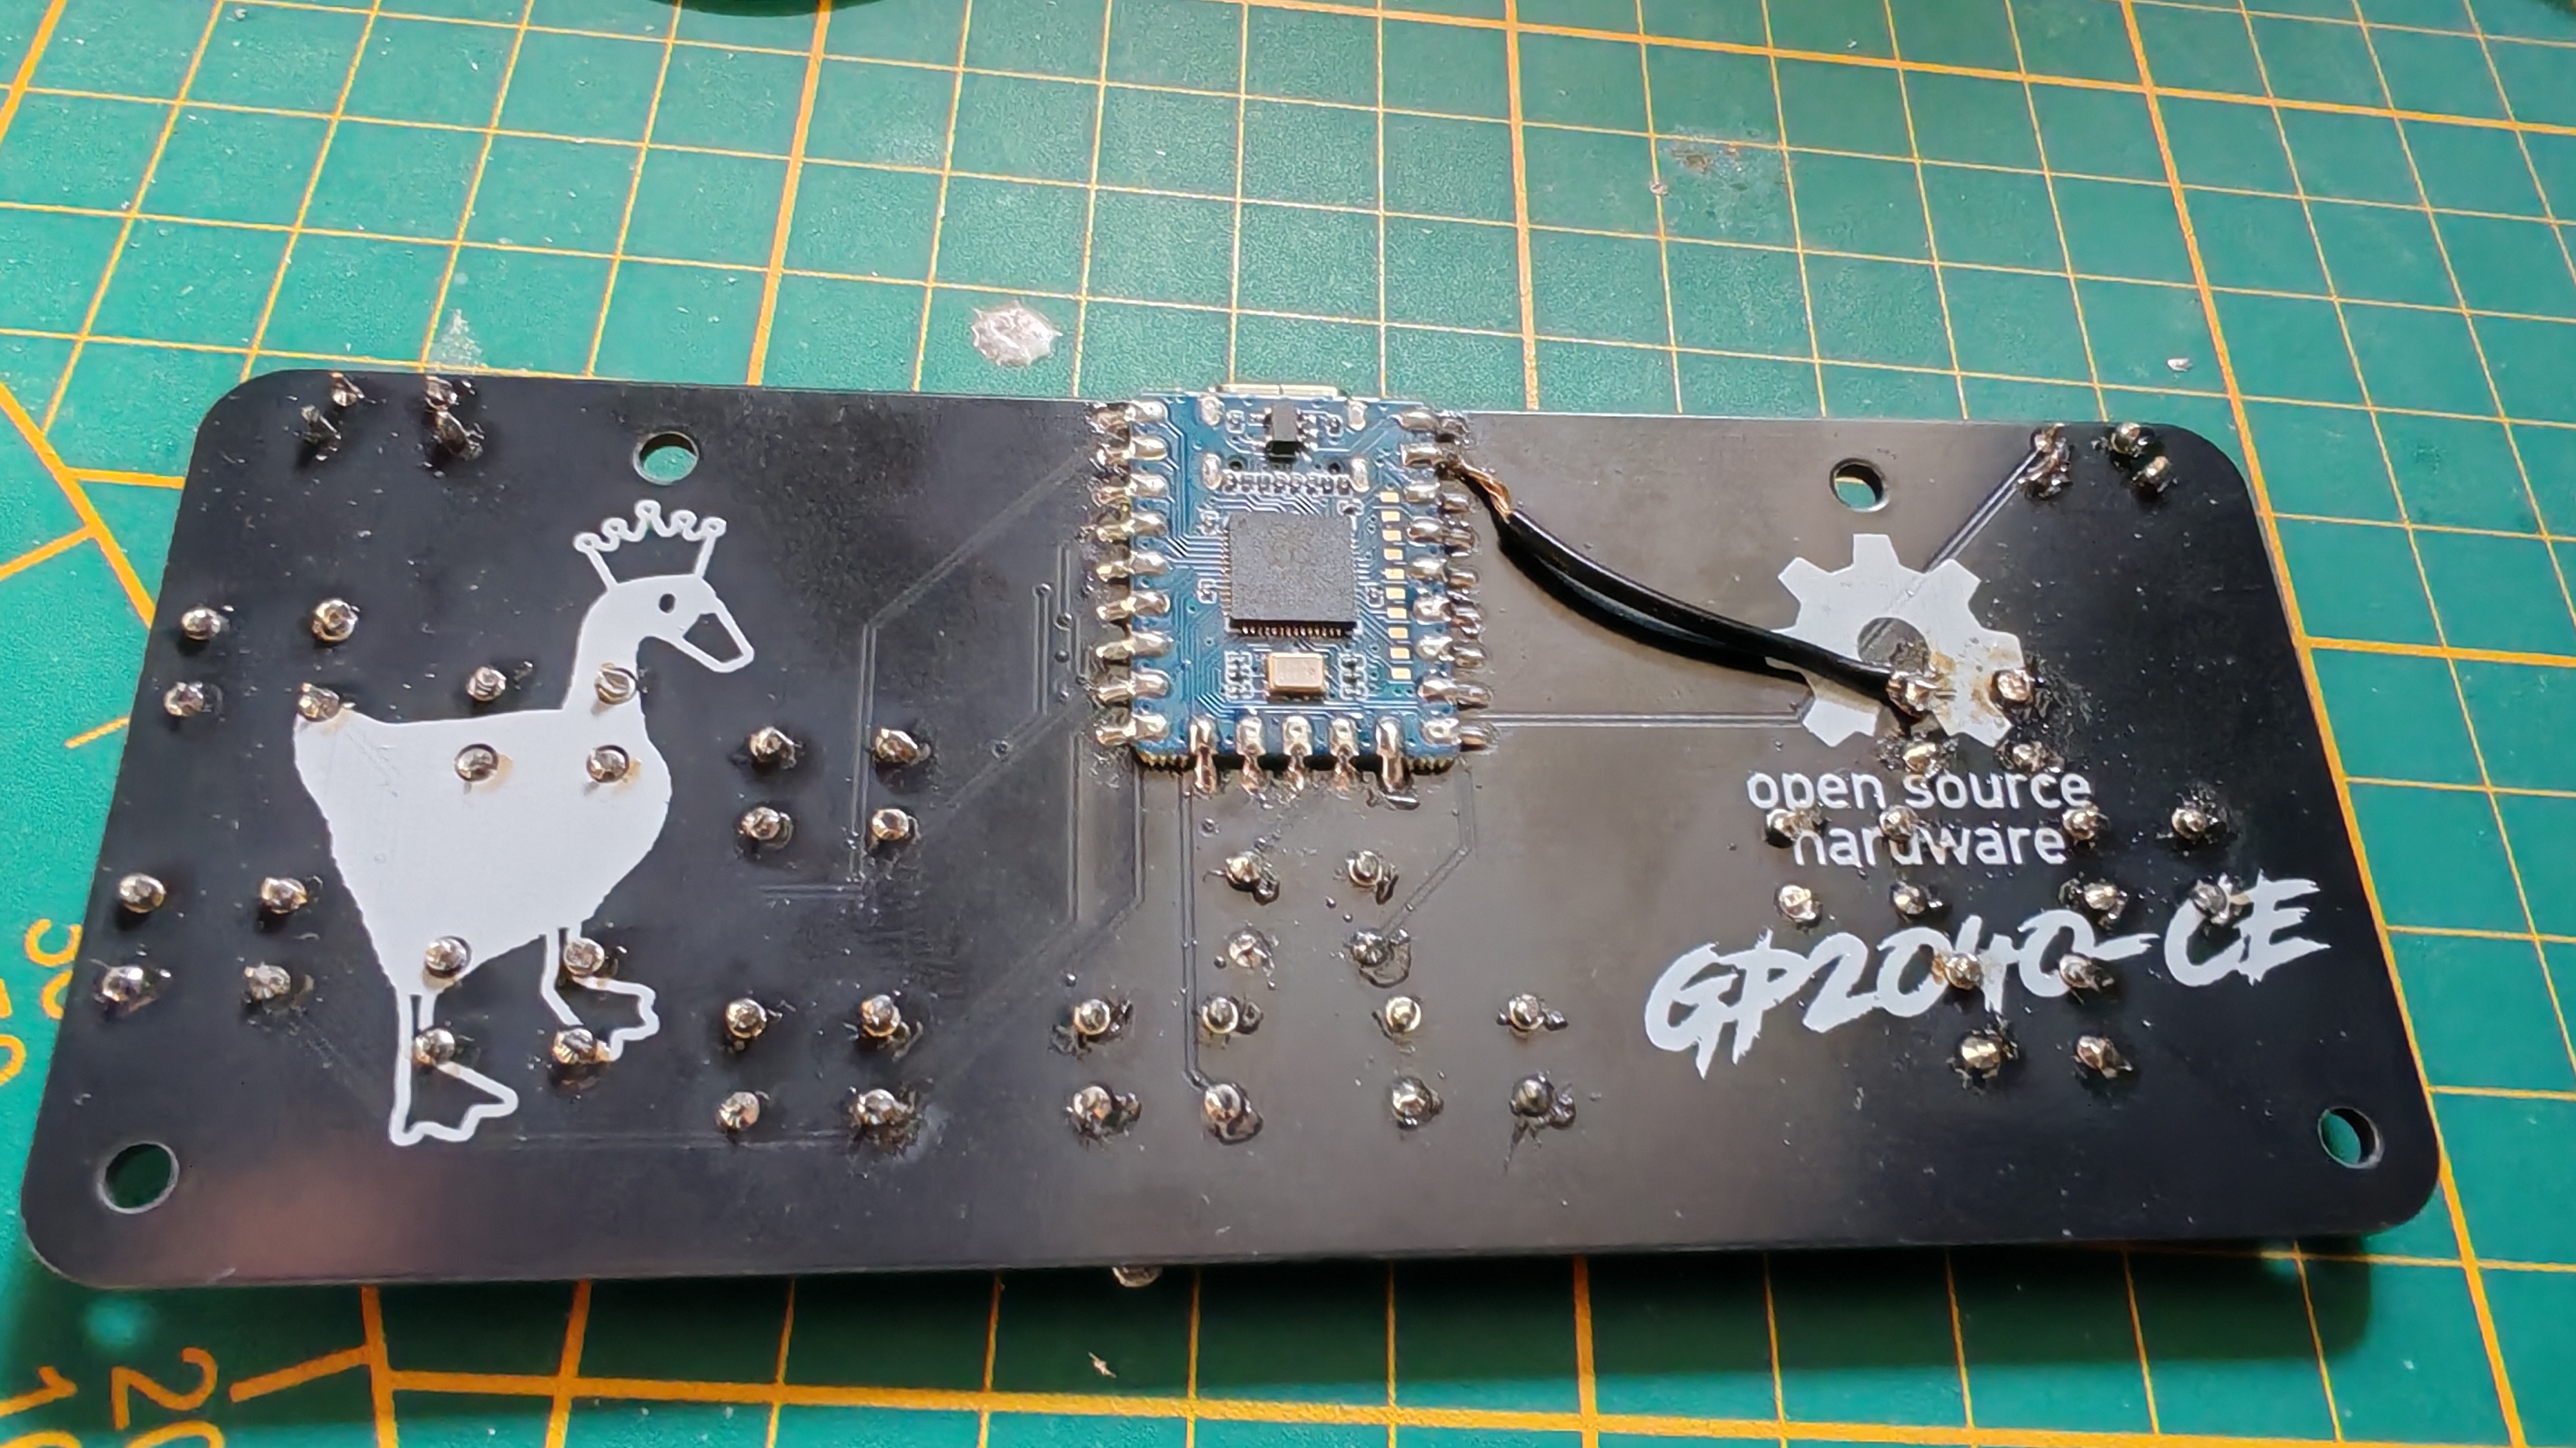
But of course, these are only buttons. They can't do nuthin' without a brain to control them. Enter the Zero, reverse-mounted, to serve as the true mastermind of the entire operation.
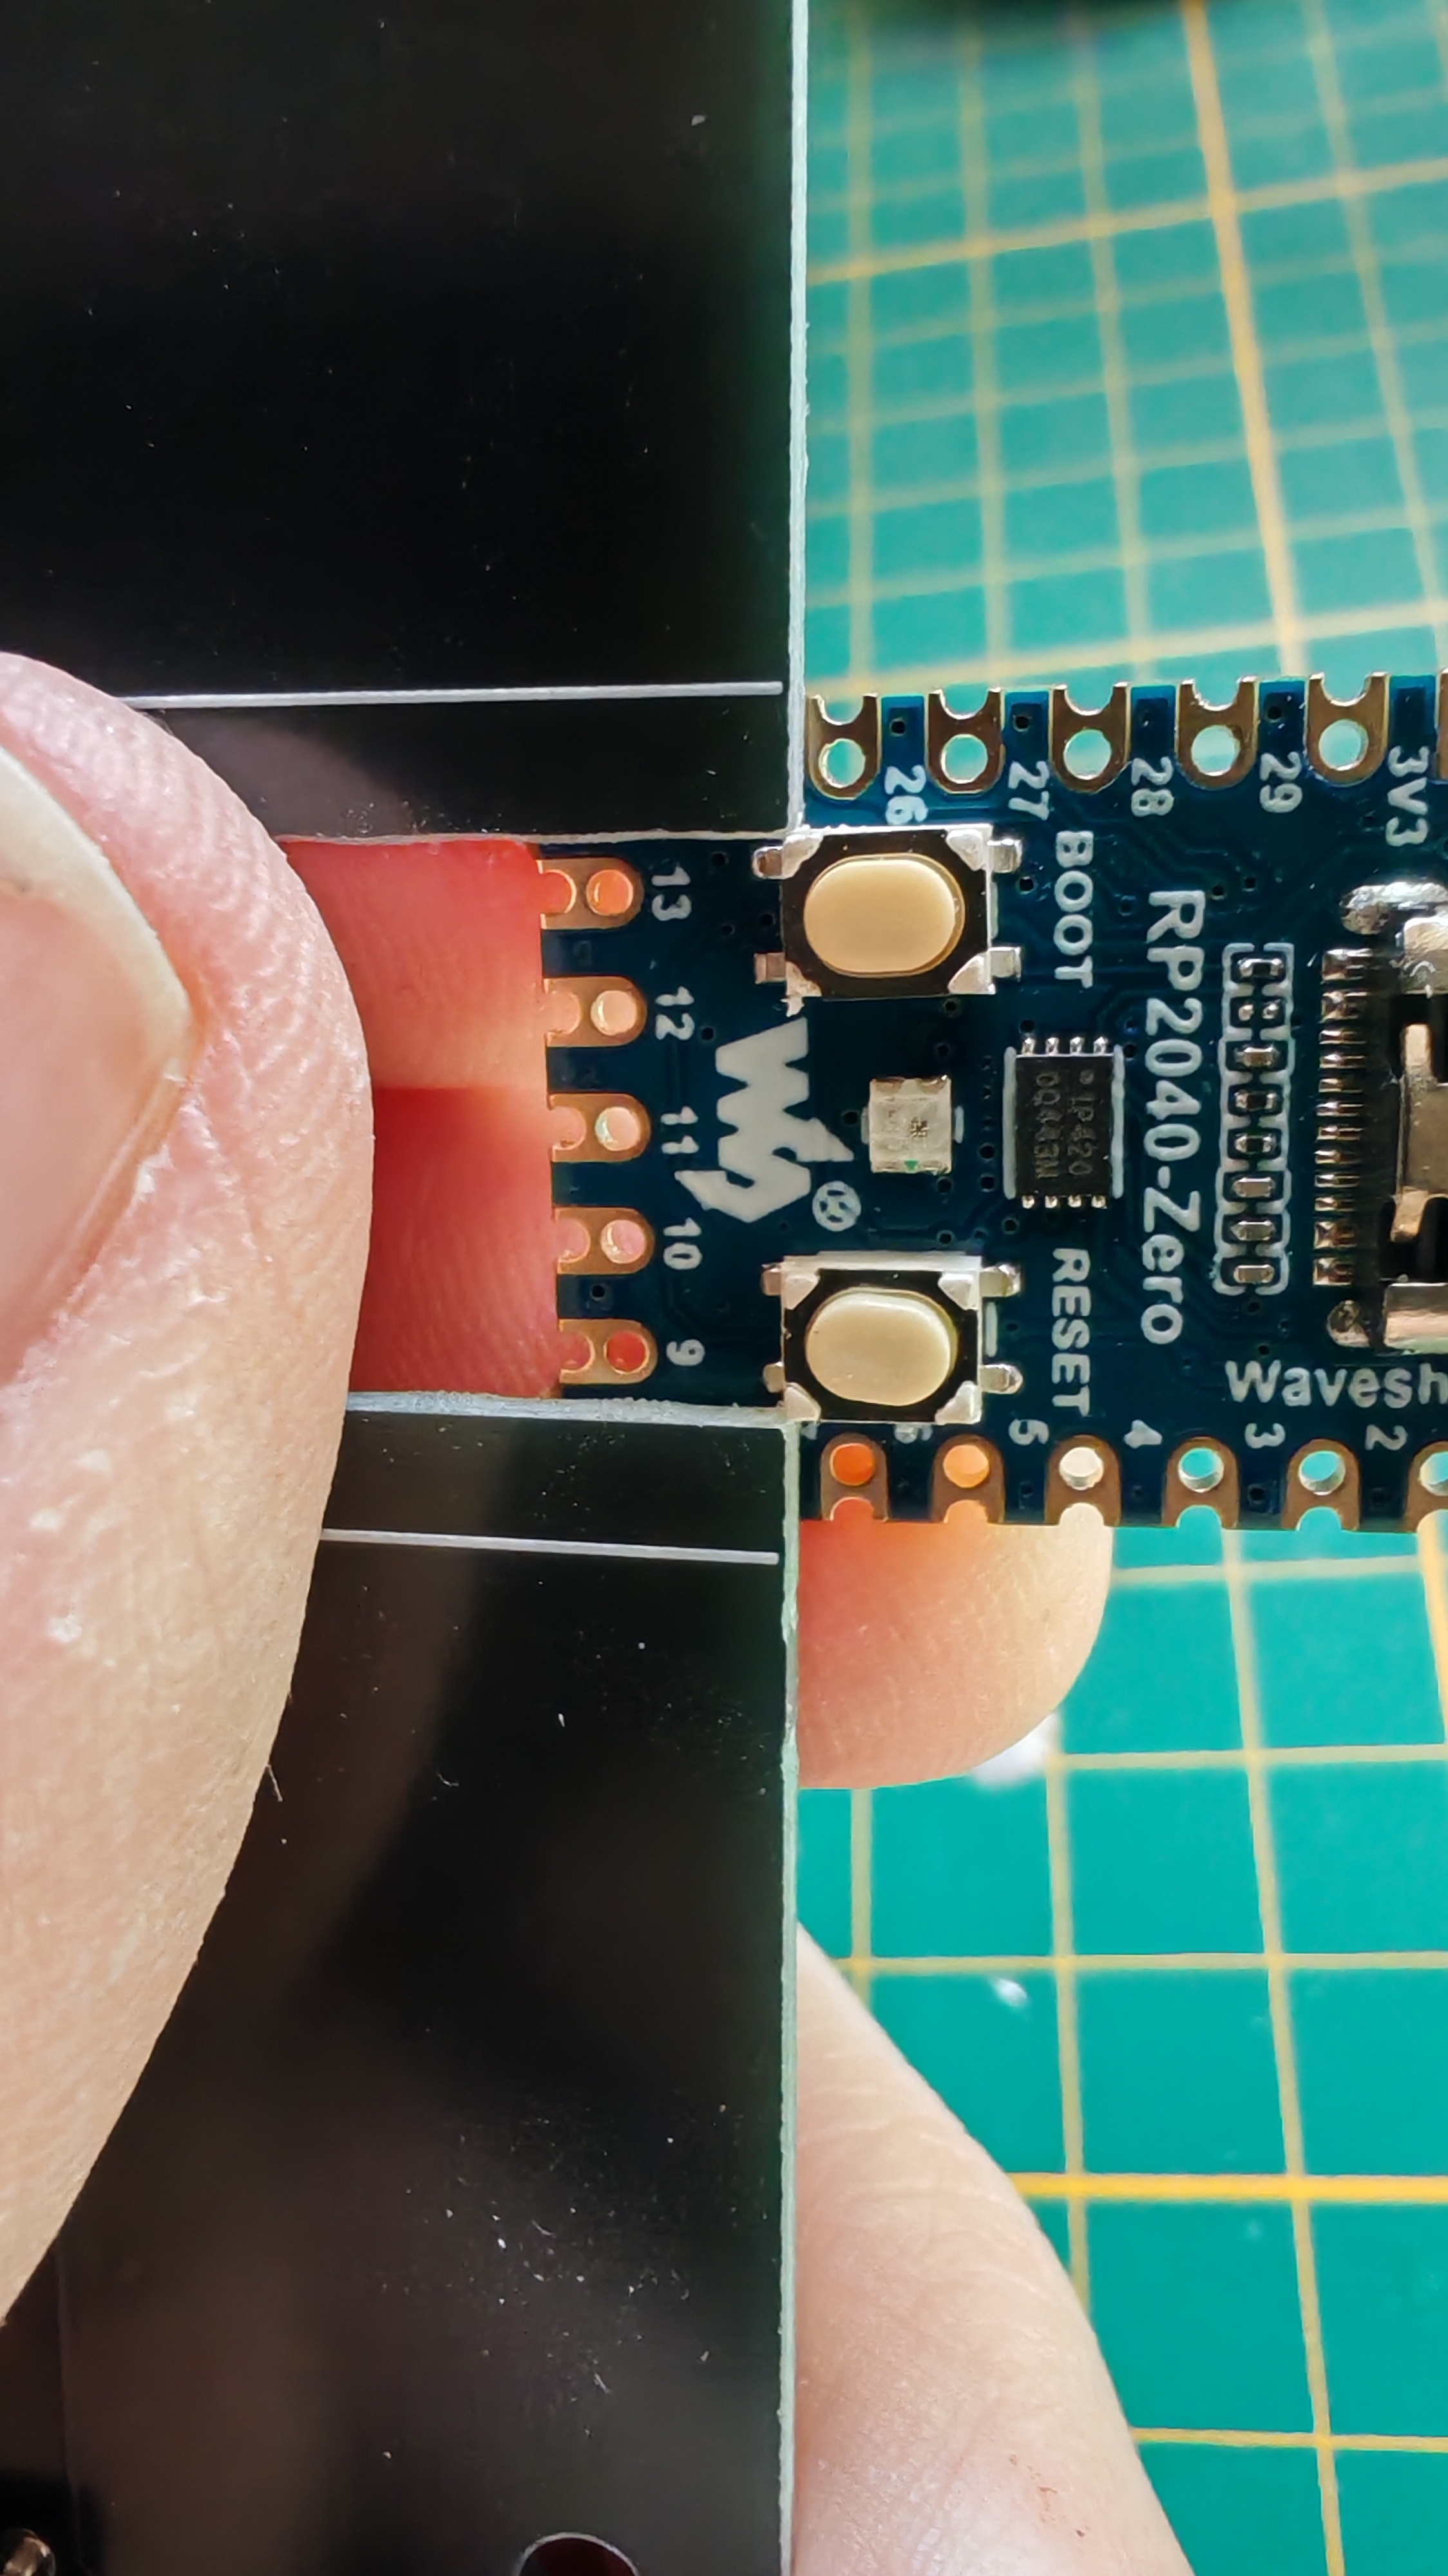
Of course it barely does not fit
Whatever. Don't need a reset button anyway
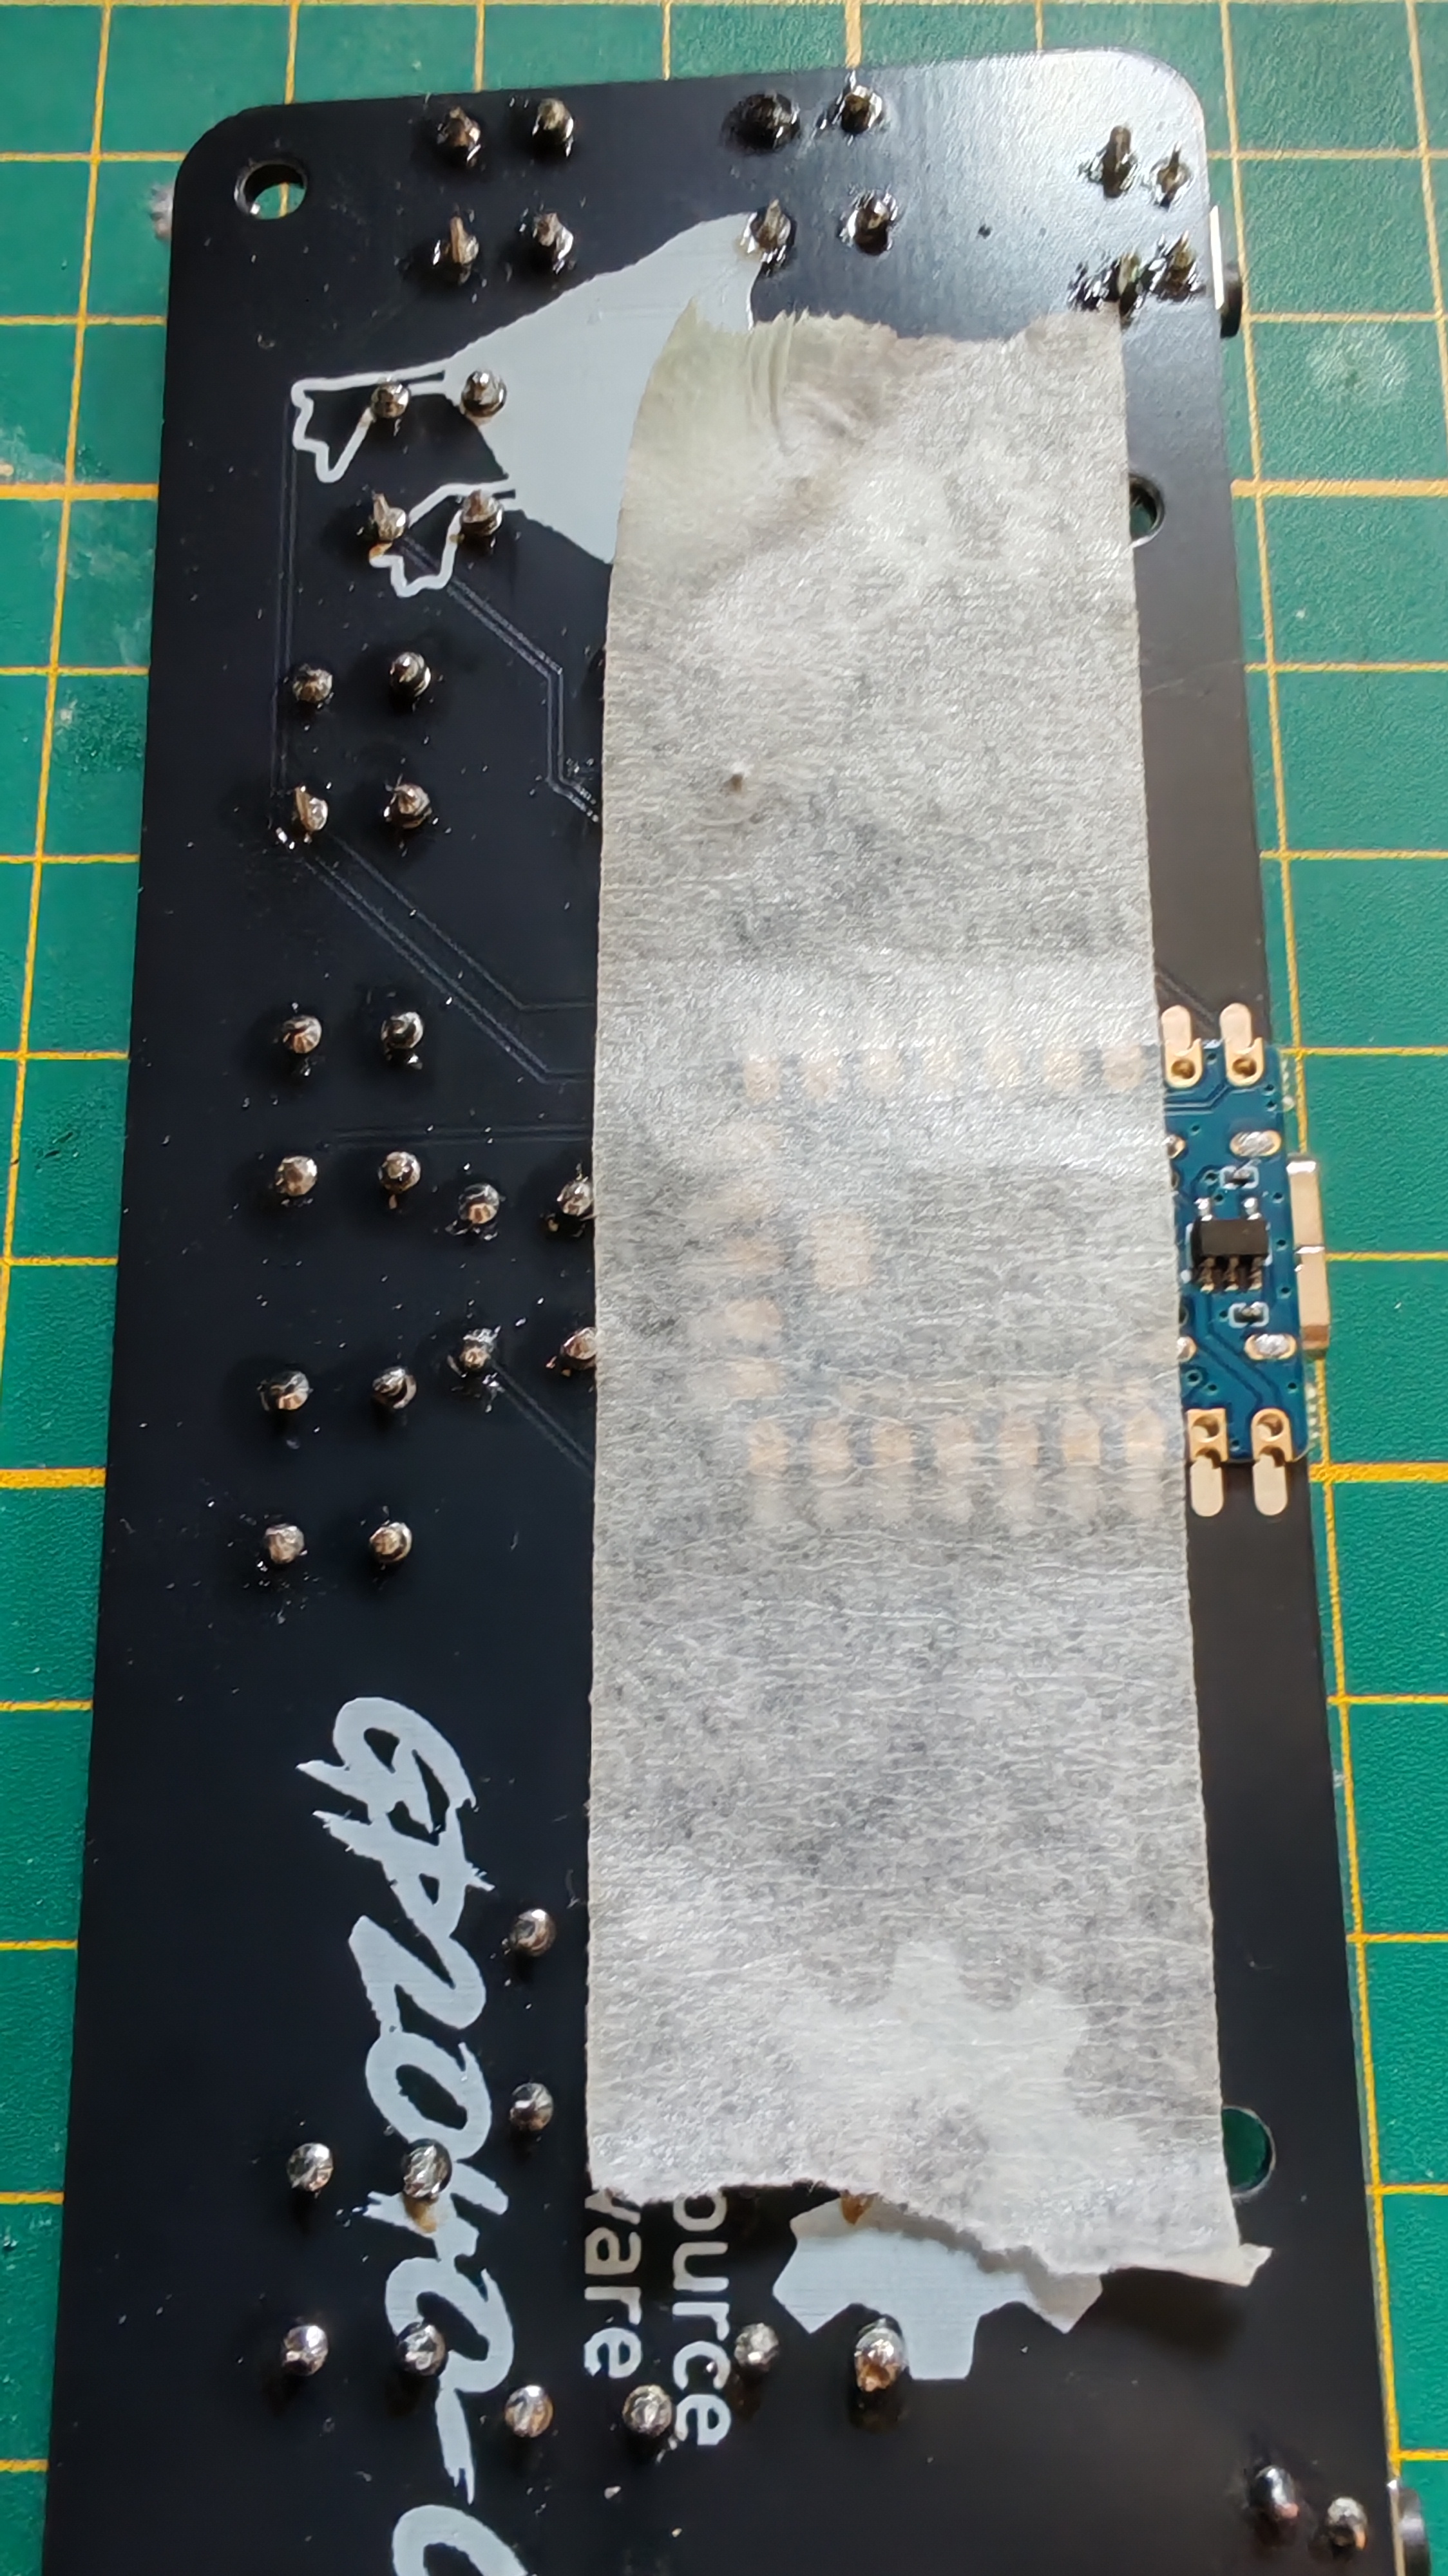
Gork and Mork bless the painter's tape, best way to hold surface mounted things in place while you solder them
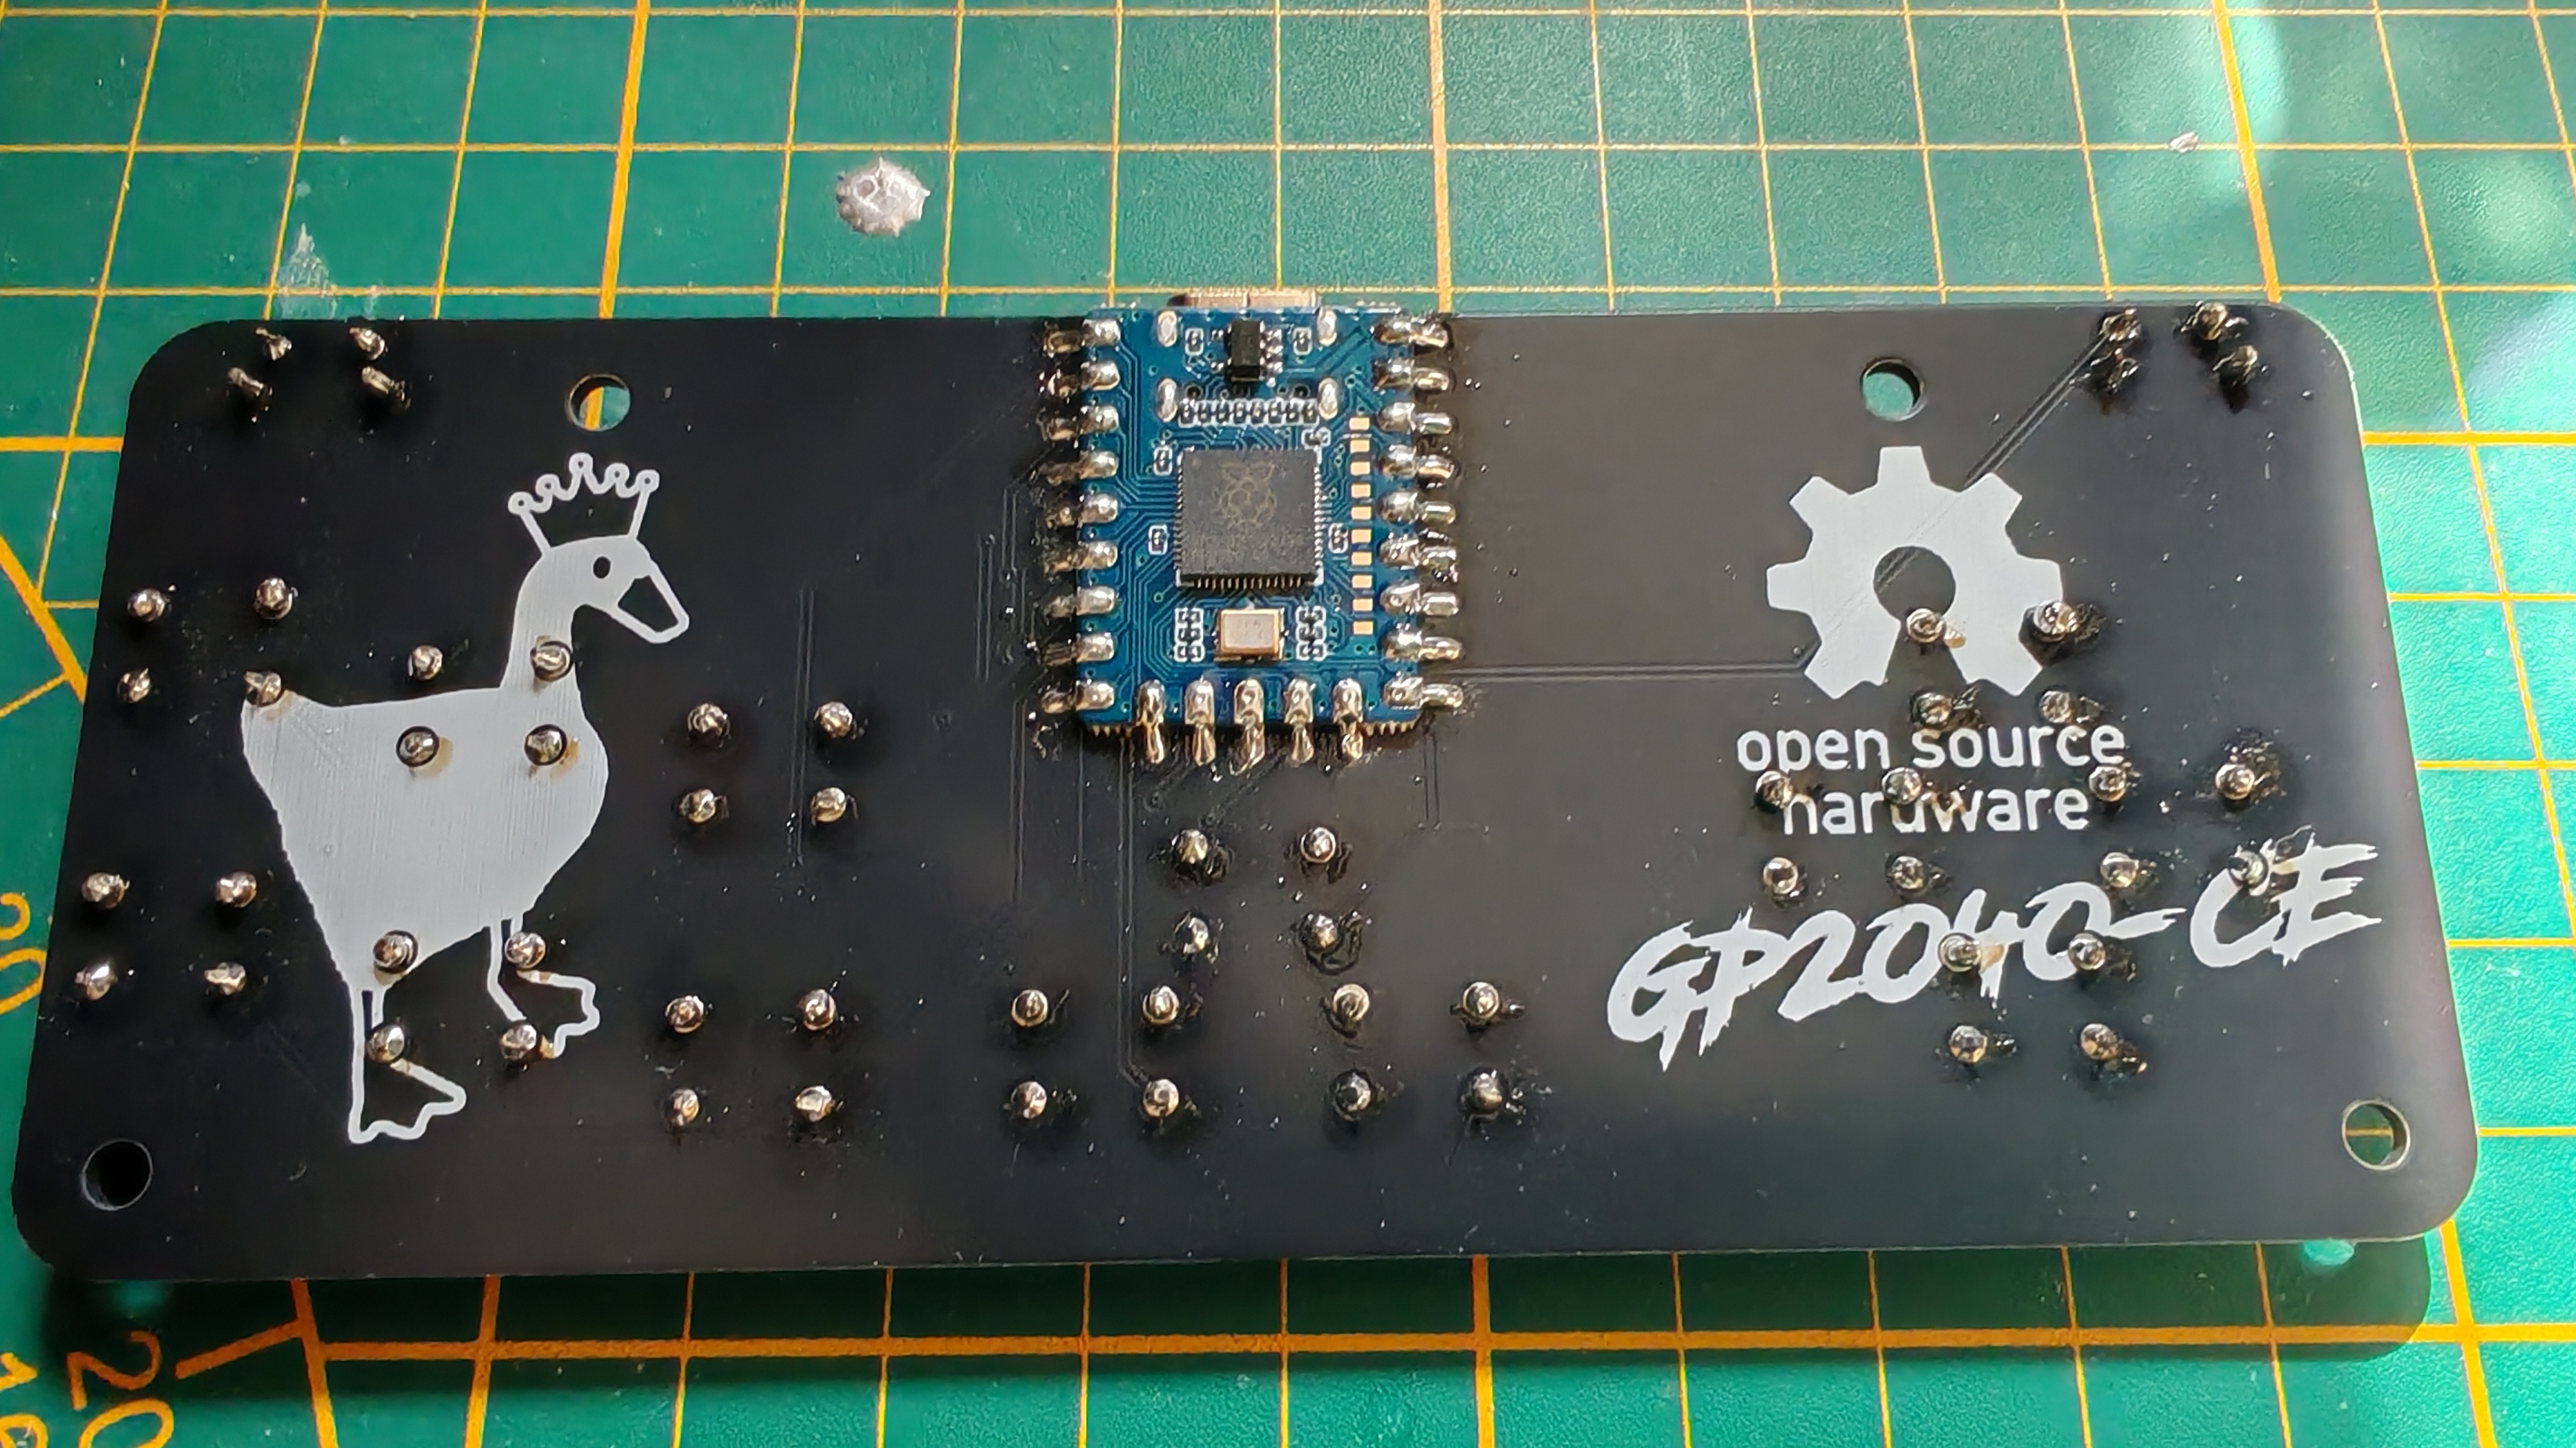
Somehow I've done a far better job on the Zero than I did on the buttons
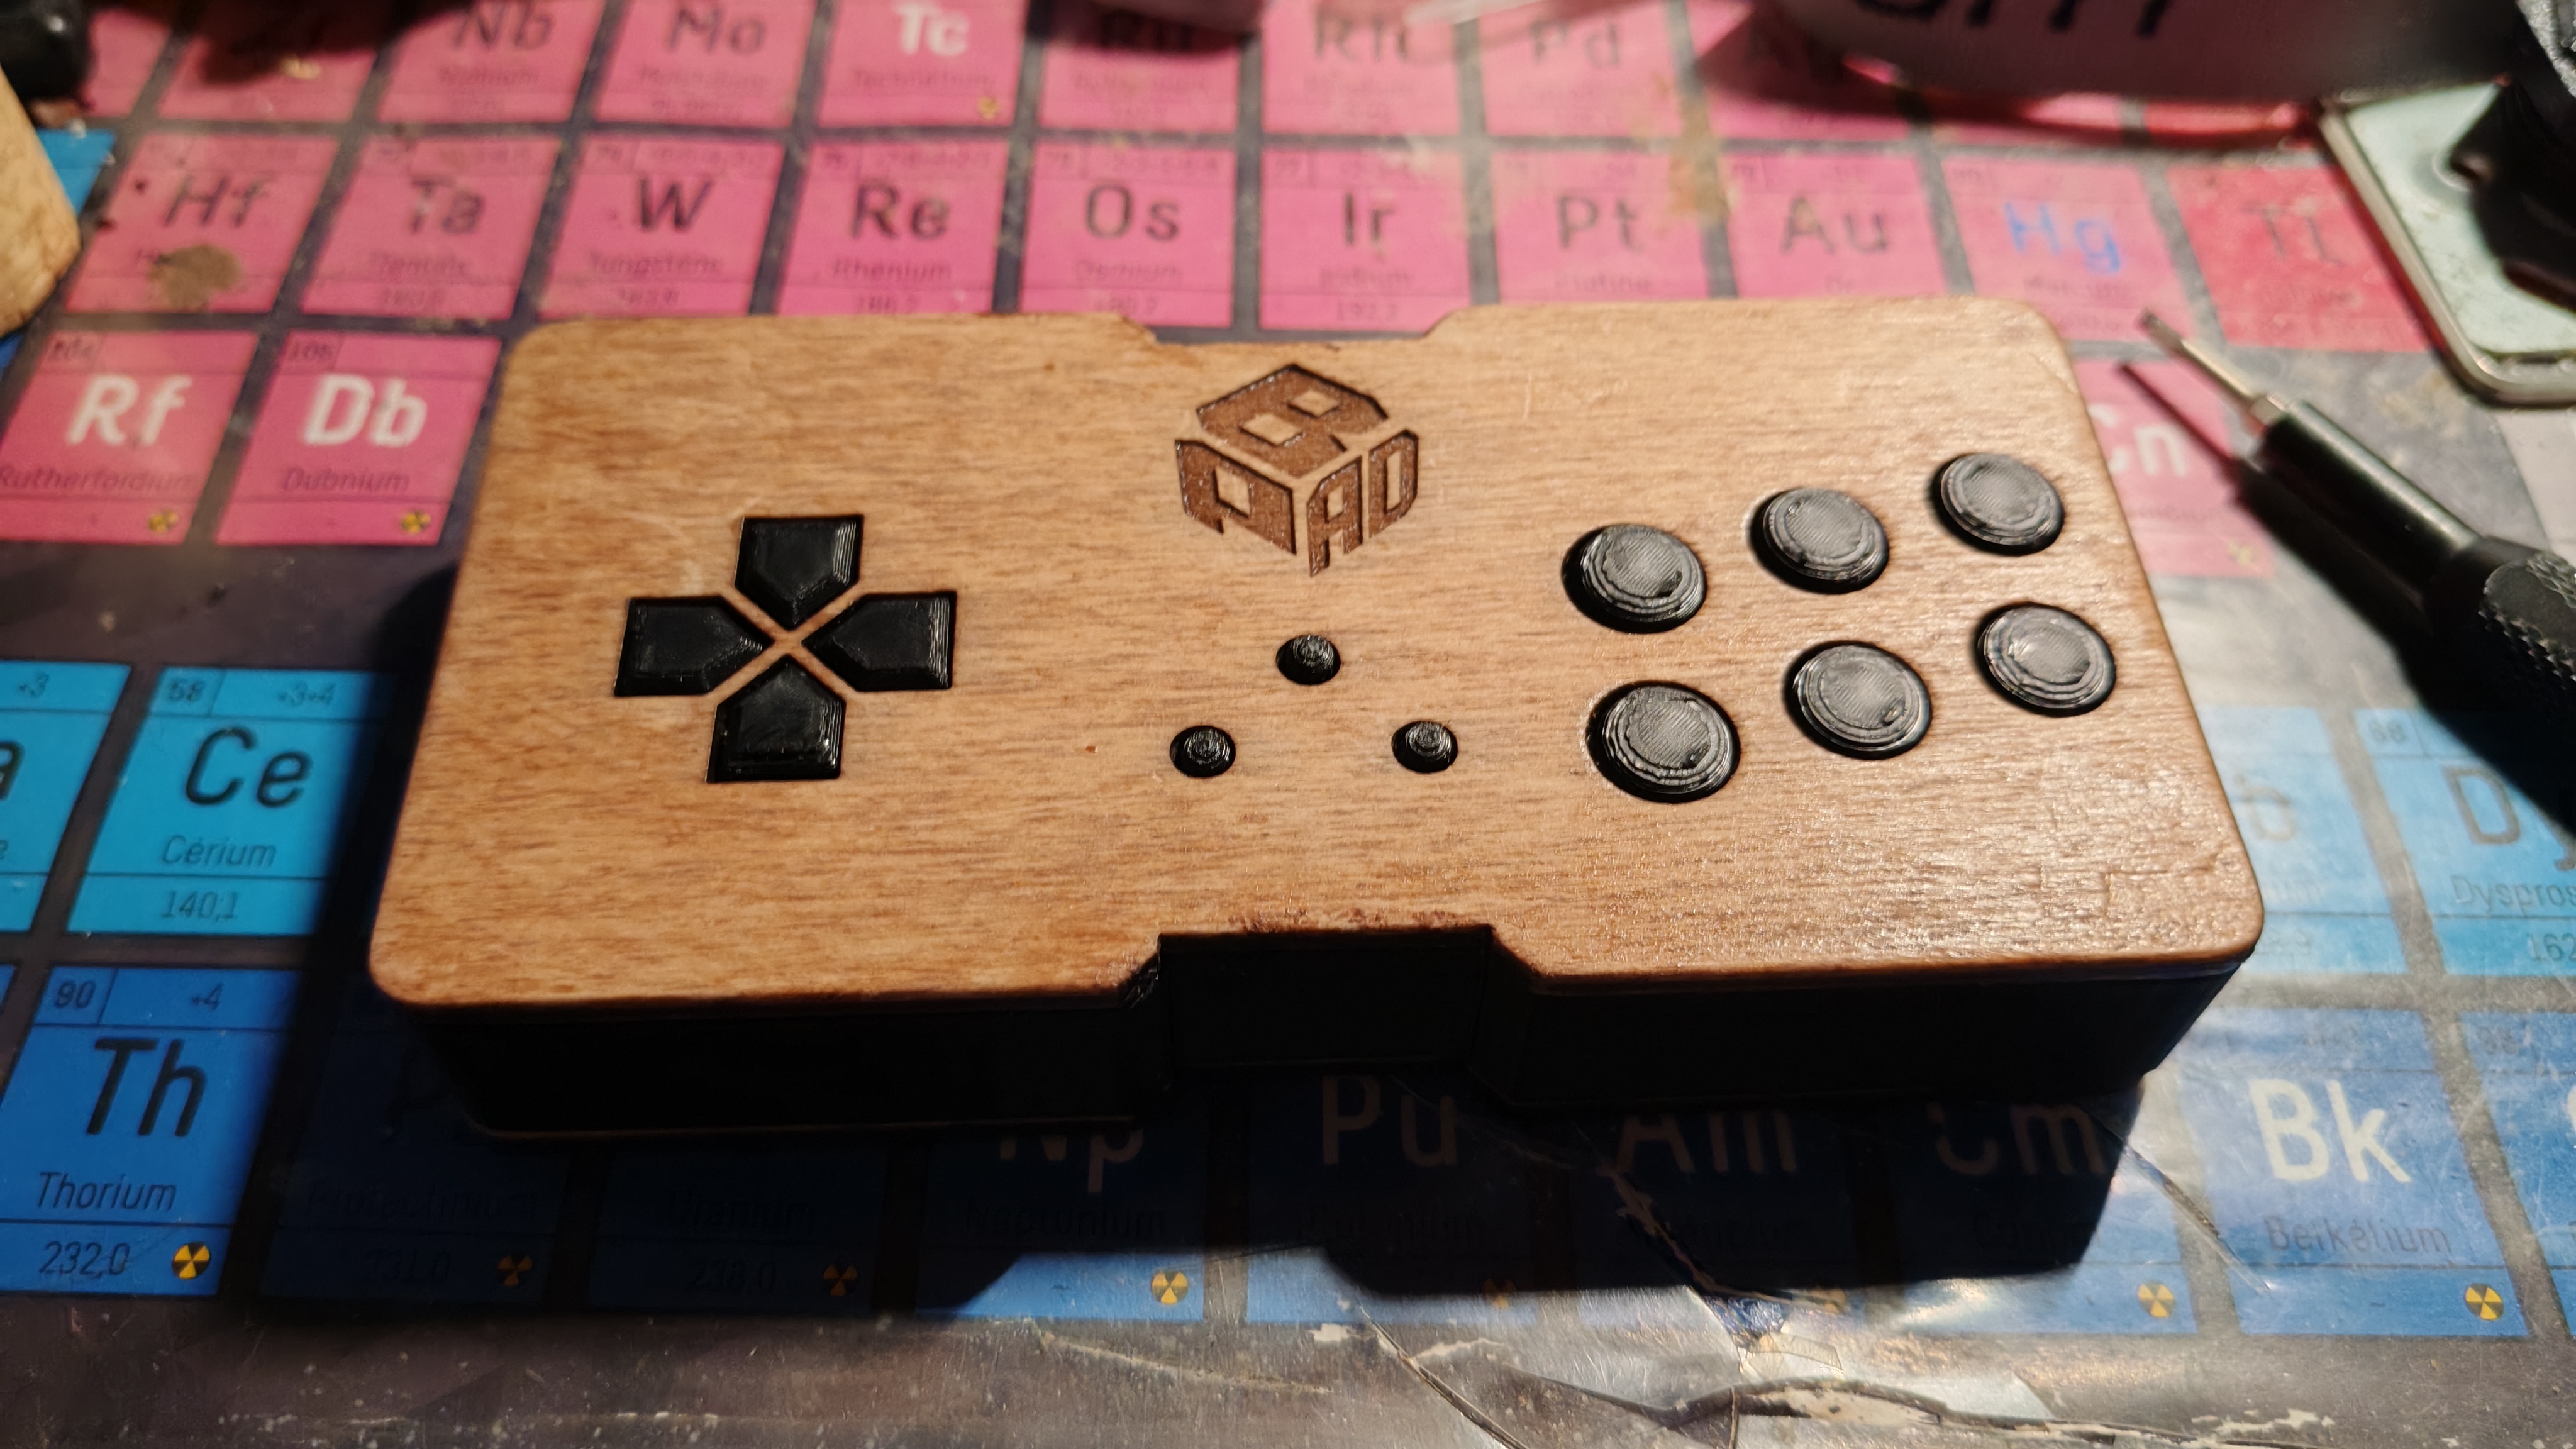
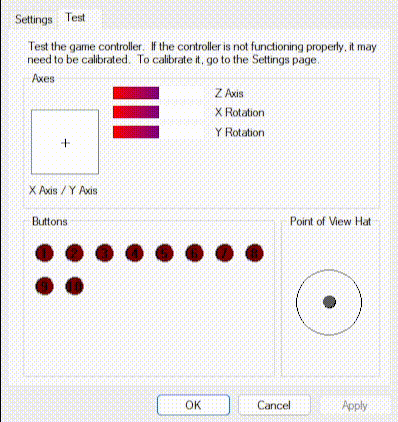
At this point the BadPad is technically working, so I guess it's time to upload the GP2040-CE firmware and test if everything works. (I have PETG cooking in the filament dryer anyway so I've got some hours to spare)
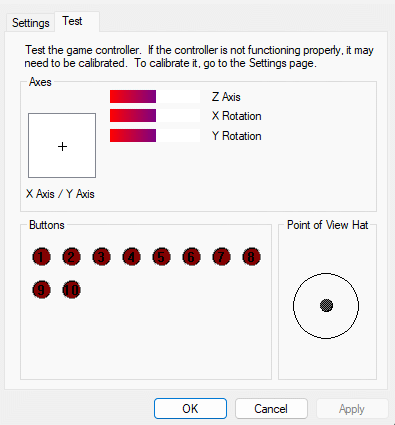
Uh-oh. I am pressing buttons here.
You might be noticing a whole lotta fuck-all in the GIF above. That is because it is the precise amount of things happening as far as the Zero is concerned. Which can mean a few different things:
- I have done such a terrible soldering job that literally none of the grounds are actually connected to the board
- I have a dead RP2040-Zero (can't be it since I managed to upload firmware on it)
- I have made a critical mistake in my schematics and the board ground isn't actually connected to the Zero's ground
GUESS WHAT.
That's... bad. And not in a me way. Fortunately this is also a human-correctable error: All I have to do is bodge a wire between the Zero's ground pin and any other ground connected to the buttons, and unless option number one is also true, that should fix it.
Jank is the spice of engineering after all
Saved by the hack
Now... it's printing time !!
1: Seriously it saves like 40€ over a batch of 5. USB-C assembly is super expensive and I don't have a hot air station to do it myself